Table of contents
- What is BambooHR Chatbot?
- How does BambooHR Chatbot work?
- What is BambooHR Chatbot used for?
- Best BambooHR Chatbot platform
- AI-powered BambooHR automation with BambooHR Chatbot
- How to Build BambooHR Chatbot Without coding
- Business benefits of the BambooHR chatbot
- Conclusion
In a matter of only a few months, the world as we know it has changed drastically, stumbling into survival mode as it struggles to adapt to new realities. This is equally true for the global workforce, as people are learning to deal with rapid shifts, health scares, financial strains, and domestic challenges that can be stressful and confusing. As a result, human resources (HR) has become one of the single most important functions for any organization in these unprecedented times.
While businesses continue to make hard decisions to stay afloat and minimize job losses, HR teams work in tandem with business heads to engage employees and keep up the morale, reconfigure workflows, redeploy talent, and upskill staff to help them stay relevant. The HR team is often tasked with providing much-needed emotional support to employees while ensuring the continued productivity of each individual.
What is the BambooHR Chatbot?
BambooHR Chatbot is an AI-powered no-code platform for building contextual chatbots with automated workflows for various business apps like Slack or Microsoft Teams. Using BambooHR Chatbot, companies benefit by automating repetitive issues, saving costs, reducing time to resolution, delivering faster support, and more.
How does the BambooHR Chatbot work?
BambooHR chatbots use Natural Language Processing to understand a user’s intention or utterances for initiating a conversation with it as well as to extract required data from a user’s query and pass it to the automation to resolve the user’s issue in real-time.
So, think of how intelligent chatbots work, but with the BambooHR chatbot, it can not only have those benefits but also extend the functionalities of the BambooHR tool using advanced integration and workflows.
If an HR AI chatbot tackles monotonous chores, HR managers would have more time to concentrate on keeping staff motivated and address greater issues such as employee happiness and lower employee attrition.
While the HR staff is dealing with situations needing their attention, the HR chatbot may help team members communicate. When an employee requests a paper, an HR chatbot may provide it in seconds.
On the other hand, a manager would have to search for the paper, which may take several hours. The additional time spent searching for that document may produce stress between the employee and the boss, therefore, the chatbot relieves the manager of that burden and enables proactive involvement.
HR Bamboo chatbot applications include:
- HR chatbots are being used for recruiting operations.
- Using HR chatbots to assist current workers
- Using HR chatbots to automate basic HR tasks
What is the BambooHR chatbot used for?
If you are one of the HR professionals struggling with the balancing act, moving from spreadsheets and paper-based processes to automated workflows certainly makes sense.
Here are some reasons why streamlining the workflows with HR automation in the pandemic era would be a good decision for your business.
1. Save time and focus on critical issues
With HR automation, it becomes possible to streamline everyday tasks such as creating customized onboarding documents, gathering payroll information, and more. It cuts the excessive workload on the HR employees and reduces burnout on mundane administrative work. Rather, they can focus on strategic and critical aspects such as policies and procedures to be implemented on reopening.
2. Accelerate onboarding and offboarding processes
Modern employee onboarding software with enterprise-grade compliance simplifies and standardizes HR processes like onboarding and offboarding. Typically, it can handle the nitty-gritty of onboarding and streamline the offboarding process as well.
Best BambooHR Chatbot platform
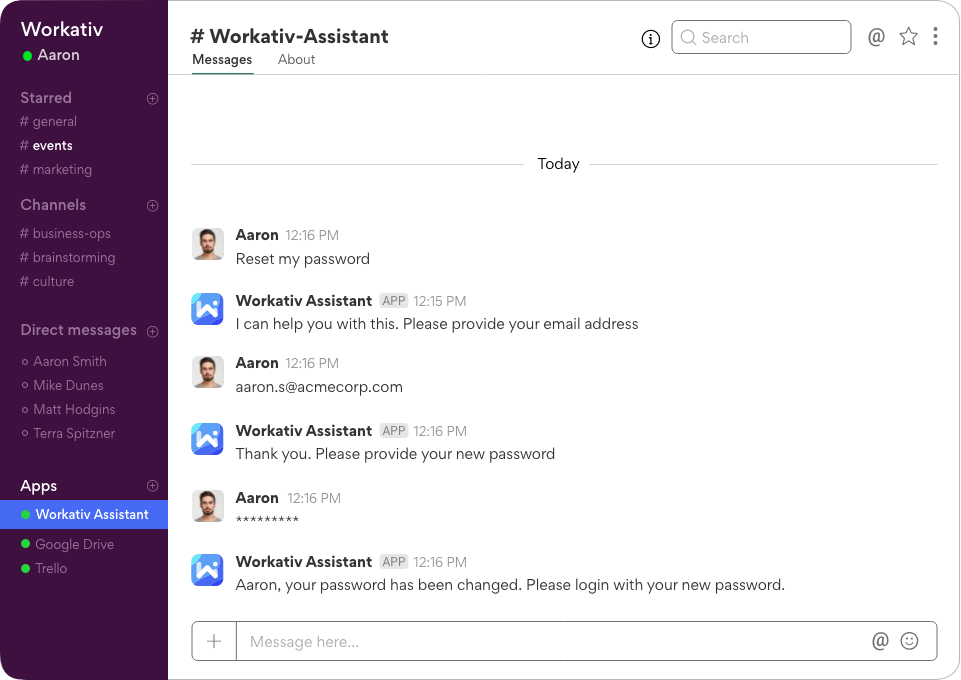
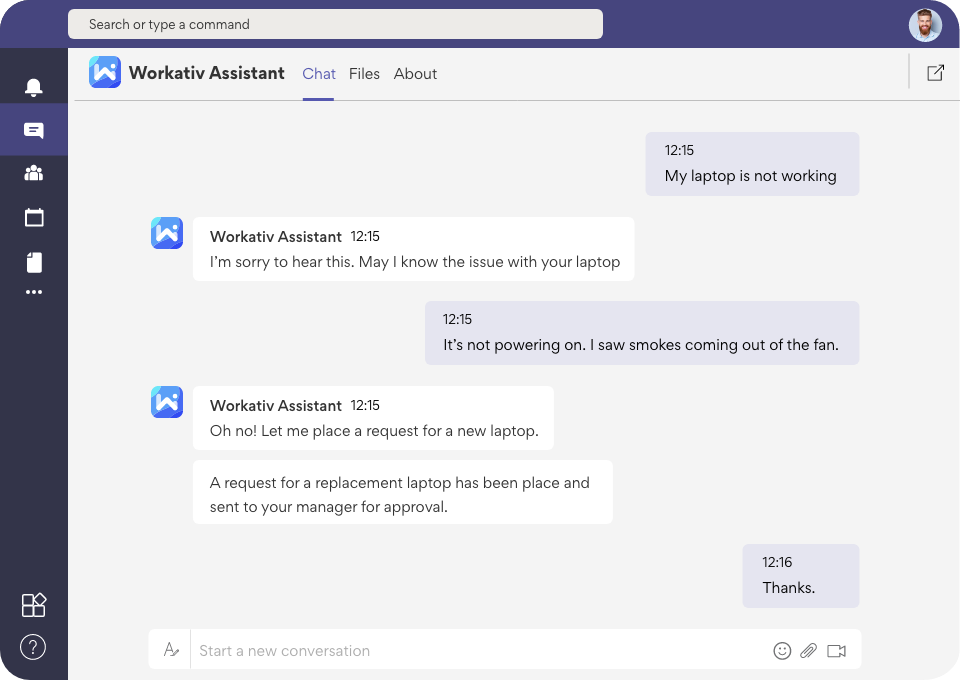
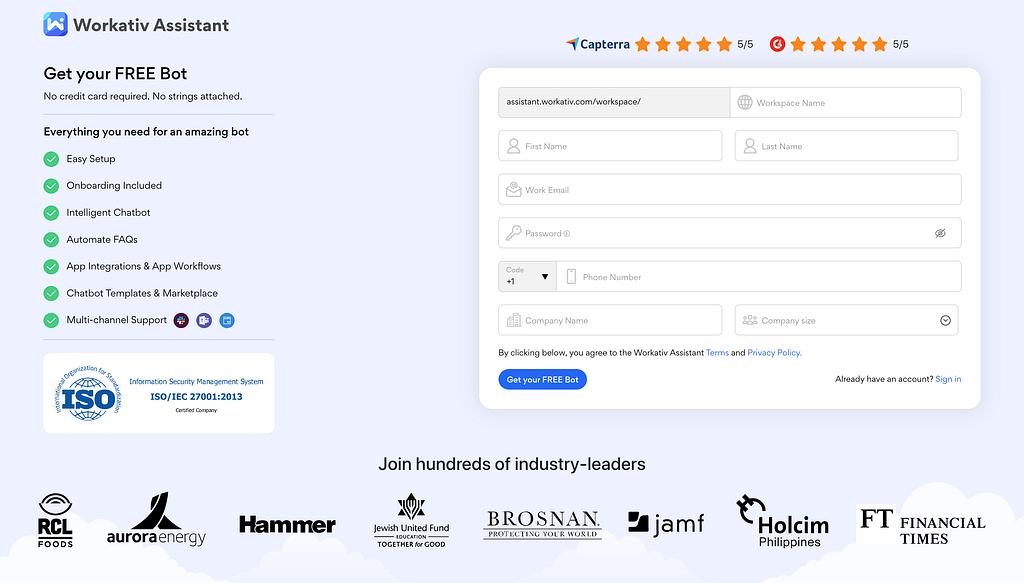
Workativ Assistant is an AI-powered no-code platform for building contextual chatbots with automated workflows for business apps. Workativ Assistant’s chatbots can be easily added to your Slack/Microsoft workspace so that your employees can self-serve their IT issues on the go, anytime.
Integrating BambooHR with Workativ Assistant ensures your employees get the IT/HR support they’d love.
No Code — Get Your Free BambooHR Chatbot.
Smarter AI-powered BambooHR automation with BambooHR Chatbot
Here are some of the BambooHR tasks that Workativ can take care of for you.
1. Centralized Employee Database
By connecting BambooHR with Workativ, keep all your employee-related information in an interactive database that can integrate into other programs. It updates across the board when data is changed so that everything is up-to-date all the time. You never have to worry about conflicting versions. All the work is done for you.
2. BambooHR Employee Self-Service
These days, employees expect on-demand access to the systems they use. Give them the freedom to access their PTO, employment information, tax details, and so forth via Workativ’s BambooHR self-service chatbot. With Workativ’s BambooHR chatbot, employees can access their profiles from anywhere with an Internet connection. They should be able to request time off, review benefits, and more. Invest in a platform like Workativ that enables employees to request time off on the go via chatbot.
How to Build a BambooHR chatbot
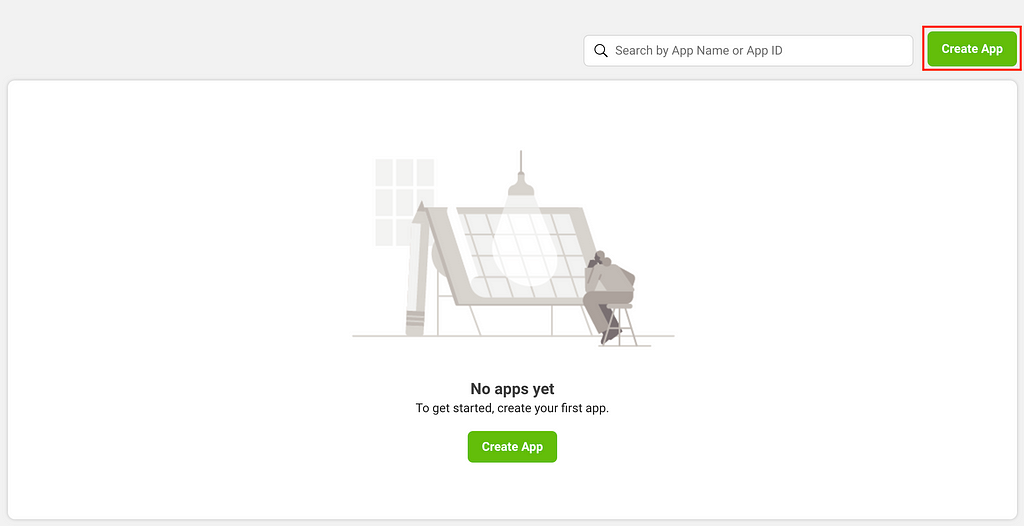
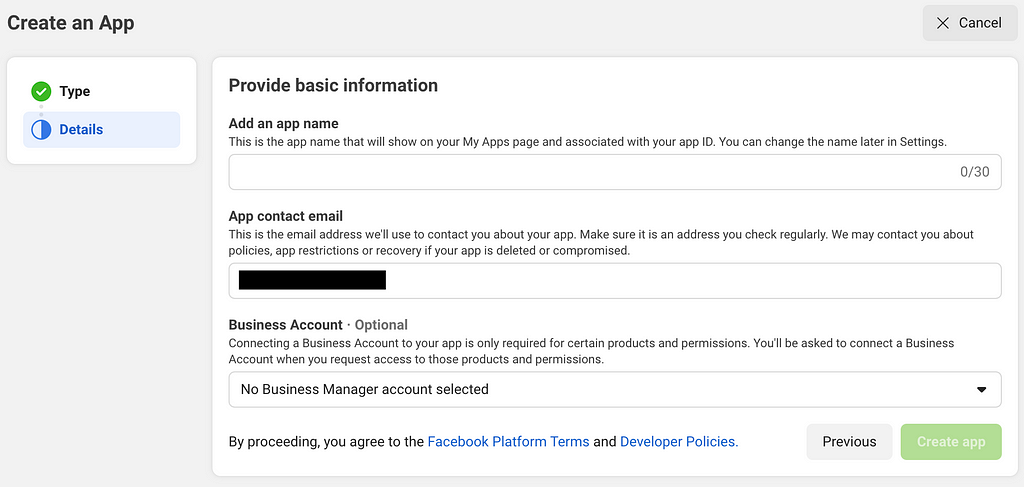
Step 1. Creating a bot workspace
When you sign up for Workativ Assistant, you’ll be required to name your workspace. You can provide the name of your organization as a workspace name.
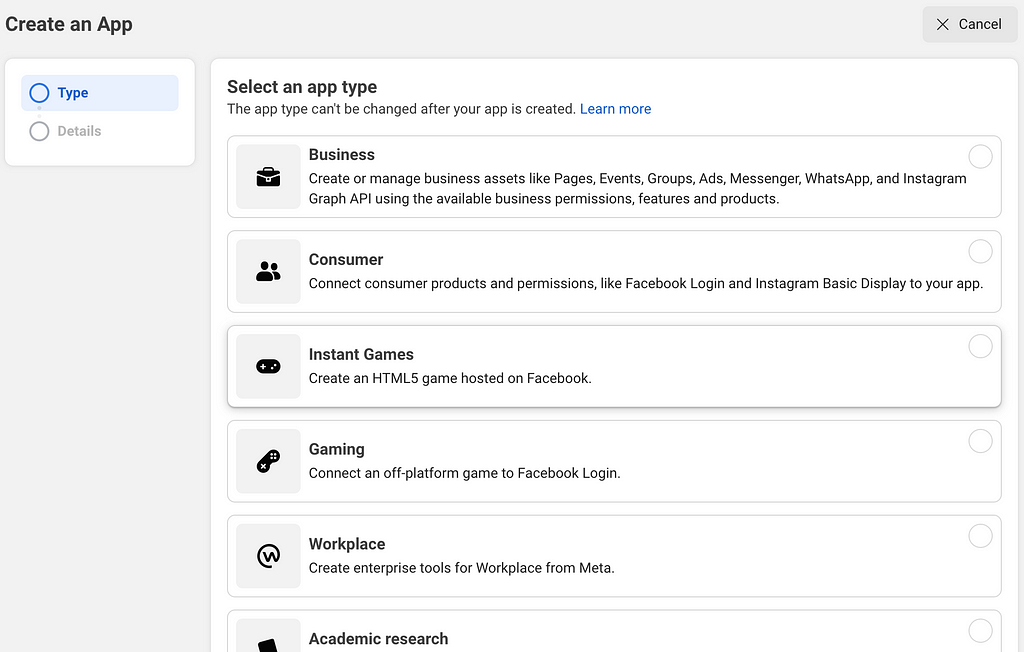
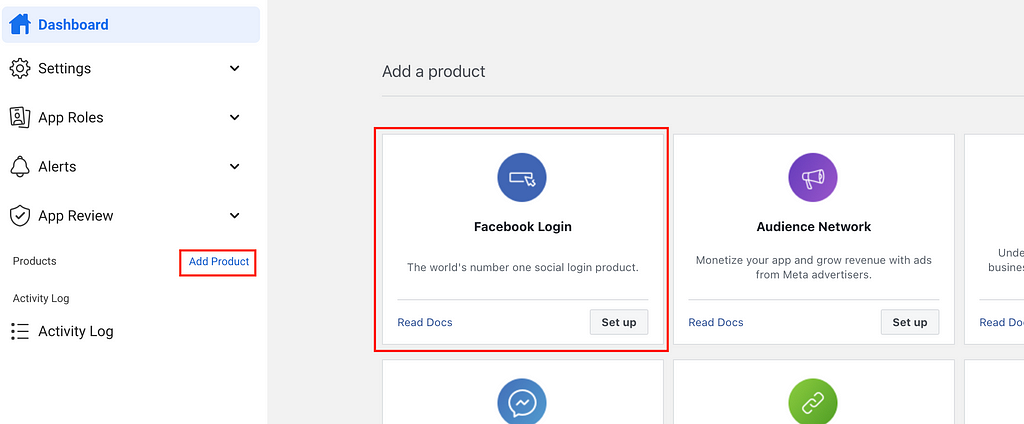
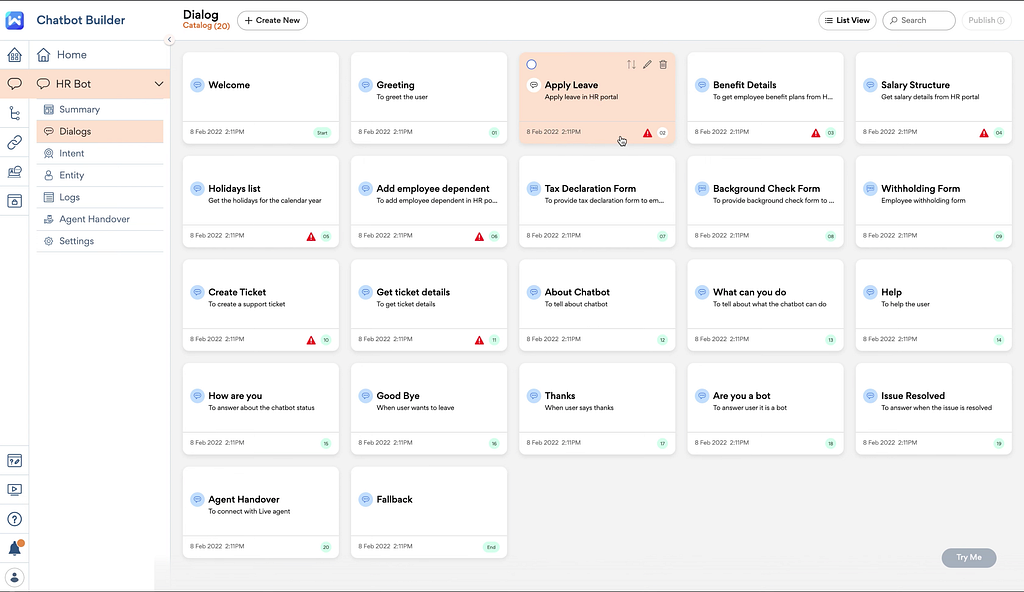
Step 2. Download your bot
Download a prebuilt BambooHR bot from the bot Marketplace
So that’s all there is to the initial setup of your workspace. Next, let’s download BambooHR workflows
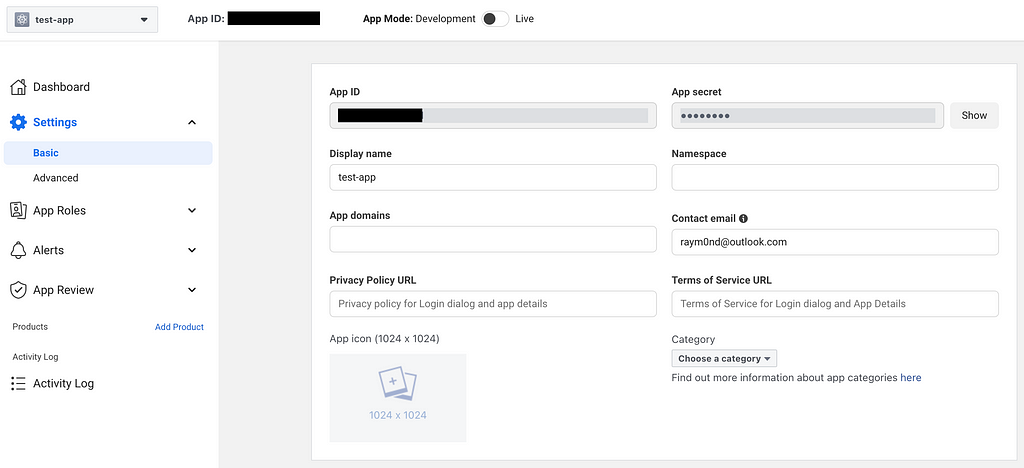
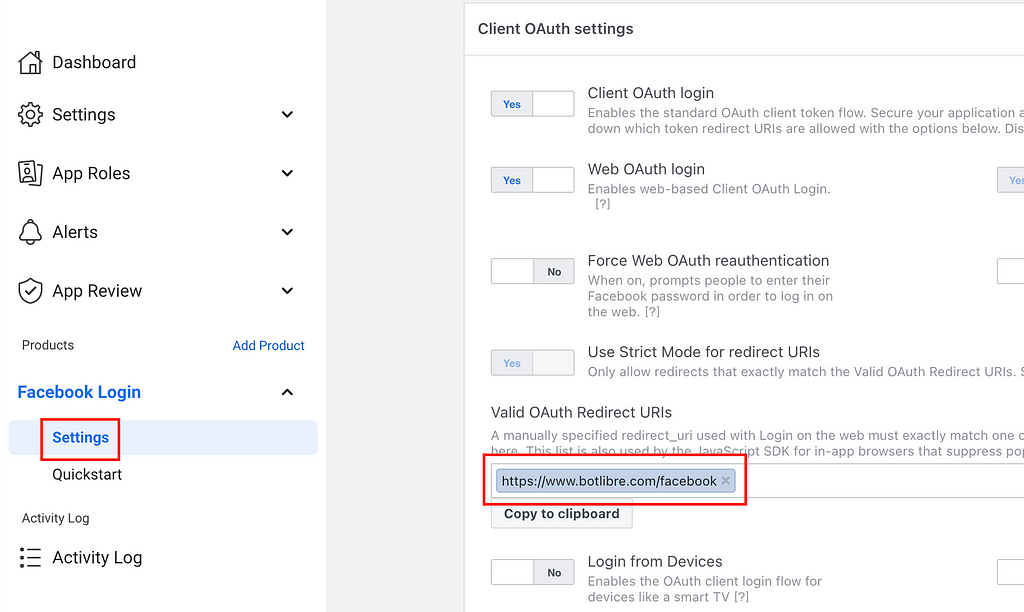
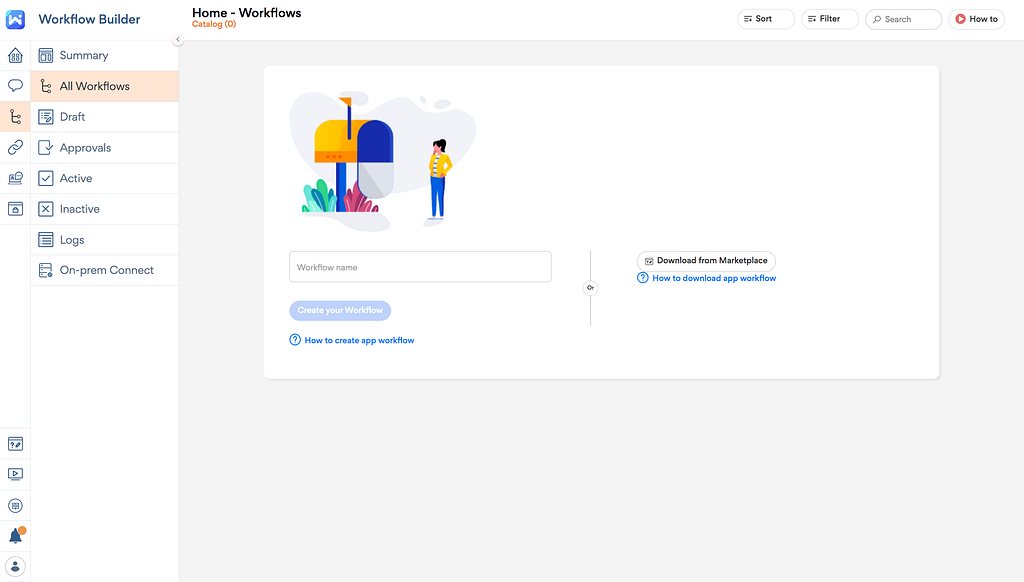
Step 3. Setting up a BambooHR app workflow
Let’s download the BambooHR app workflow from the marketplace.
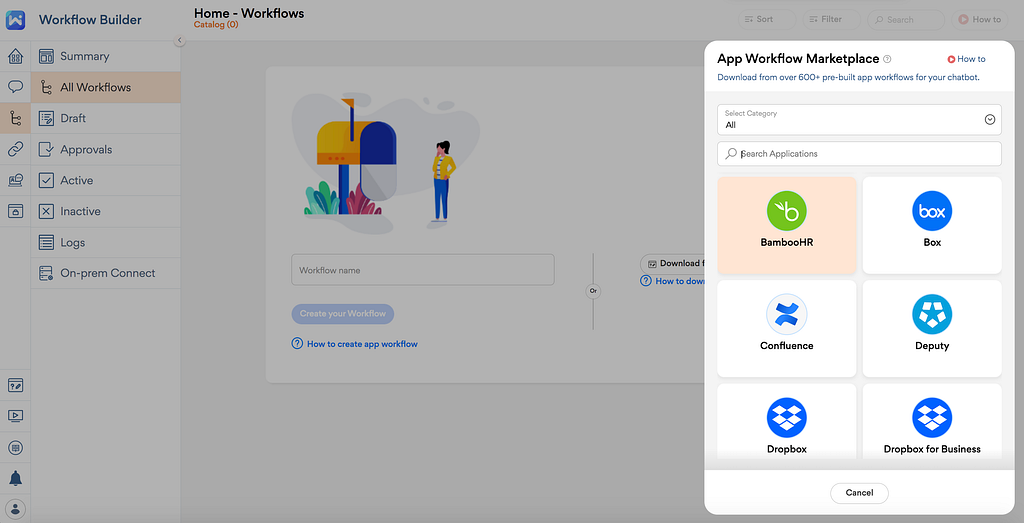
Click on Download from Marketplace
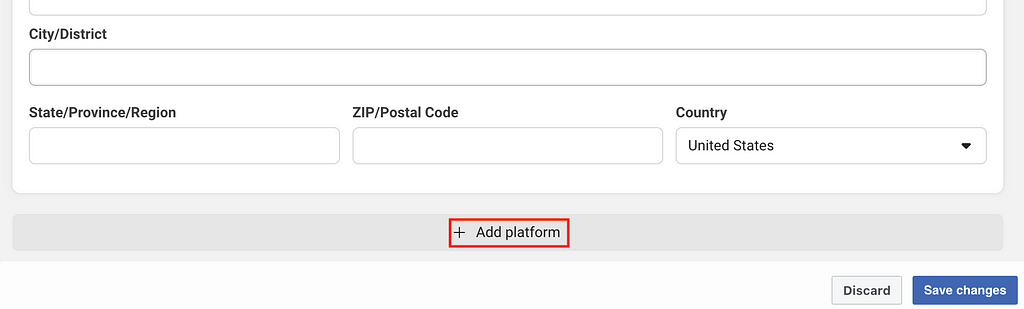
Select the BambooHR application
Select the app workflow
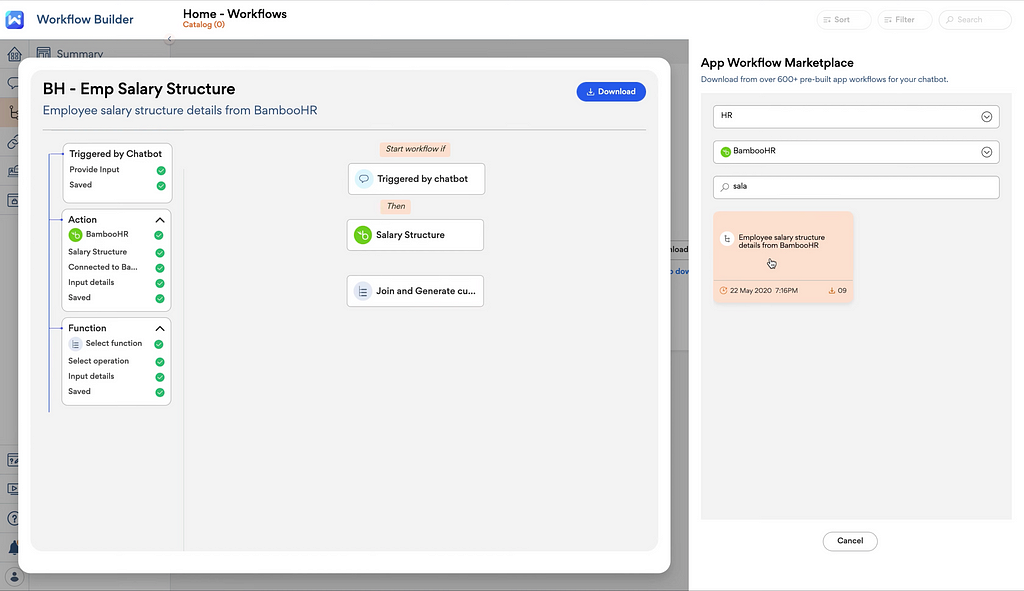
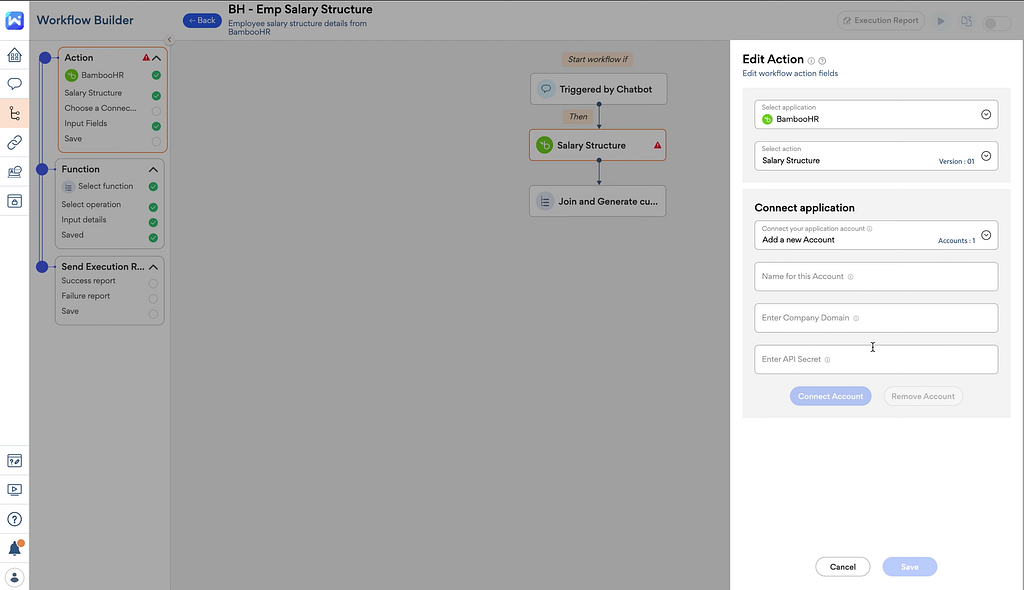
Connect with your BambooHR account
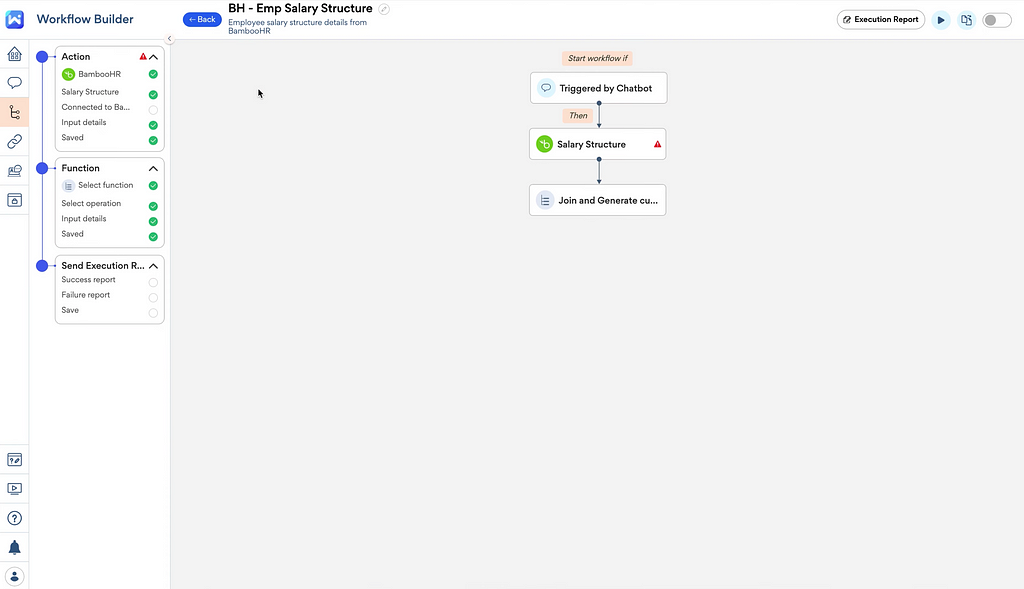
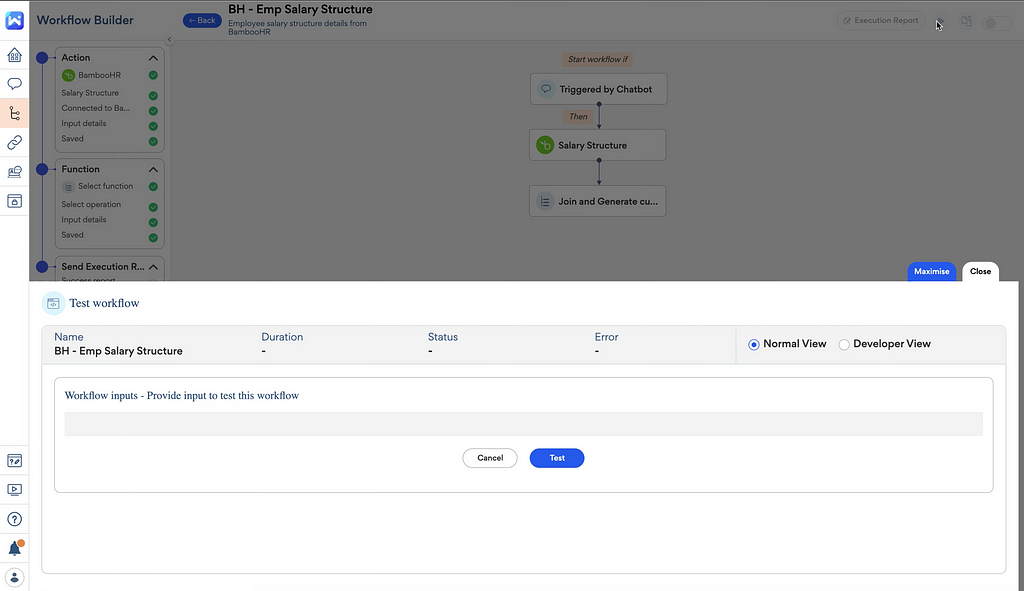
Test the app workflow
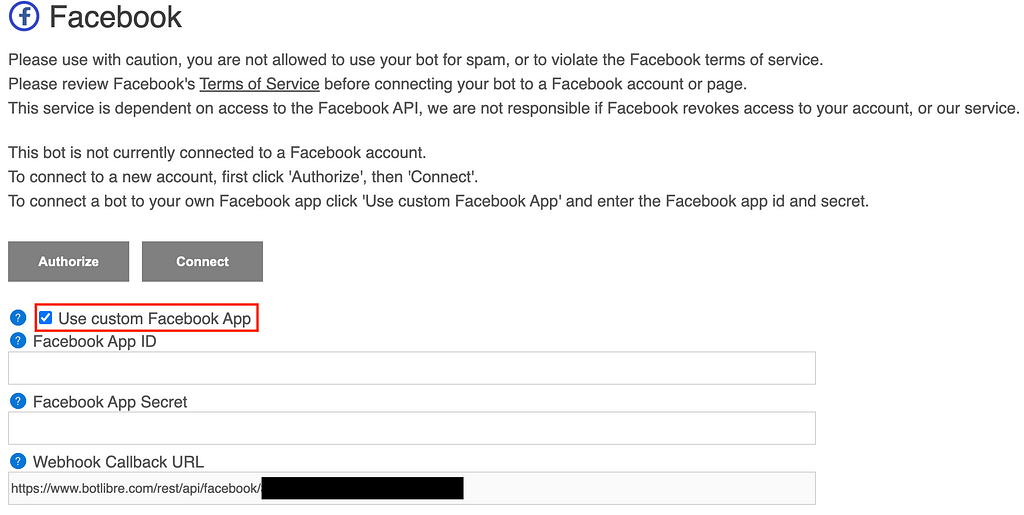
Step 4: Now add workflow to the BambooHR chatbot
Add app workflow to the dialog conversation
Select the workflow
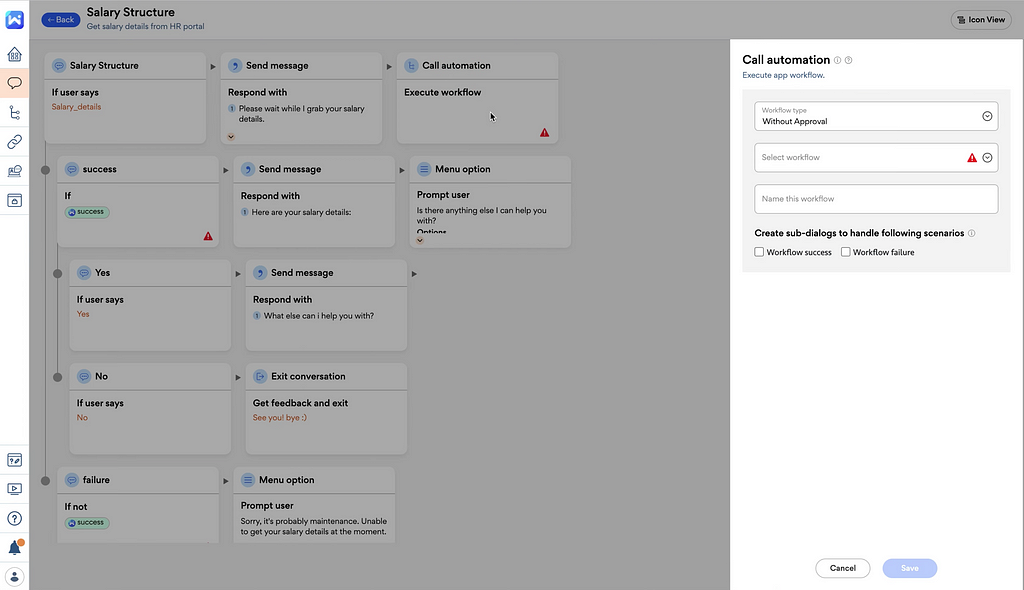
Provide the inputs & save it
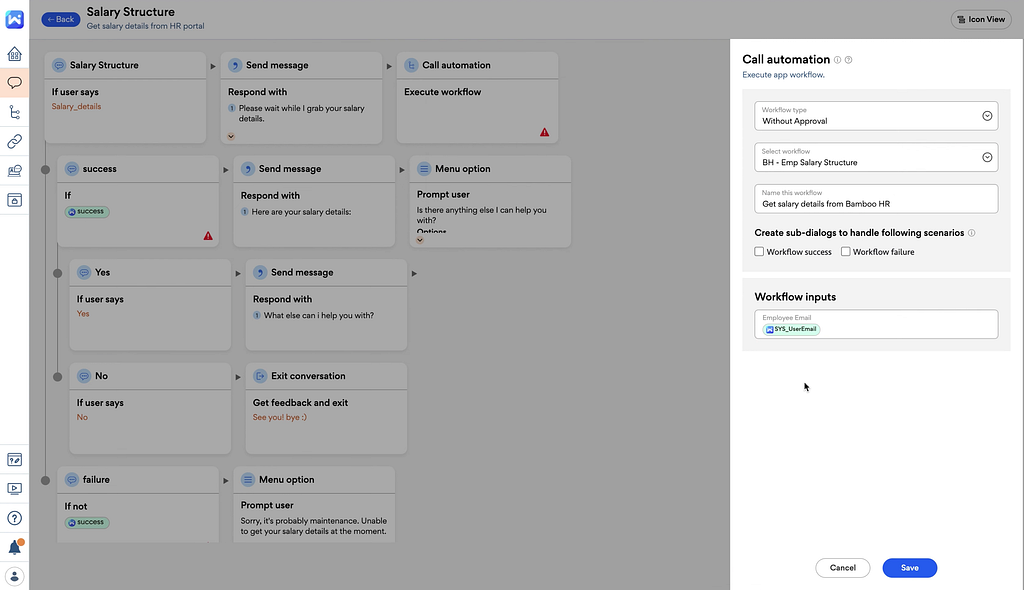
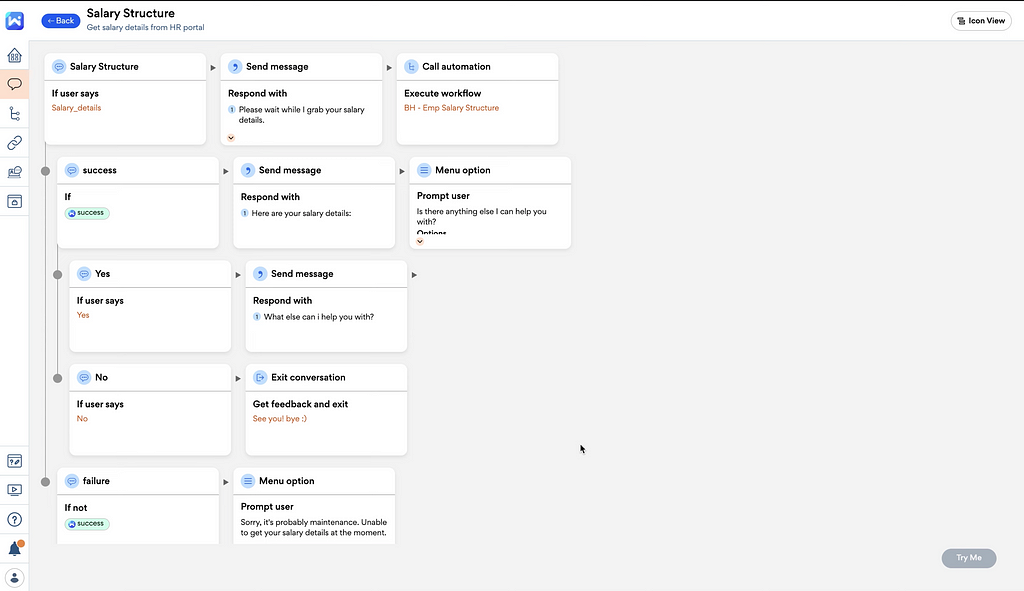
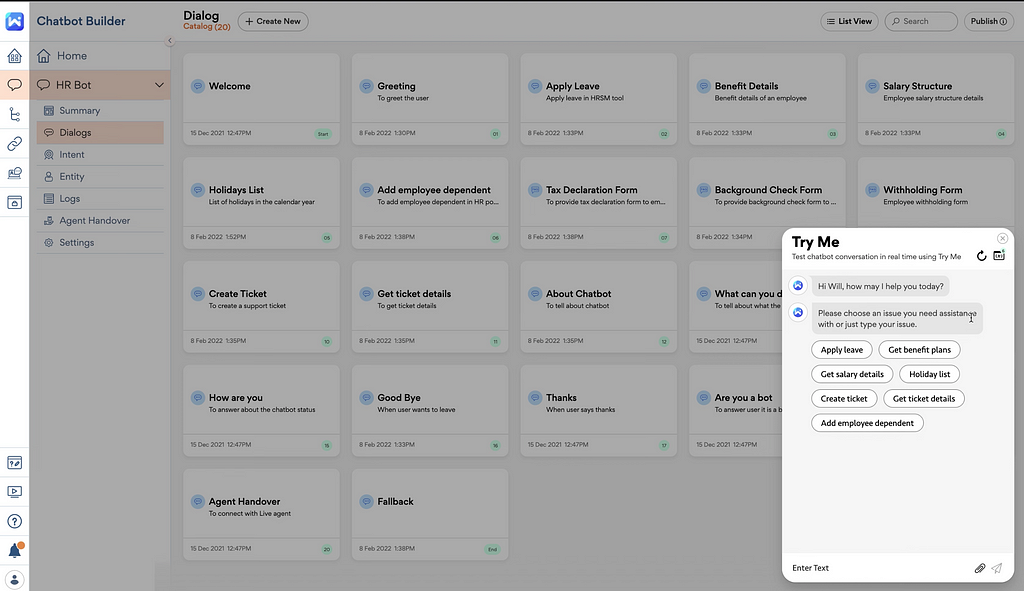
Test your BambooHR chatbot
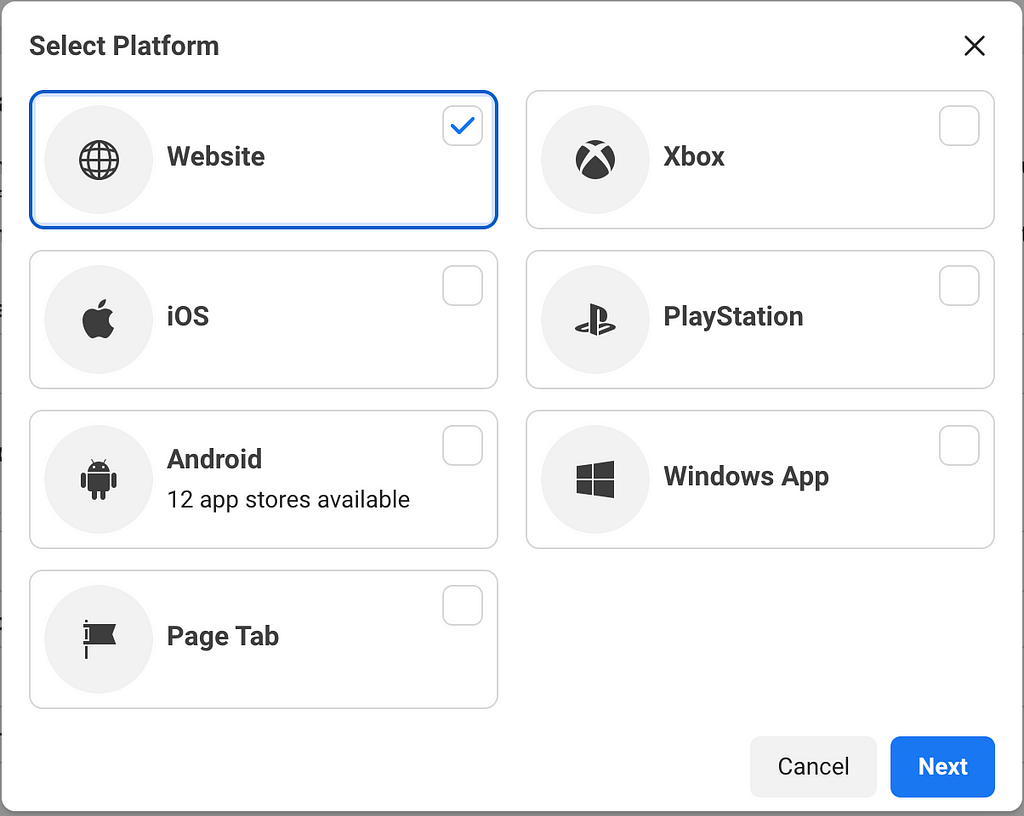
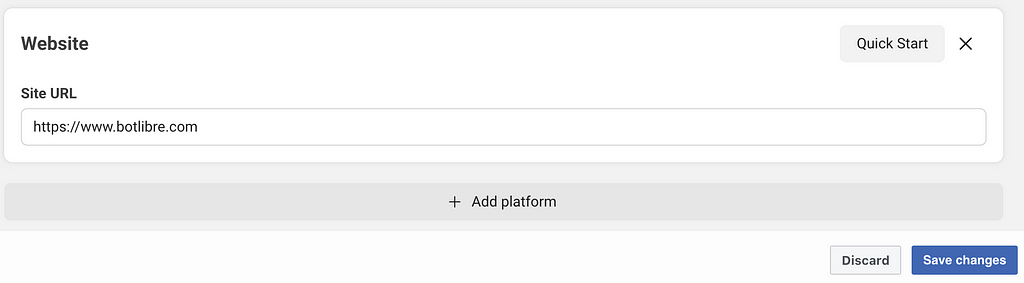
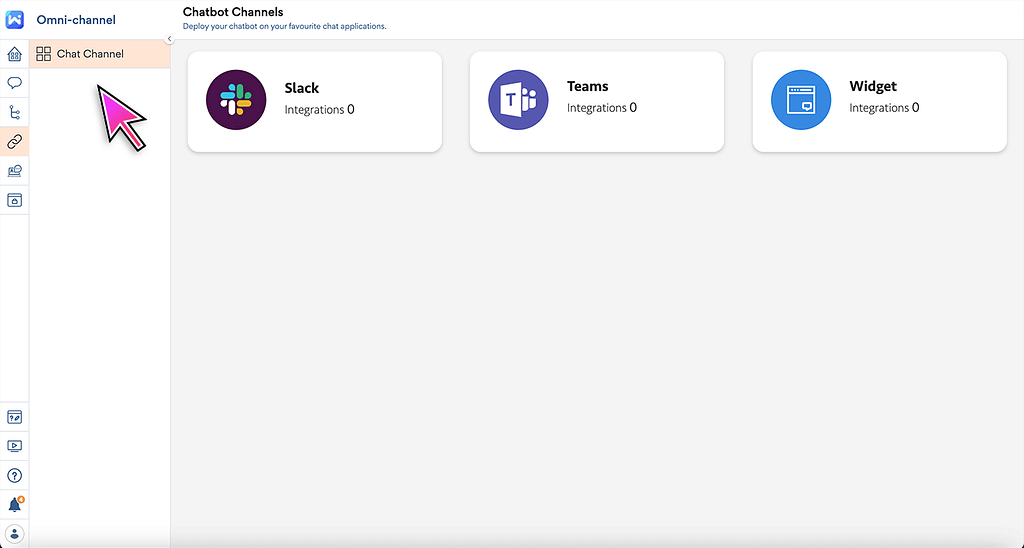
Step 5: Deploy the BambooHR chatbot in your favorite chat channel
Steps to build Bamboo HR Chatbot
Business benefits of BambooHR chatbot with Workativ
Now the benefits are enormous when it comes to integrating and automating BambooHR tasks with Workativ.
1. No data loss
As everything is automated, you don’t have to worry about data loss. Workativ’s BambooHR chatbot stores and updates every piece of information that it receives from a user in BambooHR in real time.
2. Easy Accessibility and Approval
Workativ’s BambooHR chatbot helps in easy access to information from any place across the globe. It helps management access employee attendance records and approves their leave requests based on that. Meanwhile, employees get notified about their approval/rejection of leave requests and can also track holiday accrual, leave history, etc. via the chatbot.
3. All from the comfort of your chat hub
Workativ’s BambooHR AI chatbot proactively resides on your Slack/Microsoft Teams workspace waiting to resolve your employees’ HR queries with BambooHR self-service, 24×7.
Conclusion
In conclusion, the BambooHR Chatbot is a great way to help employees keep up with their work and personal lives. It’s easy to use and can be customized to meet your needs.
Its chat interface is reliable and user-friendly, so you’ll be able to get the most out of it. So, if you’re looking for an efficient way to manage your employee’s communication, the BambooHR Chatbot is the perfect solution for you!
Workativ enables you to build an AI bot for your workplace in minutes, with no coding required.
Workativ is a free, no-code SaaS platform that enables businesses to create, automate, and deploy conversational AI chatbots in under an hour. Try our BambooHR chatbot for FREE.

Step-by-Step Guide to Build BambooHR Chatbot [2022] was originally published in Chatbots Life on Medium, where people are continuing the conversation by highlighting and responding to this story.