Author: Franz Malten Buemann
-
Get Certified in ChatGPT + Conversational UX + Dialogflow
Are you ready for Godmode?

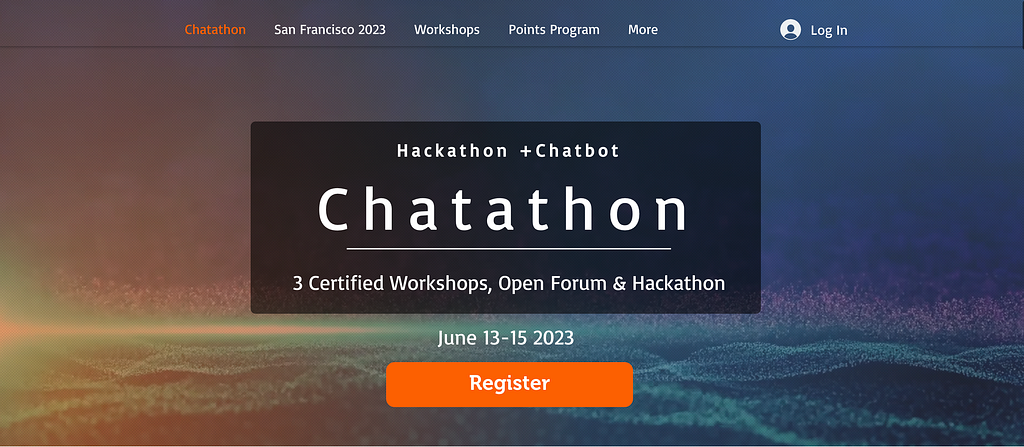
Chatathon by Chatbot Conference We’re excited to announce the Chatathon, a three-day event packed with everything you need to know about Chatbots!
Whether you’re a Conversational Designer, AI Developer, a PM or just someone excited about the technology, the Chatathon has something for you.
Here’s a sneak peek of what you can expect:
- Hackathon: compete with other attendees to create the best chatbot using ChatGPT and Dialogflow
- Open Forum Lead by The Experts: discuss the latest trends and techniques in chatbots with industry experts and fellow attendees.
- 3 Certified Workshops: learn how to create chatbots for your website that use ChatGPT and Dialogflow.
By the end of this event, you can get Certified in Conversational UX, NLU Development, and ChatGPT!
Don’t miss out on this unique opportunity to jump ahead of the pack and master the latest technology.
Save the date: June 13–15, 2023 Online.
We can’t wait to see you there!
Best,
Stefan

Get Certified in ChatGPT + Conversational UX + Dialogflow was originally published in Chatbots Life on Medium, where people are continuing the conversation by highlighting and responding to this story.
-
SAVE $400: Get Certified in ChatGPT & Conversational AI & UX
3 Certified Workshops + Hackathon = Chatathon
We have exciting news.
Tickets are on SALE, and you can SAVE $400.
Over the past few months, AI has been moving lightning-fast!
So much new AI is coming out daily that it is easy to fall behind.
In these 3 Certified Workshops, you’ll vault yourself to the head of the pack and be one of the very few people who know how to create an application with ChatGPT, how to take it to the next level with a knowledge base, and how to give it the ability to take action!
If you’re ready to take your AI game to the next level, this is the event you’ve been waiting for.
Here is the Agenda:
- Day 1 UX Certified Workshop: Design your BOT
- Day 2 ChatGPT Certified Workshop: Learn how to use the ChatGPT API, create your prompts, connect to your knowledge base, and create your app in one day.
- Day 3 Dialogflow Certified Workshop: Now, we will integrate ChatGPT API with Dialogflow and add any actions you want the bot to take.
Don’t fall behind your peers.
These tickets won’t last long, so grab yours today.
We can’t wait to see you at the Workshop & Hackathon on June 13–15, 2022!
Best,
Stefan

SAVE $400: Get Certified in ChatGPT & Conversational AI & UX was originally published in Chatbots Life on Medium, where people are continuing the conversation by highlighting and responding to this story.
-
Way to incorporate a chatbot with a Google Sheet containing info for several products?
Hi All,
I have a manufacturing client with a database I put together with about 2,000 products that is powered by Google Sheets for their website. They recently expressed interest in getting a chatbot for their website and somehow incorporating the Google Sheets into it.
Is something like this possible? Thanks for any advice!
submitted by /u/brandspire
[link] [comments] -
DeepAI offends me.

submitted by /u/MarkClover
[link] [comments] -
I got owned by DeepAI

submitted by /u/MarkClover
[link] [comments]


![[link]](https://i.redd.it/ws31ye20j6ta1.jpg)
![[link]](https://i.redd.it/c8pnlypnh6ta1.jpg)