Companies are forever seeking opportunities to save time, increase efficiency, promote positive customer relationships and boost their revenues. To achieve this, many businesses readily invest in hiring customer service agents. A 2017 article by Forbes shows that the customer service industry is a booming market, at the time valuing $350 Billion.
So customer service is key to your business’s success, but what of companies with limited resources like a startup? Or organizations whose employees are already stretched thin?
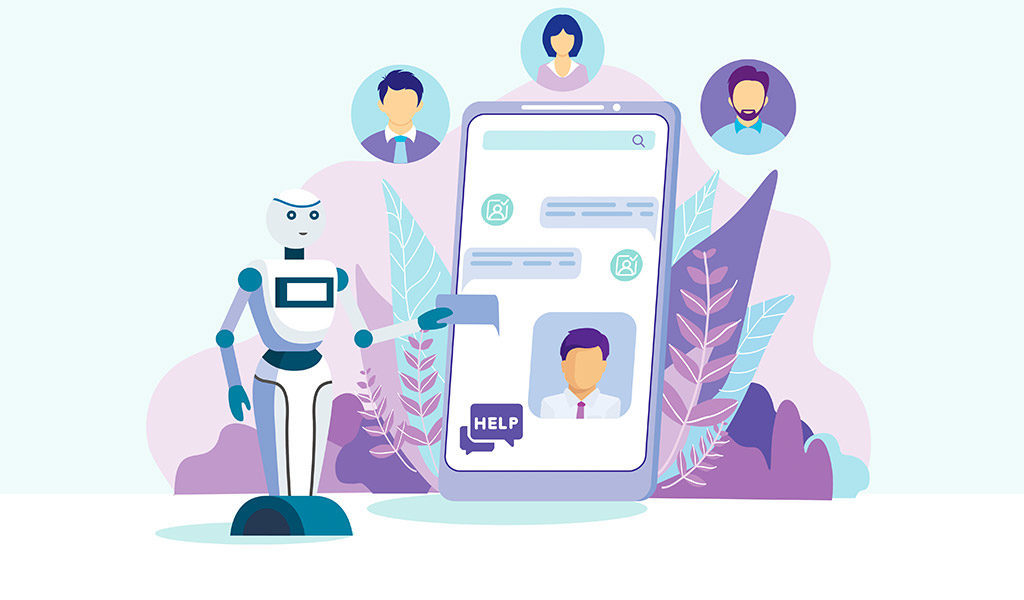
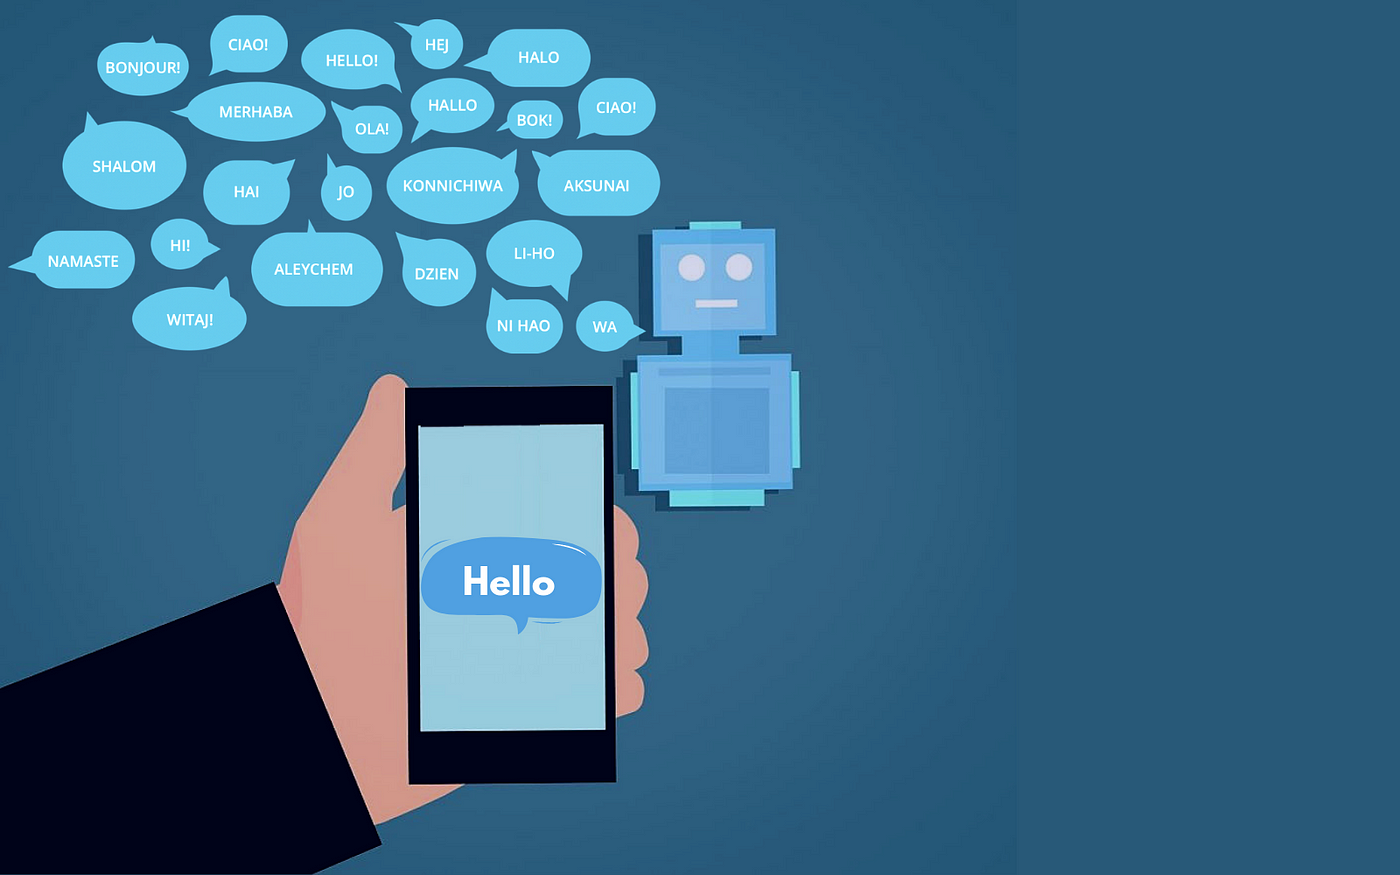
A virtual agent provides a welcome solution.
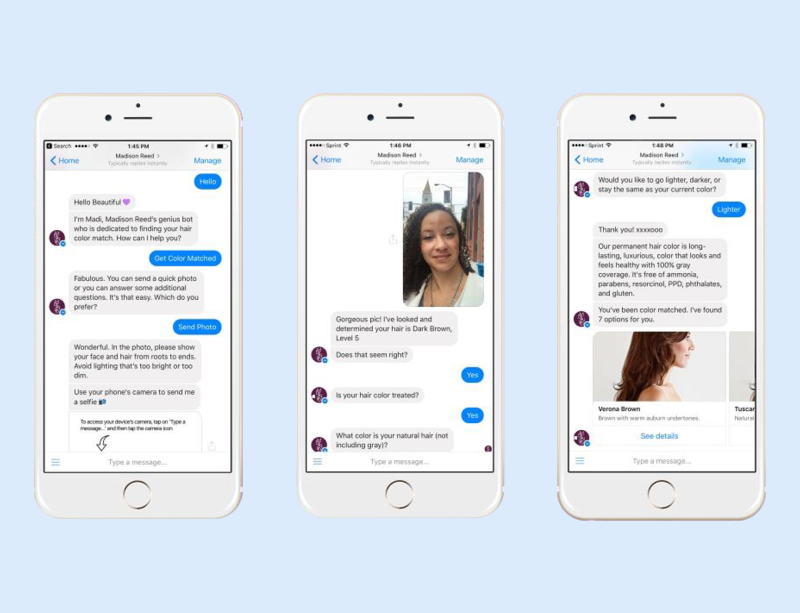
A virtual agent is a term typically used to describe a type of chatbot for businesses.
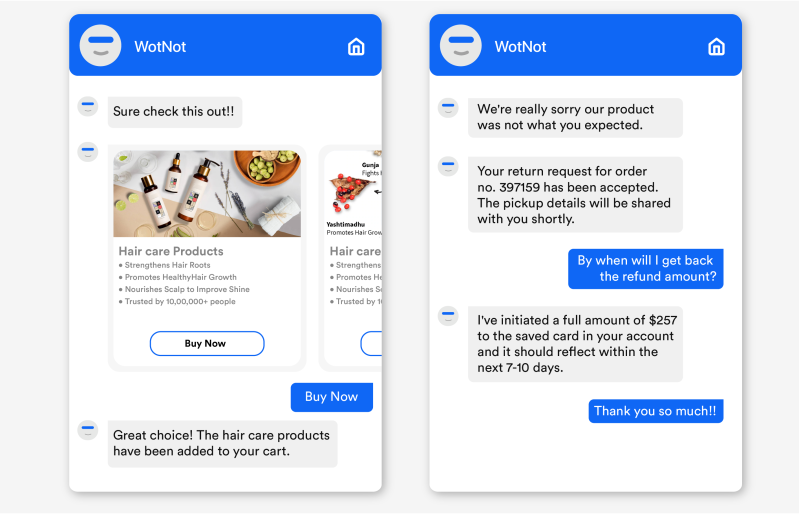
Virtual agents offer help with websites, give information about their companies products or services, answer users’ questions, and provide support, sales, and customer service. They are an automated version of a human customer service agent made up of artificial intelligence applications that have come to seamlessly interact with human intelligence.
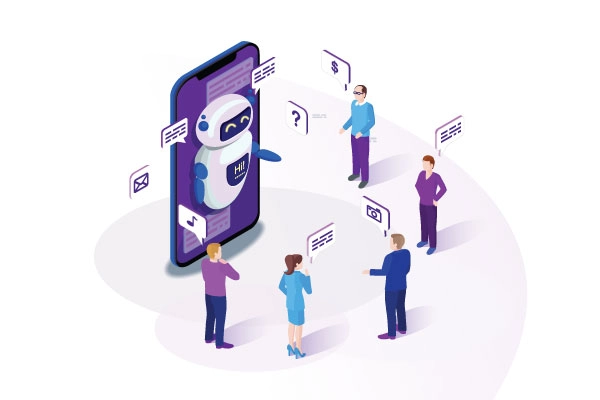
Bot Libre makes it EASY for you to create your chatbot or virtual agent for your business.
For free, and with no programming required, you can create your bot, and embed it on your website, mobile app, or social media. You can create bots for website help, technical support, sales, marketing, customer service, or to automate social media, thus improving your online presence.
Training Your Chatbot
Chatbots can be trained using one of several simple options.
- Import FAQs, scripts, and chat logs
- Review and edit responses from Admin Console’s Training & Chat Logs page
- Have conversations with yourself and others
- Listening in on the chatbot during a live chat
Bot Libre bots support advanced artificial intelligence that can be enabled to let bots learn and comprehend language. Bots can also be scripted and programmed using AIML, and the Self (a dialect of JavaScript).
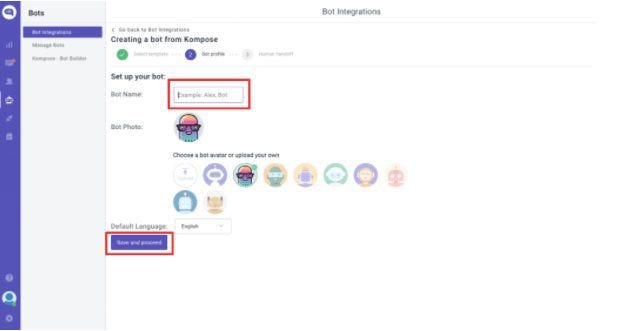
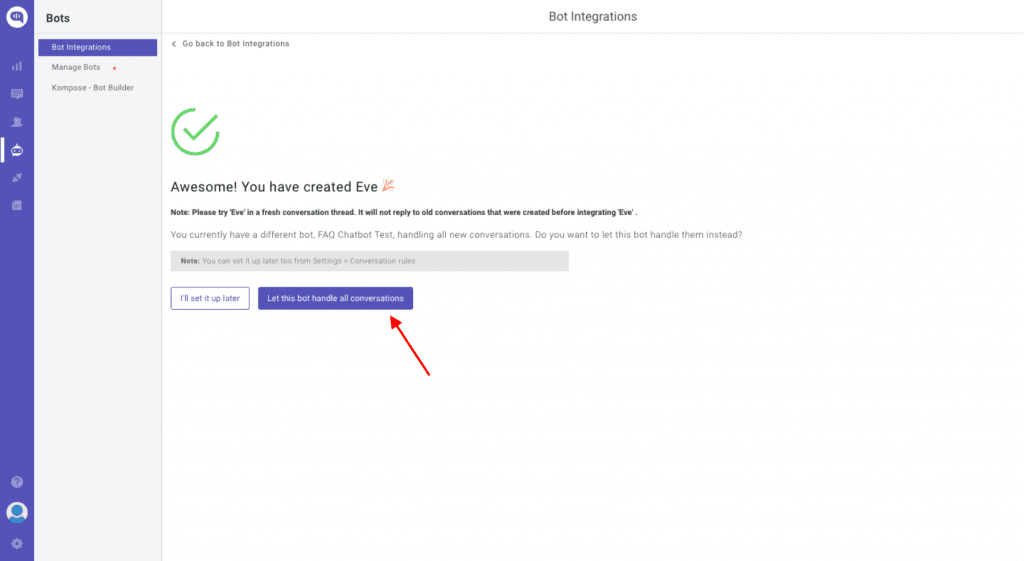
To create your very own free chatbot, see How to create your chatbot in 10 clicks You can also watch this video on How to Add a Virtual Agent to your website
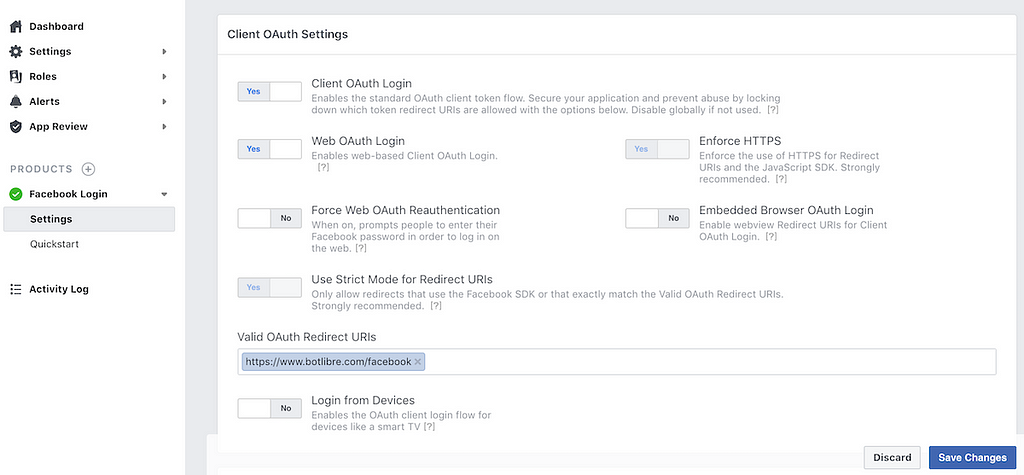
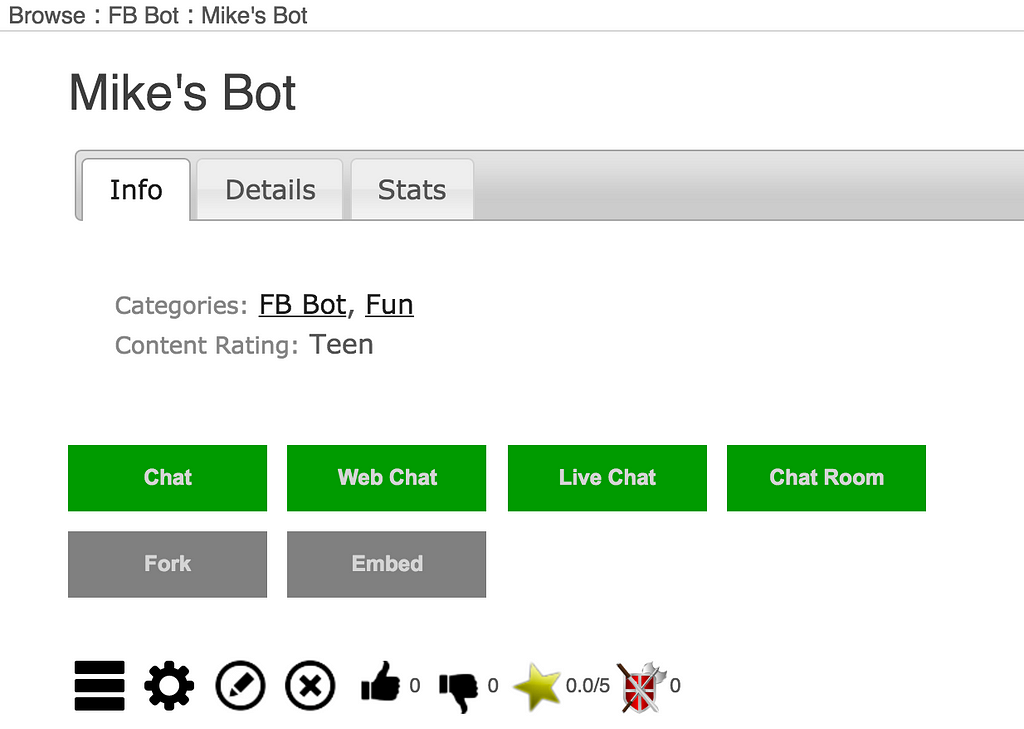
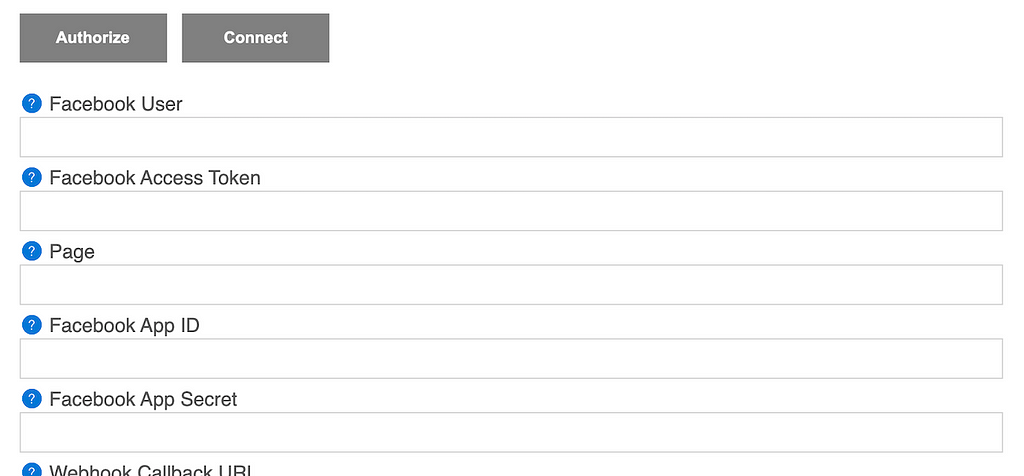
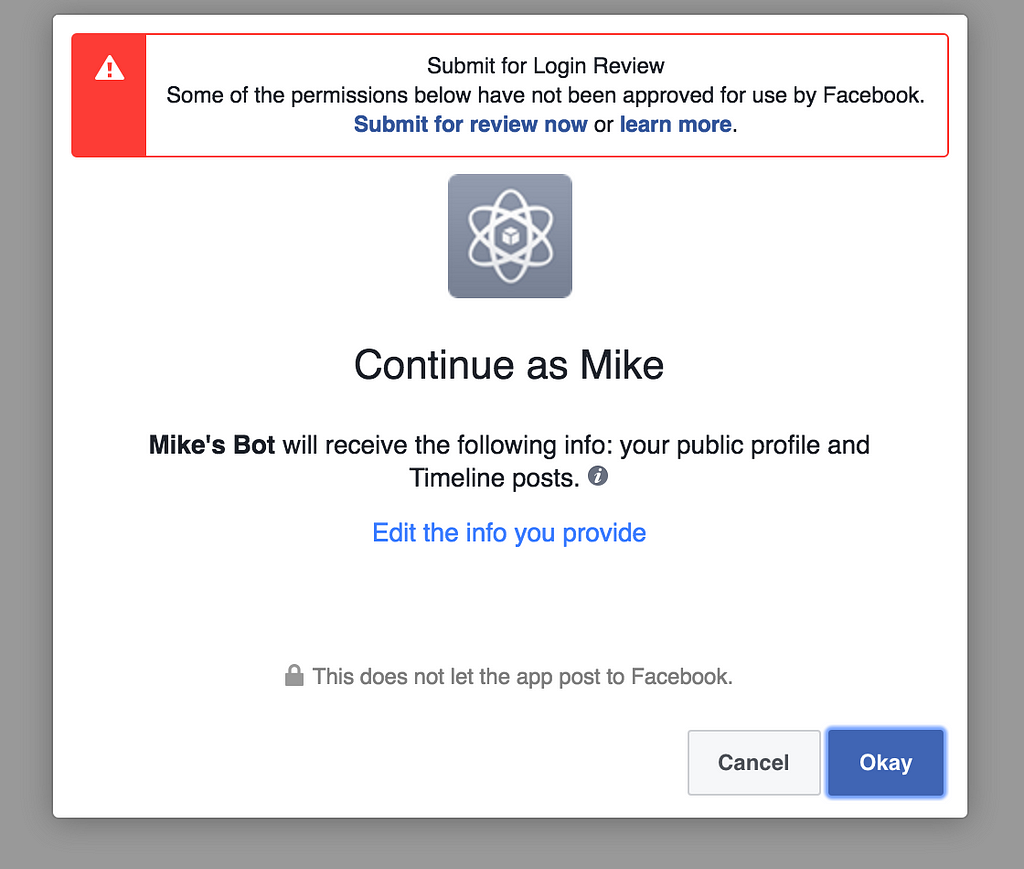
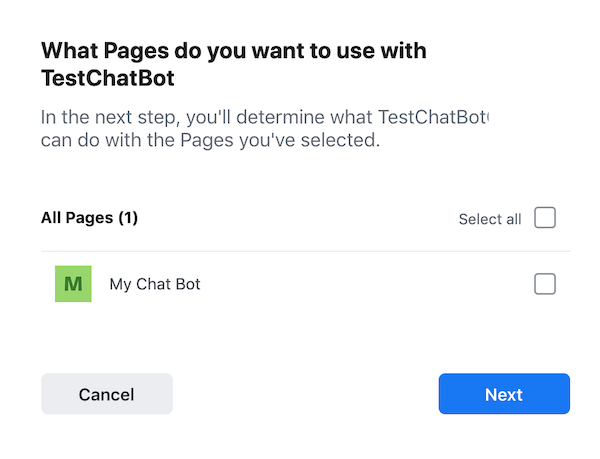
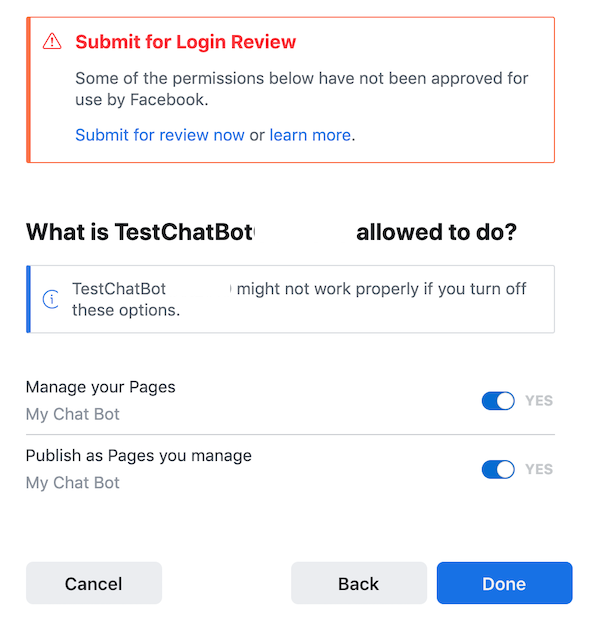
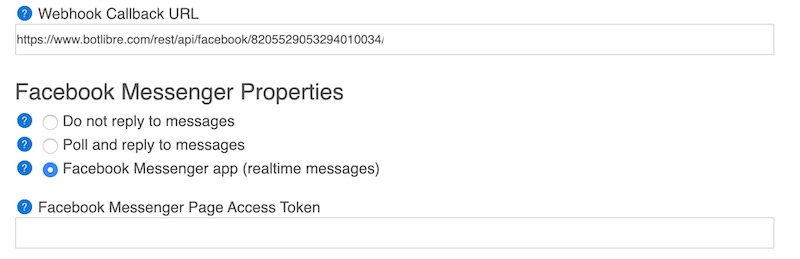
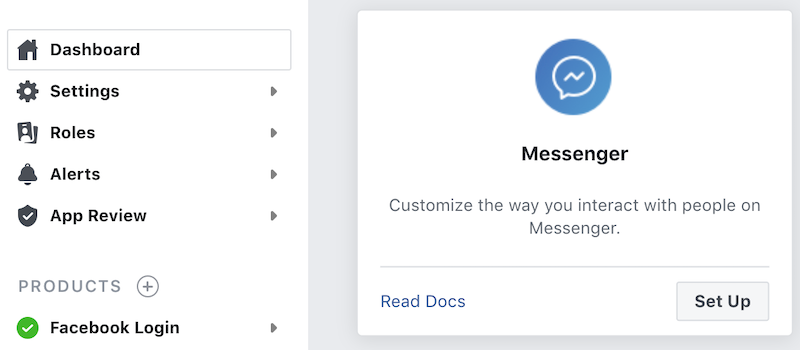
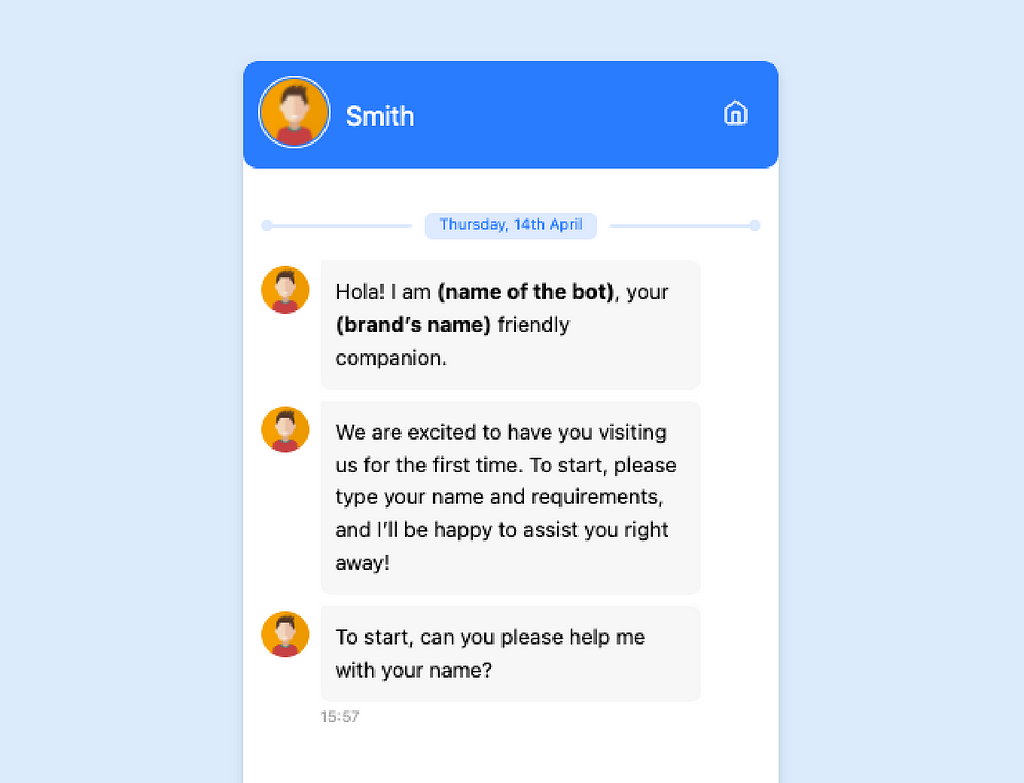
Once you have created your chatbot, you can begin to train it using the steps above. Then you can personalize it to suit your website. You can change your bot’s picture or choose an animated avatar from the Bot Libre Avatar page in its Admin Console. You can also connect your bot to Twitter, Facebook, Skype, Telegram, Kik, WeChat, email, or SMS. You can import chat logs, words from Wiktionary, or data from WikiData. You can browse the internal structure of your bot’s memory. If you’re an advanced user, you can program or script your bot using AIML or Self. You can view your bot’s log.
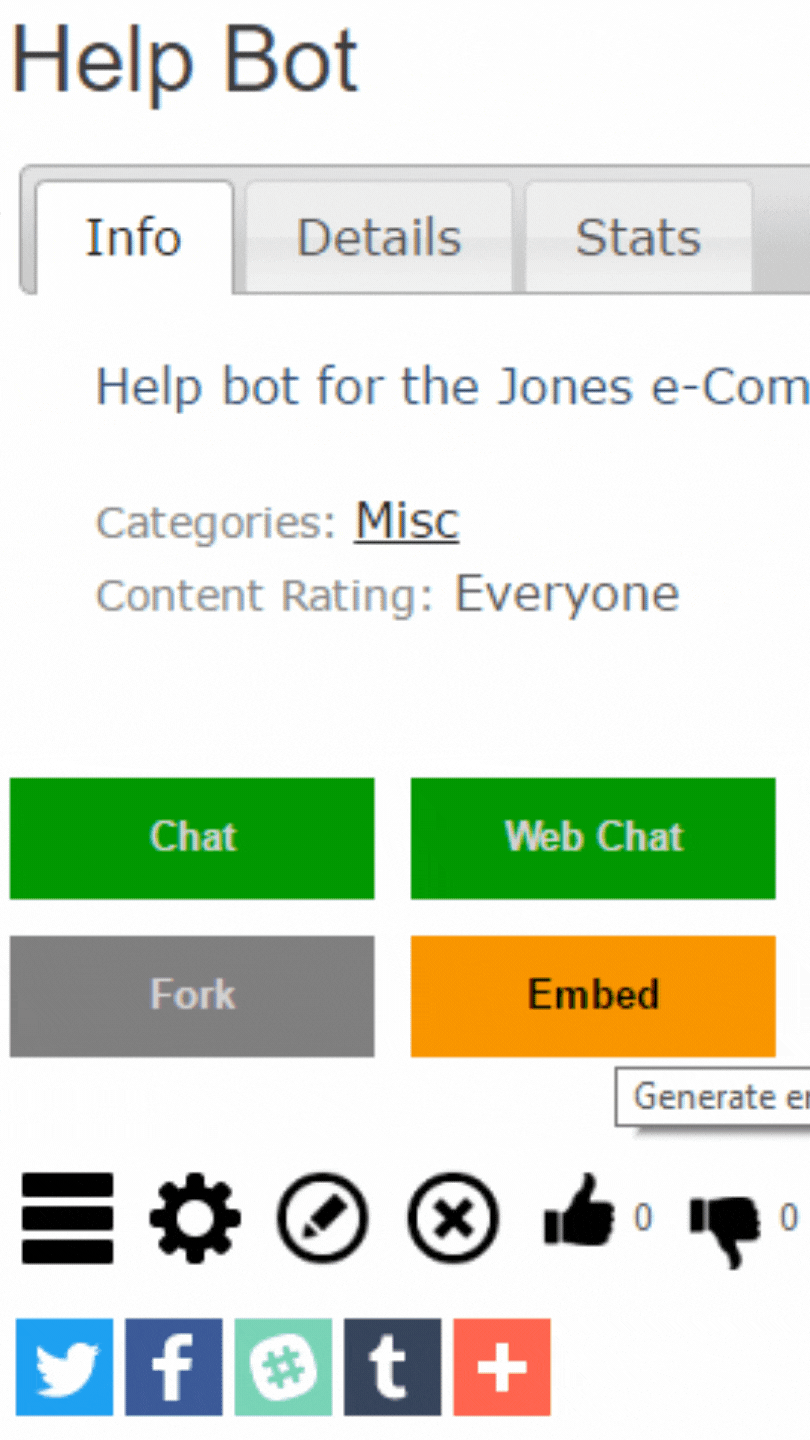
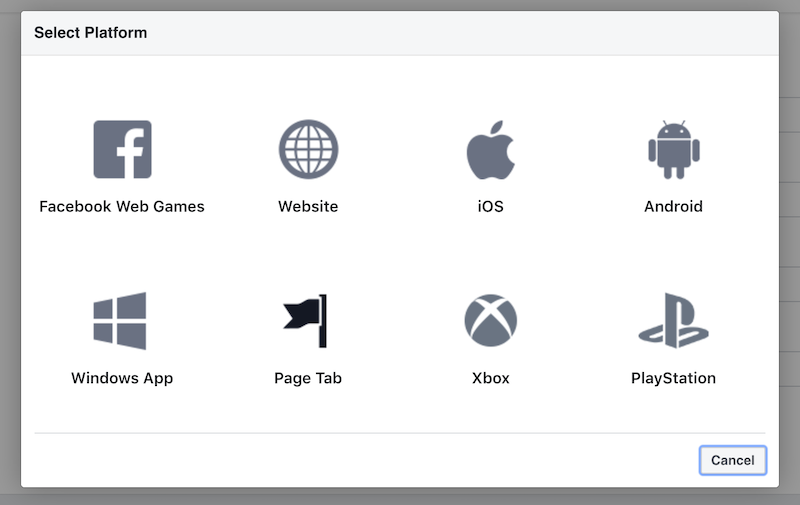
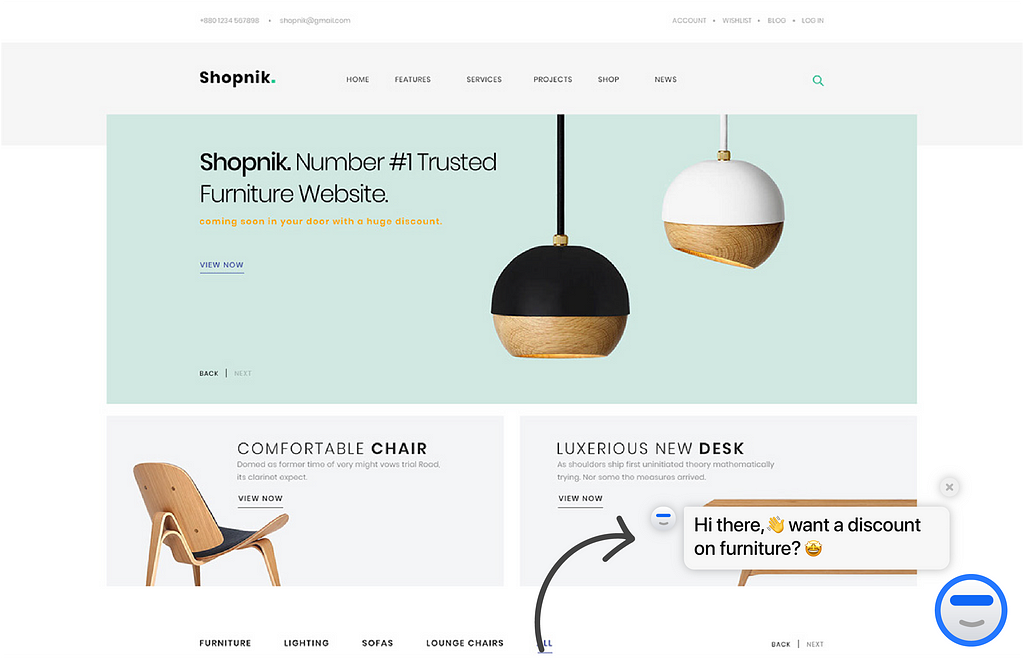
Embedding Your Chatbot Onto Your Website
The Embed page generates the HTML/JavaScript code required to embed your bot on your website. Simply copy the code in the top text area, and paste it into the page on your website you want the bot to appear on.
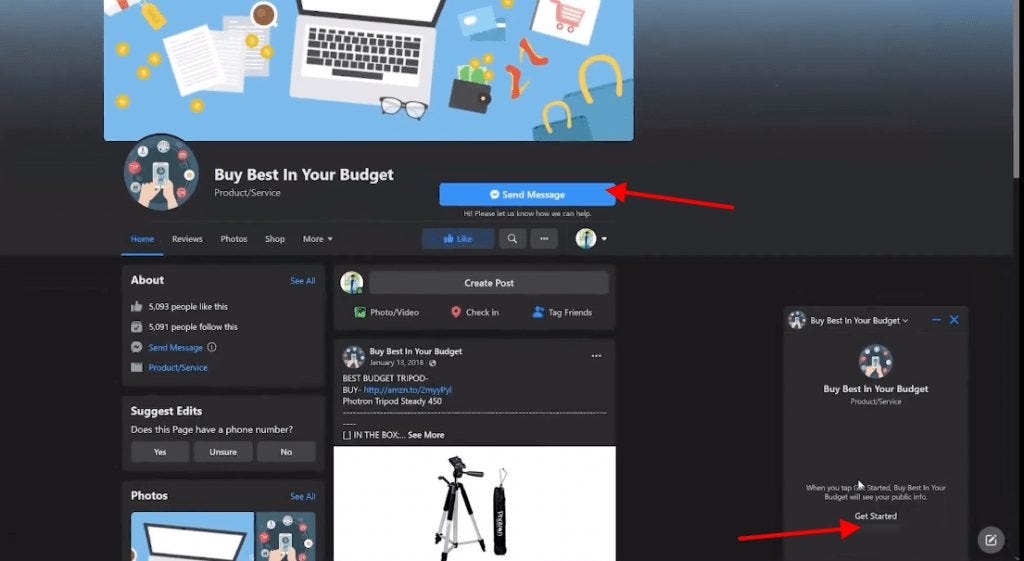
The Embed page provides several different types of embedding, and many embedding options to control the look of the bot on your page. The “Box” embedding option is the most common for a virtual agent and gives you a “Chat Now” button on your page.
The embed page also lets you enter a CSS styles sheet to customize the look and feel of your bot’s popup. You can also customize the style settings in the generated code.
The embedding code uses JavaScript and the open-source Bot Libre JavaScript SDK. You can customize the JavaScript however you wish. There are also more embedding options available in the JavaScript object, such as prompting the user for their contact information.
Styles
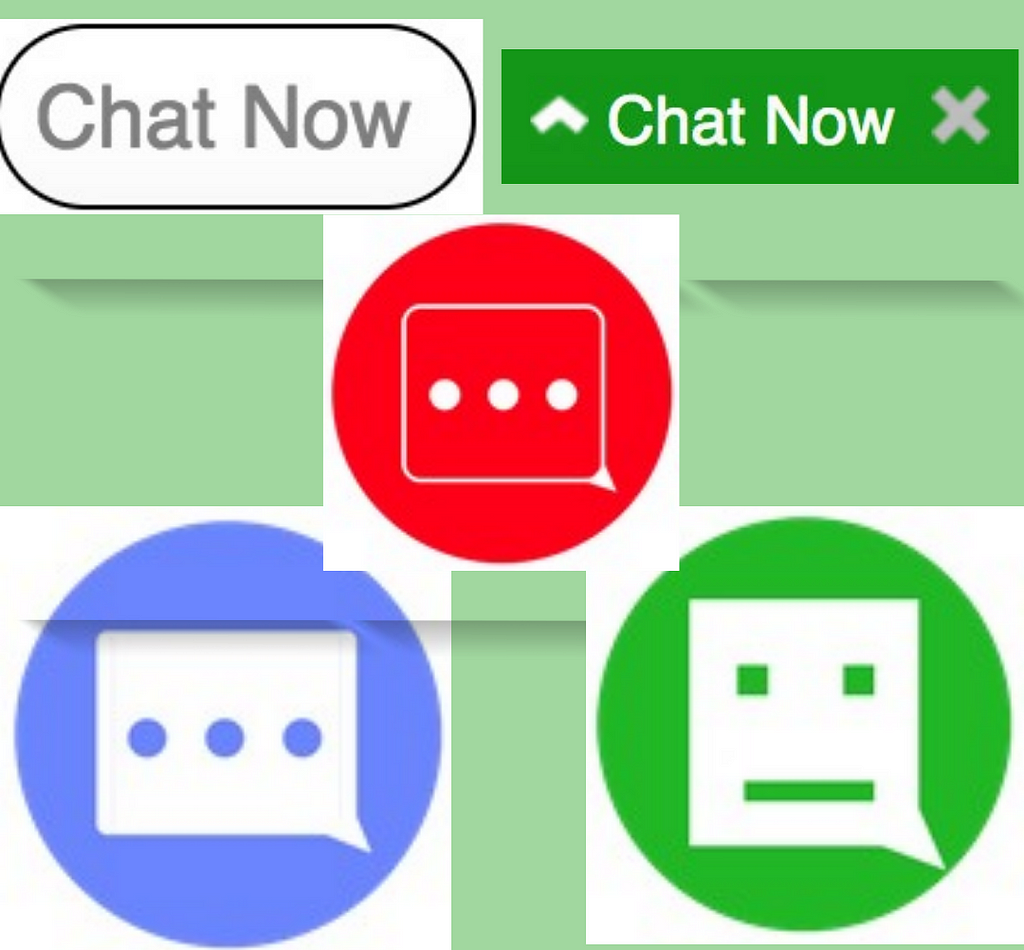
Bot Libre supports several different types of button and chat styles to enhance user experience.
Button Styles
Here are just 5 of the 11 Bot Libre button styles for the embedding page. Simply select any button style from the button style drop down menu.
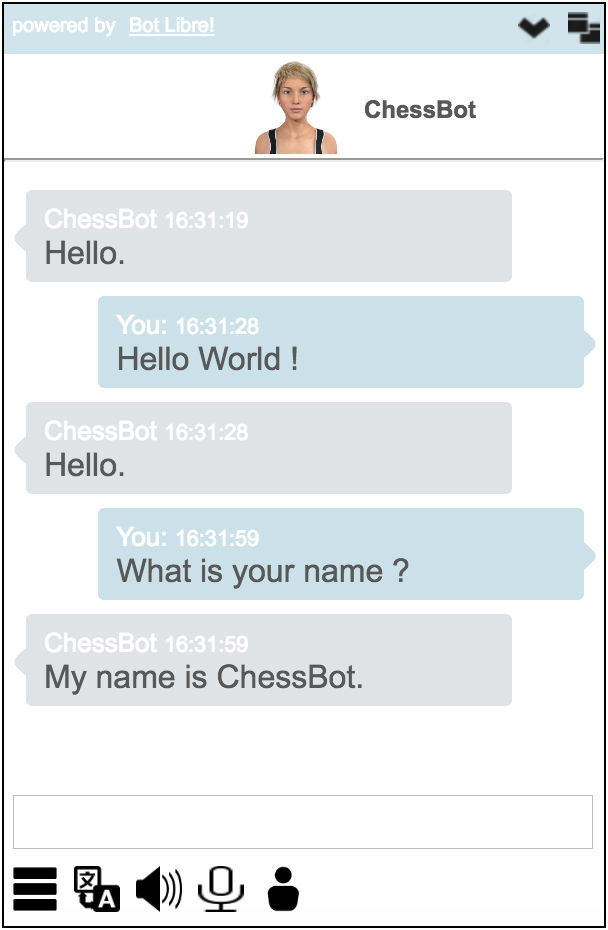
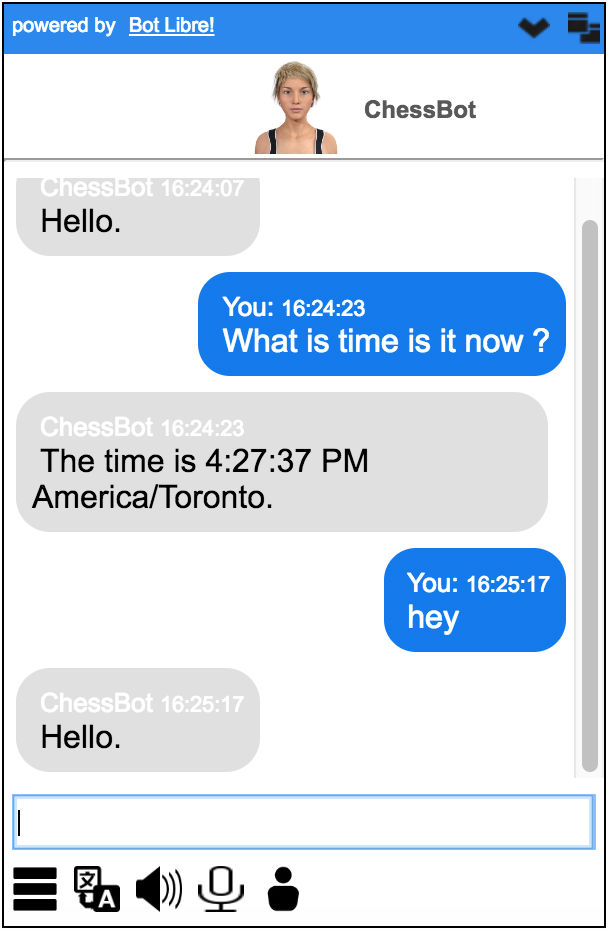
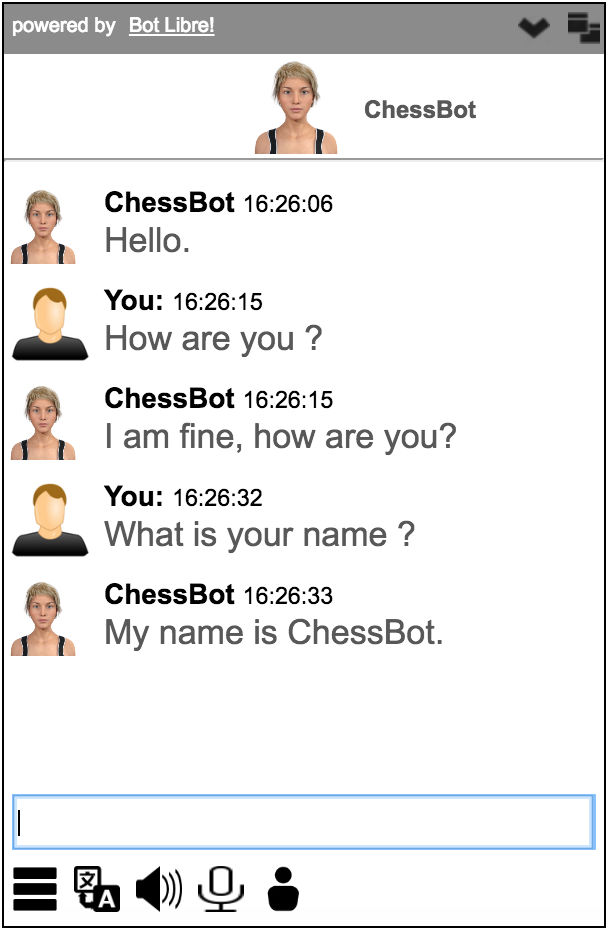
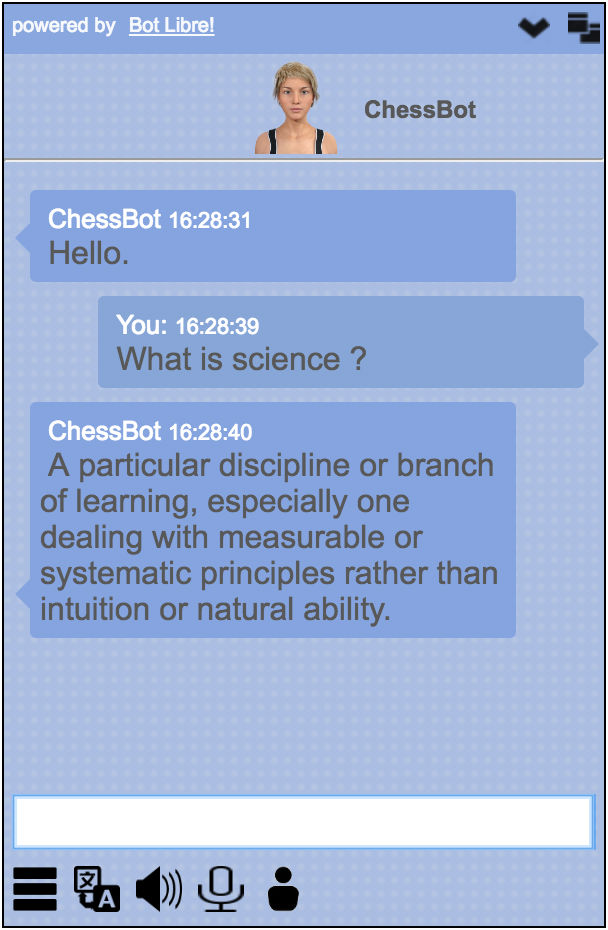
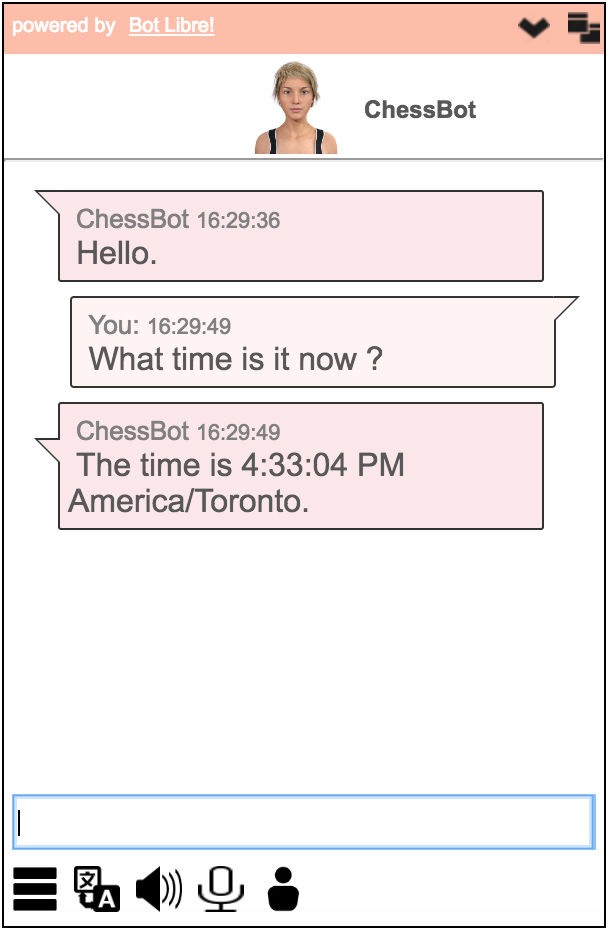
Chat Styles
Bot Libre now supports five chat styles. Pick one of the five different chat styles for your embedding by selecting a specific stylesheet option from Style Sheet drop down menu.
Custom Styles
Bot Libre also supports custom style sheets. Simply select “Custom Style” from the style sheet drop down menu. Enter the URL pointing to your custom style sheet in the custom style sheet input field, and press the “Generate Code” button. You can copy the code from any of the existing style sheets to make your own custom style. You will need to host your custom style sheet on your own website, or in the Bot Libre script library.
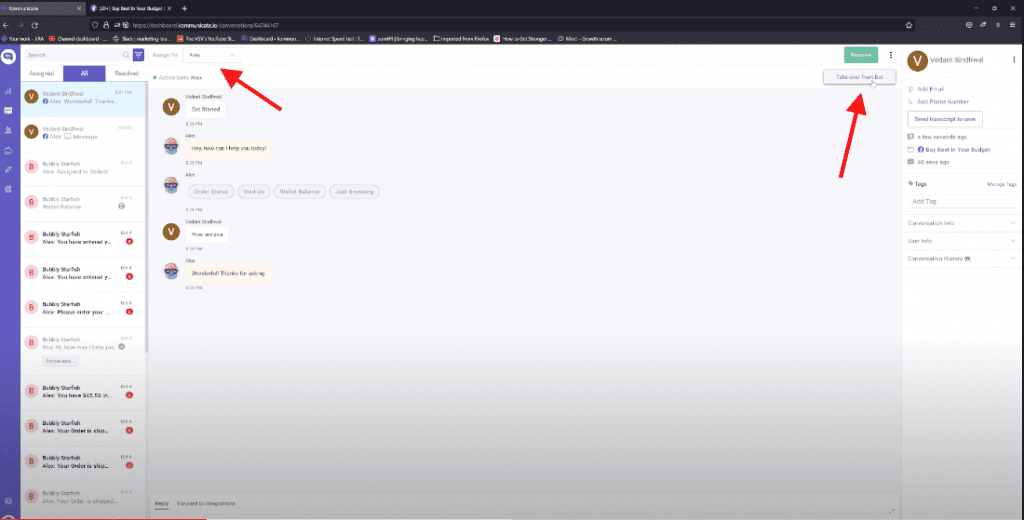
If you also want to add live chat to your website, you can do that by creating a Live Chat Channel, and getting its embed code from its embed page.
That’s it, good luck creating your bots! If you have any questions, encountered any issues or would like help setting up your bot, you can contact support@botlibre.com , or chat with the Help Bot or upgrade to our Platinum service where we can build your bot for you, contact sales@botlibre.biz .
Easy Guide To Having A Virtual Agent For Your Website was originally published in Chatbots Life on Medium, where people are continuing the conversation by highlighting and responding to this story.


