We all agree to a point that by now we not only have heard about ChatGPT but also got a hands-on experience with it and we Loved it! For those who haven’t got a chance to get in touch with ChatGPT here is a brief introduction: ChatGPT is a large language model trained by OpenAI, and it was designed to assist users by generating human-like text based on the given prompt. It can help with a wide range of tasks, such as answering questions, providing information, and engaging in conversations on a variety of topics.
On top of that ChatGPT has left us dumbstruck by generating incredible answers to almost anything, you throw a question and it will provide you with the correct answer that we were finding hard to write.
At Pragnakalp we believe in making things user-friendly, since ChatGPT is something that will ease our life by leaps and bounds, we thought of making it accessible at our fingertip. So we brainstormed and came up with the idea of using ChatGPT on WhatsApp!!
Yes, you read it right “ChatGPT on WhatsApp!” or what if we say ChatGPT on any of your preferable platforms?
This blog describes how you can integrate the WhatsApp Business API, hosted by Meta, and create a python application based on the Flask web framework that can receive user WhatsApp messages and utilize ChatGPT to respond to those messages in detail.
Step 1: Integrate WhatsApp Business API
To automate the messages with the Flask application, we must integrate the WhatsApp Business API. For that follow our blog WhatsApp Business API Setup to send and receive messages using a test phone number. Please ensure that you have followed the blog’s instructions before proceeding.
Step 2: ChatGPT API
We’re going to use ChatGPT API to respond to users’ messages. Detailed instructions for setting up and using ChatGPT are provided in this section.
The ChatGPT API offers an easy way to include technologically advanced language understanding in your web services. Since there are currently no official API endpoints available, the ChatGPT community has developed a number of simple solutions that you can use.
Prerequisites
Before we begin utilizing the unofficial ChatGPT API, please follow the steps listed below to configure the code.
1. Clone this Git repository.
git clone https://github.com/mmabrouk/chatgpt-wrapper
2. To use this API, please make sure that you have installed setuptools
pip install setuptools
3. Install dependencies by running the below command.
pip install git+https://github.com/mmabrouk/chatgpt-wrapper
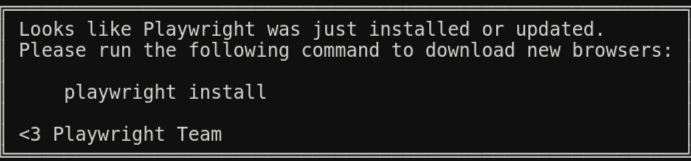
4. Installing a browser in Playwright is required for launching the application. By default, the script will use Firefox.
playwright install firefox
After running the above command it will give a message as shown in the below image, if you are installing playwright for the first time, it will ask you to run playwright install command one time only.
5. After installation is done, you can run the program in Install mode by running below command
chatgpt install
It will open a new browser window as shown in the below image, and ask for login or sign up for chat.openai.com.
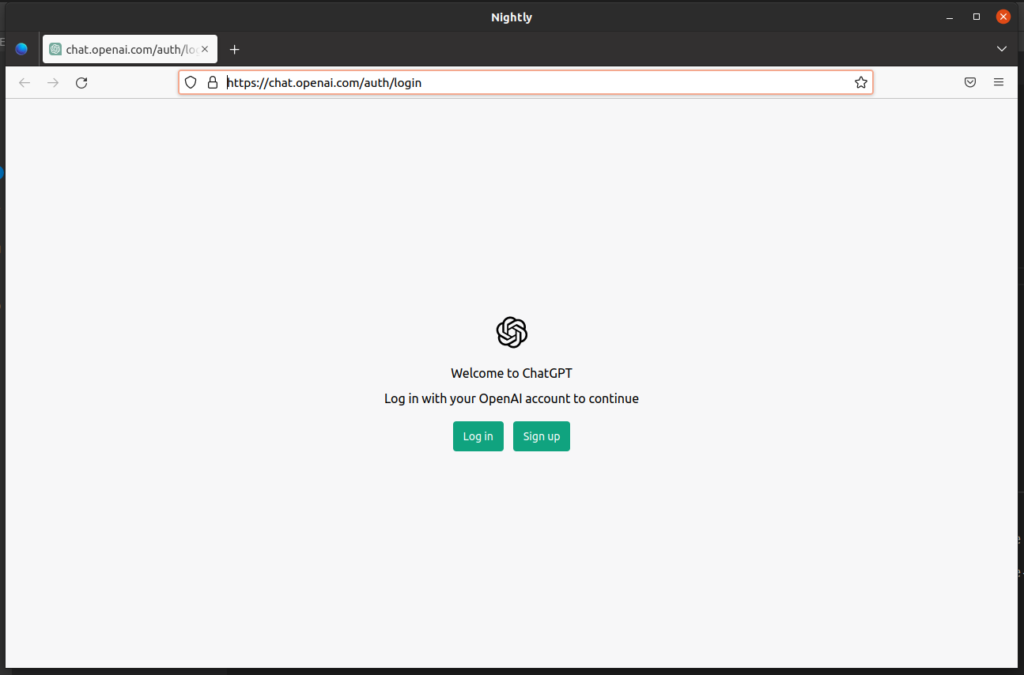
Log in and stop the running program and restart it.
Now you can use it with the shell command chatgpt <your prompt> without “Install” as shown in the below image
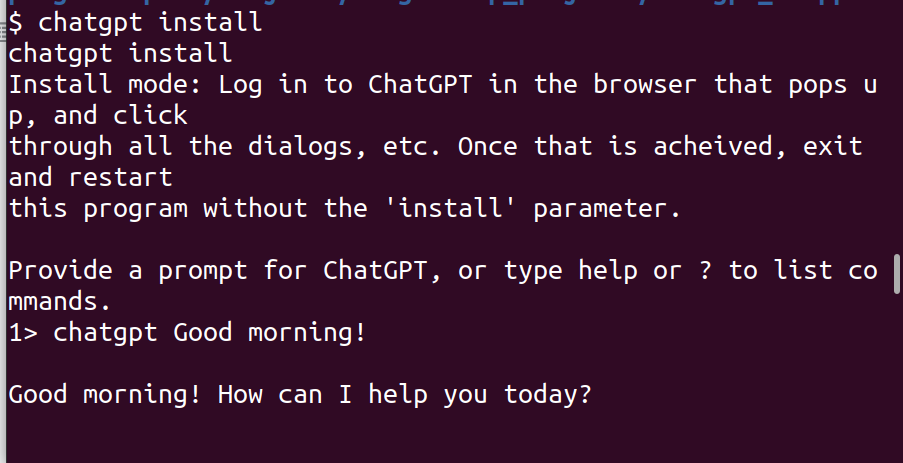
Note: However after some time, if you are not actively using ChatGPT it will expire your session automatically and you need to log in again with chatgpt install
Create an instance of the class, use the ask method to send a message to OpenAI, and then use the response to interact with ChatGPT via the ChatGPT class as an API.
from chatgpt_wrapper import ChatGPT
import time

prompt = "what is coronavirus? explain me in 2 3 lines"
bot = ChatGPT()
response = bot.ask(prompt)
print("Prompt: ",prompt)
print("Response: ",response)
This is the response we got from chatGPT API.

Step 3: Integrate ChatGPT API with Flask Application
After our ChatGPT API got installed successfully, it is time to integrate it with the flask application.
Now we need to modify the flask app that we have created in Step 1. Replace your existing code with the below code to get the user message’s response from ChatGPT.0][‘value’][‘contacts’][0][‘wa_id’] send_msg(response,receiver_number) except: pass return ‘200 OK HTTPS.’ if __name__ == “__main__”: app.run(debug=True)
from flask import Flask, request
import requests
from chatgpt_wrapper import ChatGPT


app = Flask(__name__)

def send_msg(msg,receiver_number):

   headers = {
       'Authorization': 'Bearer VERIFICATION_TOKEN',
   }
   json_data = {
       'messaging_product': 'whatsapp',
       'to': receiver_number,
       'type': 'text',
       "text": {
           "body": msg
       }
   }
   response = requests.post('https://graph.facebook.com/v13.0/PHONE_NUMBER_ID/messages', headers=headers, json=json_data)
   print(response.text)

@app.route('/receive_msg', methods=['POST','GET'])
def webhook():
   res = request.get_json()
   print(res)
   try:
       if res['entry'][0]['changes'][0]['value']['messages'][0]['id']:
           chat_gpt_input=res['entry'][0]['changes'][0]['value']['messages'][0]['text']['body']
           bot = ChatGPT()
           response = bot.ask(chat_gpt_input)
           print("ChatGPT Response=>",response)
           receiver_number=res['entry'][0]['changes'][0]['value']['contacts'][0]['wa_id']
           send_msg(response,receiver_number)
   except:
       pass
   return '200 OK HTTPS.'


if __name__ == "__main__":
   app.run(debug=True)
Note:
Run the flask application in the terminal: python SCRIPT_NAME.py
Run the ngrok on terminal: ngrok http 5000
Step 4: Test Chatbot
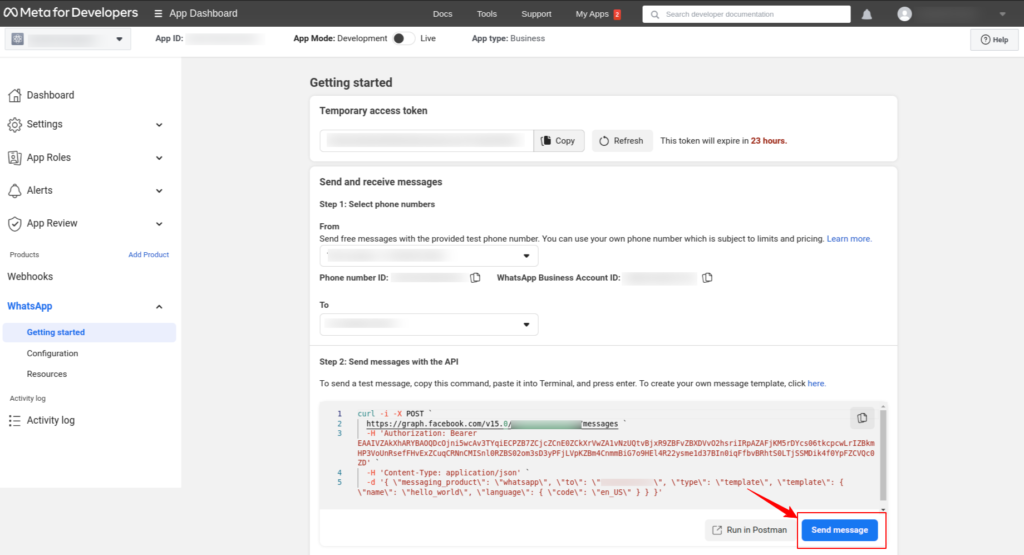
Now come back to the “Getting Started” page as shown in the below image and click on the “Send Message” button.
For all events, including message send, message delivery, and message read, you will receive a response on your Flask app at the receive_msg endpoint. The ChatGPT response can be checked on the server terminal as well.
Here is the ChatGPT response on our server.


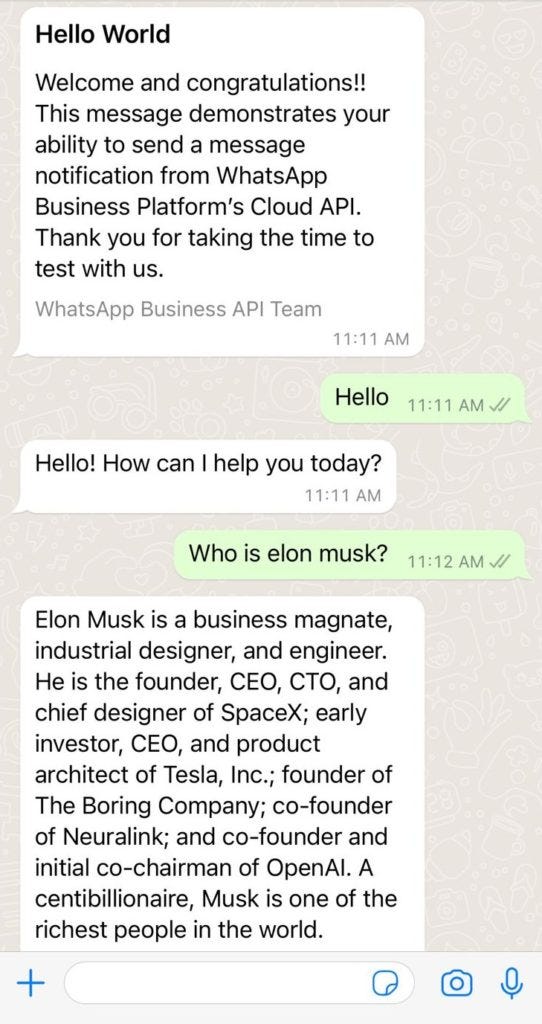
You can also check the conversion with ChatGPT on WhatsApp
We hope that you have successfully integrated the ChatGPT in WhatsApp and having fun in using it.
Originally published at Build An Automated, AI-Powered WhatsApp Chatbot With ChatGPT Using Flask on January 6, 2023.
Build an Automated, AI-Powered WhatsApp Chatbot with ChatGPT using Flask was originally published in Chatbots Life on Medium, where people are continuing the conversation by highlighting and responding to this story.