Your cart is currently empty!
Create chatbot using bot framework sdk and LUIS — Part 1
Create chatbot using bot framework sdk and LUIS — Part 1
We will create a simple e-commerce chatbot using Microsoft bot framework SDK in python. Our bot agent is a Bakery Shop agent. Users can request the bot to create an order , view orders and cancel order.
Source code for the bot is available here. You can download the code from the git directly or you can follow this blog to code along with me.
We will develop the bot in multiple parts.
Part 1 — Below mentioned conversation flow we will complete in part 1:
- bot will welcome and greet the user [this will be implemented using an adaptive card]
- Bot will ask the user whether he is an existing user or a new user [using option buttons]
- If user responds as new user then a new user id will be generated and displayed to the user as response
- If the user’s response is “Existing user” then Bot will prompt user to provide his user id.
- User id provided by the user will be saved in the context object.
Tools and Libraries used:
- VS Code as development environment
- Bot Framework SDK python libraries for designing the flow for conversation
- LUIS App for adding intelligence to the bot.
- Bot Framework Emulator to test the bot
Create a bot service:
Open your working directory in VS Code. Create python script files config.py and app.py.
In config.py add below code to save the port number, microsoft app id and password in the configuration attributes. Microsoft app id and password are required for Bot framework SDK.
PORT = 3978
Now in app.py. We will create the basic structure of the bot service. copy the below code in app.py.
In the above code we are importing libraries required for bot framework. Pip install these libraries. We have created the main bot message handler method “messages”.
Now the service is ready, we will create the bot response.
First create a class to save the context values related to the user like user id which we would preserve to use throughout the conversation.
In the main project folder create a new python script user_details.py, create a class with an attribute user_id. We will add more attributes as we proceed.
Adding helper classes:
We will now create few helper classes. Create a new folder in the main project and name it as “helpers”. Add __init__.py, activity_helper.py and dialog_helper.py. Base code of activity_helper.py and dialog_helper.py are taken from bot-builder samples provided by microsoft. Activities are the main objects of bot framework that drives the bot.
add below code in __init__.py
__all__=["activity_helper", "dialog_helper"]
Copy below code in activity_helper.py:
Copy below code in dialog_helper.py. Object of UserDetails class is initialised here and None is set as user_id.
Trending Bot Articles:
2. Automated vs Live Chats: What will the Future of Customer Service Look Like?
4. Chatbot Vs. Intelligent Virtual Assistant — What’s the difference & Why Care?
Adding bots:
Base code is taken from bot-builder samples . Create a new folder with the name bots in the main folder. Add 3 files “__init__.py”, “dialog_and_welcome_bot.py” and “dialog_bot.py”
In __init__.py add below code.
from .dialog_bot import DialogBot
from .dialog_and_welcome_bot import DialogAndWelcomeBot
__all__ = ["DialogBot", "DialogAndWelcomeBot"]
Base code of dialog_and_welcome_bot.py is taken from bot-builder samples. Code is updated to use an adaptive card as response. First we will add an adaptive card. Create a folder in the main project and name it as cards. Add the json for the adaptive card in this folder. You can use the json script given below or can create your own adaptive card by visiting https://adaptivecards.io/designer/.
Add below code in dialog_and_welcome_bot.py.
Now we will add code in dialog_bot.py. This will be accessed from app.py. DialogBot object initialization expects a parameter dialog object. We will next define this class.Add below code in dialog_bot.py:
Now we have basic structure ready. We have to tell the bot what to response and how to drive the conversation. For that we will be using Bot Framework’s waterfall method of defining conversation flow. For now we will create 2 dialog flows one to handle cancel and help and the second one will be the main conversation. We will add more dialogs as we proceed.
Creating Dialogs:
Create a new folder dialogs. Add 3 files — __init__.py, cancel_and_help_dialog.py and main_dialog.py.
Code for __init__.py:
Code for cancel_and_help_dialog.py:
Next we have to code main_dialog.py. In this script we will add code for the main converstaion flow. We will add 4 steps in the waterfall flow. In first step we will ask user if he is an existing user or a new user. In second step we will take the user’s response. If user selects “new user” option then we will generate a user id (using random function). For existing user we will ask user to provide the user id. In third step we will read the user id provided by the user and save it in the context object. In the fourth step we will just loop the conversation.
Copy below code in main_dialog.py:
Now we have to update app.py. We will add code to initialize bot adaptor. We will also initialize dialog classes. And as a first bot response, object of DialogAndWelcomeBot class from module dialog_and_welcome_bot.py will be invoked.
We will now need to add adapter_with_error_handler.py. copy the below code to handle any error from adaptor.
With this we have completed the coding required for Part-1. We will all code for create order in the next part.
Test the Bot using Emulator:
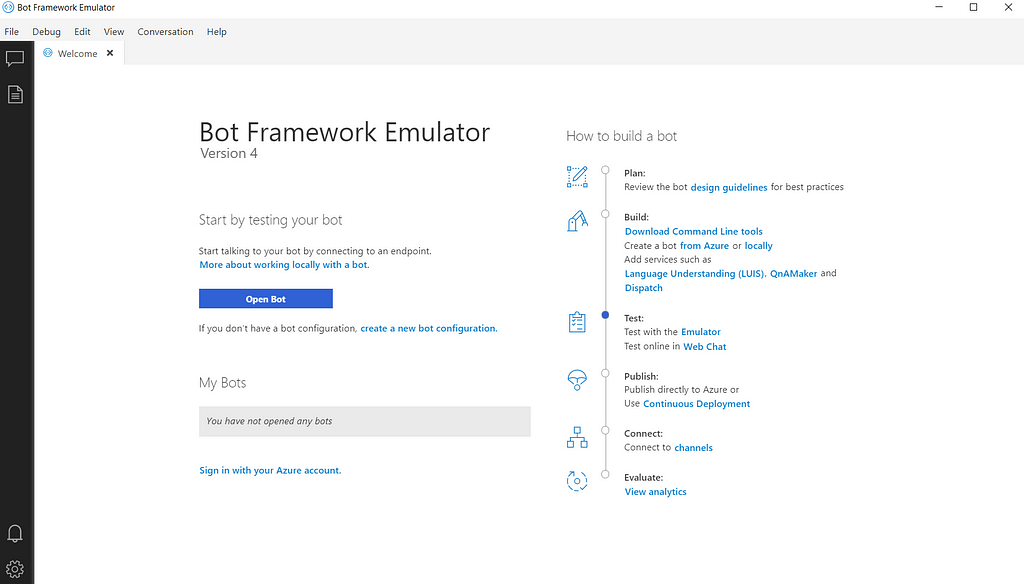
To test the bot download and install bot framework emulator.
Start the bot service which we have created. Open command prompt. Go to the project folder. Execute app.py. This should start the service on port 3978
Now start Bot framework emulator. you will see below screen:
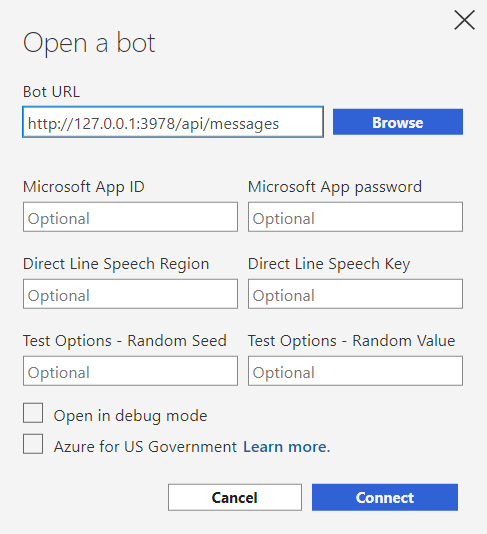
Click on Open Bot. In bot url provide the url http://127.0.0.1:3978/api/messages and click on connect.
You will get below screen. Bot has displayed the adaptive card for greeting. And prompts the user to select the option.
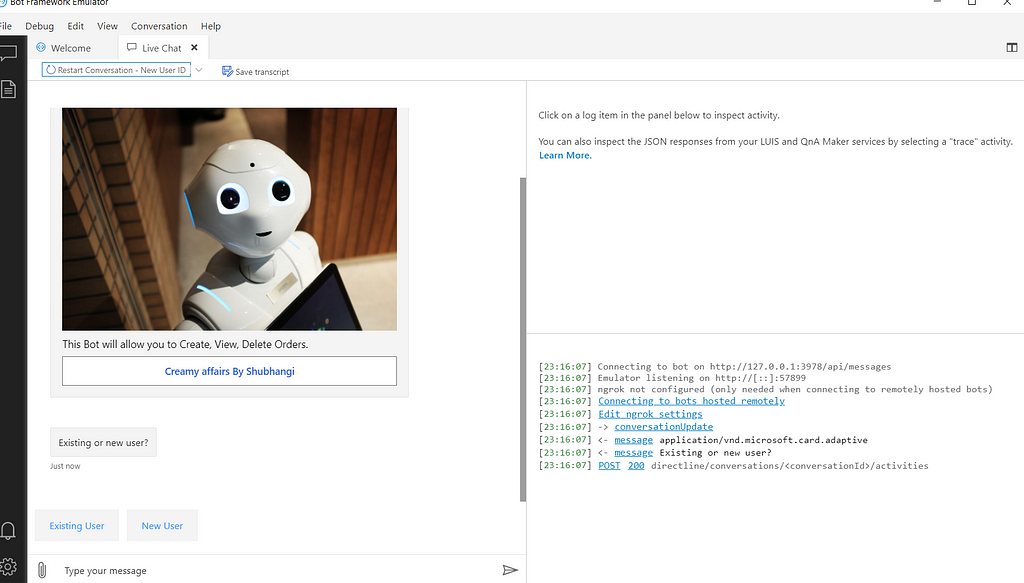
Click on “New User”. Bot will generate a new user id and respond with the new user id.
Now try the flow selecting “Existing User”.
In next part we will add code to read the order description provided by the user and save the data in a storage.
Link for Part 2
Thanks.
References:
1) Microsoft documentation for Bot Framework SDK https://docs.microsoft.com/en-us/azure/bot-service/bot-service-overview?view=azure-bot-service-4.0
2) Adaptive cards designer https://adaptivecards.io/designer/
3) Microsoft bot-builder samples on github https://github.com/microsoft/BotBuilder-Samples/tree/main/samples/python/13.core-bot
Don’t forget to give us your 👏 !


Create chatbot using bot framework sdk and LUIS — Part 1 was originally published in Chatbots Life on Medium, where people are continuing the conversation by highlighting and responding to this story.