
I started to explore chatbot design two weeks ago and decided go with Rasa for my first chatbot development. As a leading open source chatbot platform, Rasa recently upgraded from 2.x to 3.x. While users are encouraged to upgrade to the latest version, I encountered some hiccups during installation and fortunately all got resolved through Rasa forum and googling. In this article, I am going to guide you through the installation process step by step, and also include all the tricks leading towards running your first chatbot example on macOS.
TLDR: Hiccups I encountered and how to fix them
Problem 1: ImportError when running “rasa init” after successfully installed Rasa 3.0
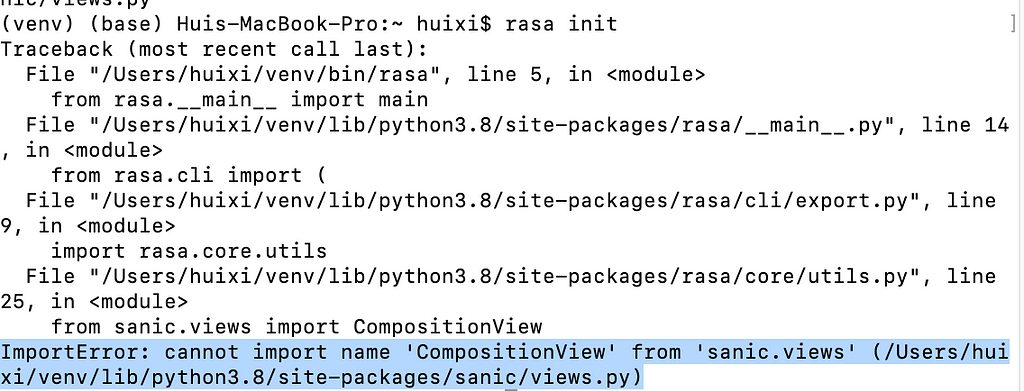
Solution: downgrade sanic to 21.9.3 via running “pip3 install sanic==21.9.3”. Credit to nik202 on Rasa community forum.
Problem 2: Trying to install Rasa X on my local machine to enable conversation driven development, but encountered a series of errors during installation (see my post on rasa forum for details).
Solution: Basically, Rasa X is designed for server deployment. If you are new to chatbot, I’d recommend to test your chatbot logics in command lines or use other front end deployment on a single machine. I’ve tried the Chatbot Widget from git, and it works perfectly for single machine deployment.

Problem 3: After running “rasa init” and training the first model, you may want to modify the example moodbot and test your own logic. How to ensure all the logics comply to Rasa underlying training mechanism and train your own model?
Solution: Here are some commands you want to run:
– rasa data validate: to ensure no conflicts in the stories and domain file
– rasa train: to train your own model
– rasa shell — debug: test the responses while you can track the states of the intent prediction and entity values
Problem 4: After modified the stories and intents, and trained a few models, the responses started to divert from the design. For example, the response should be text but it always showed buttons in the previous design.
Solution: Try to delete the old models and run “rasa train” again.
Trending Bot Articles:
2. Automated vs Live Chats: What will the Future of Customer Service Look Like?
4. Chatbot Vs. Intelligent Virtual Assistant — What’s the difference & Why Care?
Step-by-Step Installation Guide
If you are new to python or Rasa, the steps below could help lead to your first chatbot running on a single machine. The commands used in the follwing steps are slightly different from Rasa installation page or their Youtube installation guide, and I am listing the ones worked for me.
Step 1: Check your python version — 3.7 or 3.8 supported
It is recommended to install and run Rasa in a virtual environment with python 3.7 or 3.8. You can jump to Step 3 if you already have python 3.7/3.8 and virtualenv installed.
Otherwise, you need to first install python via pip or the binary file from python Download page. I will recommend using the binary file if you are new to python. After downloading, just double click on the .pkg file and follow the installation wizard.
Step 1.1: Install Python 3.7 or 3.8
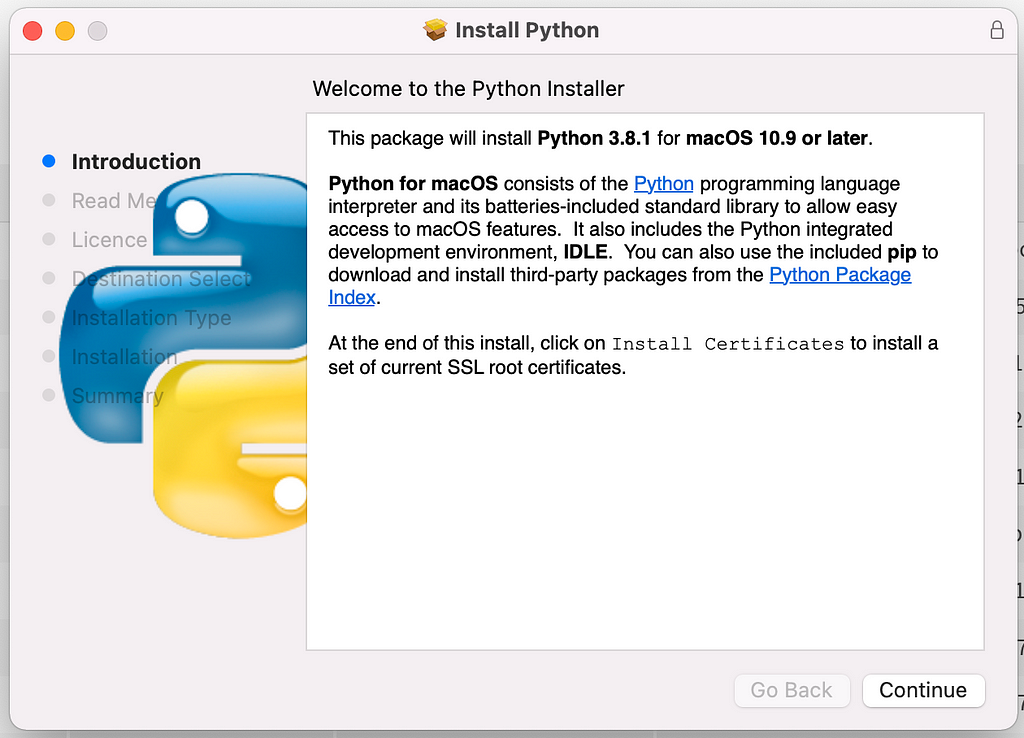
I’ve followed the youtube guide and installed python 3.7.9. Once installation is done, you can check the python version in terminal by running the command below.

Step 2: Install virtualenv and create a virtual environment
- Install virtualenv: run “pip3 install virtualenv”
- Create a project directory if it does not exist: run “mkdir rasa-init-demo”
- Create a virtual environment in the project directory by running:
– cd rasa-init-demo
– virtualenv venv
- activate venv: run “source venv/bin/activate”. To exist the virtual environemnt later, run “deactivate”

Step 3: Install Rasa Open Source in venv and initialize an example project
- install Rasa in venv: run “pip3 install rasa”. Note that Rasa X is not supported with Rasa 3.0, so you need to downgrade to Rasa 2.8.x (e.g.: “pip3 install rasa==2.8.13)if planning to run with Rasa X.
- initialize the first Rasa bot: run “rasa init”
- optional: downgrade sanic if encoutered any ImportError: run “pip3 install sanic==21.9.3”. Then rerun “rasa init”
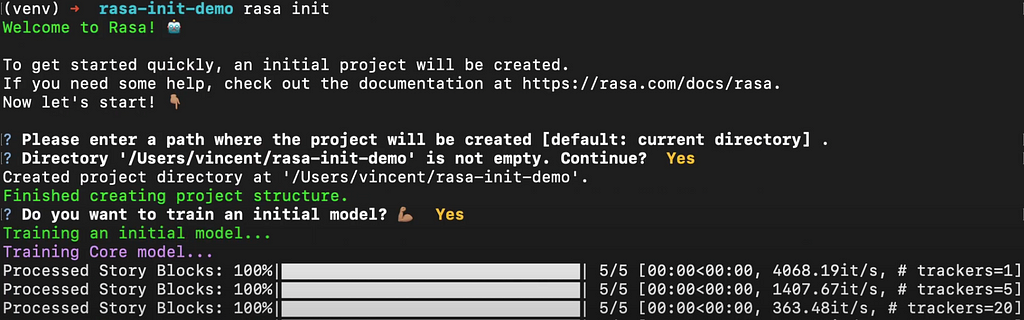
At this point, we should see the welcome message and guiding questions in the terminal. As a new user, one may proceed with “Yes” for the two questions and start training an initial model (mood bot). In case you prefer to pause here and train the model with your own data, you may reponse “N” to the second question. You can start to modify the data, action and config file, and train your own model later.
I will continue with the modification and creation of your own bot in next post.
References:
Rasa Community Forum: very helpful source
Conversational AI with Rasa Open Source 3.x: Youtube Playlist
Don’t forget to give us your 👏 !


Learning Chatbot from Scratch: Rasa Open Source 3.x Installation and Set up on macOS was originally published in Chatbots Life on Medium, where people are continuing the conversation by highlighting and responding to this story.