
Welcome to the concluding part of our Machine learning integrated chatbot series. I’d recommend you read the first part using this link you haven’t.
In Part 1 of this series, we covered model training and integrating the Dialogflow chatbot into Telegram.
We will continue building the backend using the Flask web framework.
Flask
Flask is a python web framework used to build a lightweight, scalable webhook service to communicate with our chatbot. When the chatbot gets input from the user, it communicates to the machine learning model using Flask to make a prediction.
Create the flask webhook
Before creating our Flask webhook, we need to create a virtual environment to install Flask and its dependencies.
#Navigate to a folder on your computer
cd abdulquadri/oshoare/desktop/loanbot
#install the virtual environment
pip install venv myflaskbot
#myflaskbot is my virtual environment name
Install the Dependencies
Using the requirement.txt file found on my Github page, install the dependencies.
pip install -r requirement.txt
Create the app.py file
#import required libraries
import numpy as np
from flask import Flask, request, make_response,render_template,jsonify
import json
import pickle
from flask_cors import cross_origin
#instantiate flask
app = Flask(__name__)
model = pickle.load(open('rfc.pkl', 'rb'))
@app.route('/')
def hello():
    return render_template('home.html')
if __name__ == '__main__':
    app.run()
After creating the app.py file, create an optional folder called template. A simple HTML file with the tag H1 “Hello World” can be added to see the output in the local server.
Run the app.py
On the terminal, run python app.py
python app.py
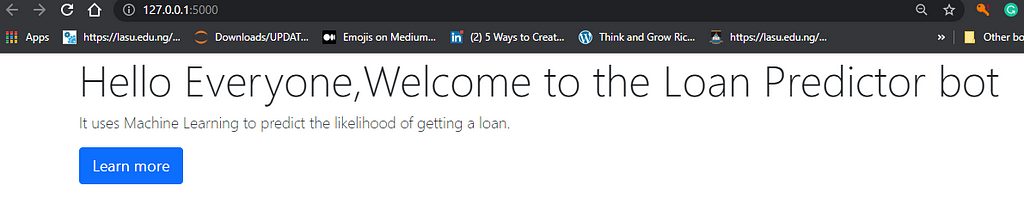
Verify that Flask has started on port 5000, as shown in the image above.
Create the predict & Webhook method
Flask uses the predict & webhook method to return JSON information of the prediction to the Dialogflow chatbot.
Would you please copy the code below and paste it into your app.py file?
@app.route('/predict', methods=['POST'])
def predict():
     json_ = request.json
     query = (json_)
     prediction = model.predict(query)
     return jsonify({'prediction': list(prediction)})
# geting and sending response to dialogflow
@app.route('/webhook/', methods=['GET','POST'])
@cross_origin()
def webhook():
req = request.get_json(silent=True, force=True)
print("req")
res = mlprediction(req)
res = json.dumps(res, indent=4)
    #print(res)
    r = make_response(res)
    r.headers['Content-Type'] = 'application/json'
    return r
# processing the request from dialogflow
def mlprediction(req):
#sessionID=req.get('responseId')
    result = req.get("queryResult")
    #print(result)
parameters = result.get("parameters")
    ApplicantIncome=parameters.get("Income")
    CoapplicantIncome = parameters.get("CoapplicantIncome")
    LoanAmount=parameters.get("LoanAmount")
    Credit_History=parameters.get("Credit_History")
if str.lower(Credit_History) == 'yes':
        Credit_History = int(1)
    elif str.lower(Credit_History) == 'no':
        Credit_History = int(0)
    else:
        return {
            "fulfillmentText": "Error please start again and enter the correct information"

        }
try:
        int_features = [ApplicantIncome, CoapplicantIncome, LoanAmount,Credit_History]
        final_features = [np.array(int_features)]

    except ValueError:
        return {
            "fulfillmentText": "Incorrect information supplied"
        }
print(final_features)
intent = result.get("intent").get('displayName')

    if (intent=='Default Welcome Intent - yes'):
        prediction = model.predict(final_features)
        print(prediction)


        if(prediction=='Y'):
            status = 'Congratulations you are eligible for a loan 😀'
        else:
            status = 'We are sorry you are not eligible for a loan at the moment'
fulfillmentText= status

        print(fulfillmentText)
        print(prediction)
        return {
            "fulfillmentText": fulfillmentText
        }
if __name__ == '__main__':
    app.run()
Trending Bot Articles:
2. Automated vs Live Chats: What will the Future of Customer Service Look Like?
4. Chatbot Vs. Intelligent Virtual Assistant — What’s the difference & Why Care?
Test the webhook using a Webtunnel
To test the webhook, we are going to use ngrok. ngrok is a web tunnel tool that exposes local servers behind NATs and firewalls to the public internet over secure tunnels. ngrok makes it easy to test a live application without deploying it to a cloud service.
Procced to https://ngrok.com/download to download ngrok. extract the .zip folder and run ngrok.exe HTTP 5000 to expose port 5000 on your computer to the internet
#expose http 5000 to the internet
ngrok.exe HTTP 5000
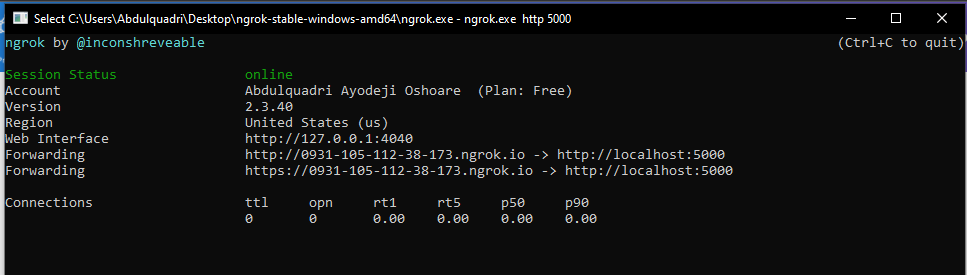
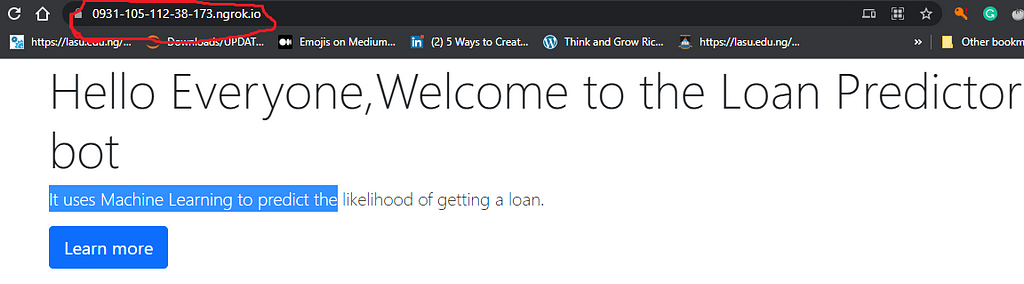
Make sure to copy the URL https://0931-105-112-38-173.ngrok.io and keep it handy. Dialogflow will use the URL to communicate with the flask app.
Test that the URL is exposed to the internet by pasting https://0931-105-112-38-173.ngrok.io in your browser. You should get the same welcome page as the one on the local server.
Connecting the backend and the frontend
Now that the Telegram bot and the flask app are live, we connect our bot to the backend.
Remember the URL field we left blank in part 1? Kindly go to the Dialogflow console and click on the fulfilment tab. We will add the URL gotten from ngrok to the webhook URL.
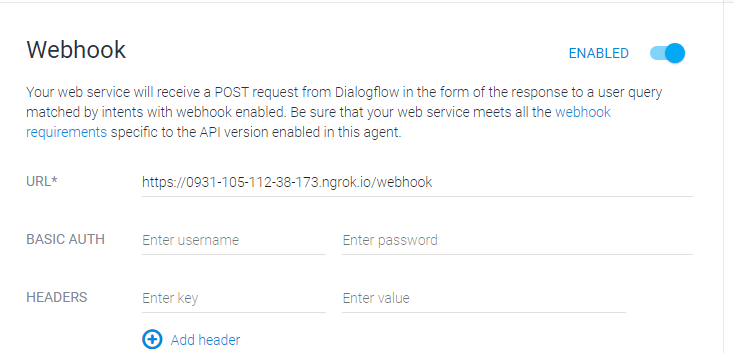
Click save and test your chatbot with Telegram.
Conclusion
Hooray!, we have successfully built our first Machine learning-enabled chatbot.
You can interact with the chatbot using the links below
Link to the chatbot hosted on a website: https://loan-predictor-bot.herokuapp.com/
Link to the Telegram bot: https://t.me/LoanPredictionBot
I hope you found this tutorial interesting. Please share and remember to comment with your suggestions or feedback.
Don’t forget to clap and follow me on LinkedIn for posts on Data Science and AI.
Don’t forget to give us your 👏 !


Deploying a Machine learning model as a Chatbot (Part 2) was originally published in Chatbots Life on Medium, where people are continuing the conversation by highlighting and responding to this story.