Life is not two-dimensional, why should your website be?
If you have an amazing product or service, it’s time to let that be known through easy-to-build 3D avatars for your website.
Bot Libre provides complementary support for creating, using, and embedding web avatars to your website. A web avatar is your website’s visual or animated web presence.
Bot Libre avatars contain 3D animation, video, audio, and images. You can create your avatar or choose a shared avatar from the Bot Libre open avatar directory. Avatars can either be connected to your Bot Libre bot, controlled directly through JavaScript, or even connected to your homegrown bot, or third-party bot.
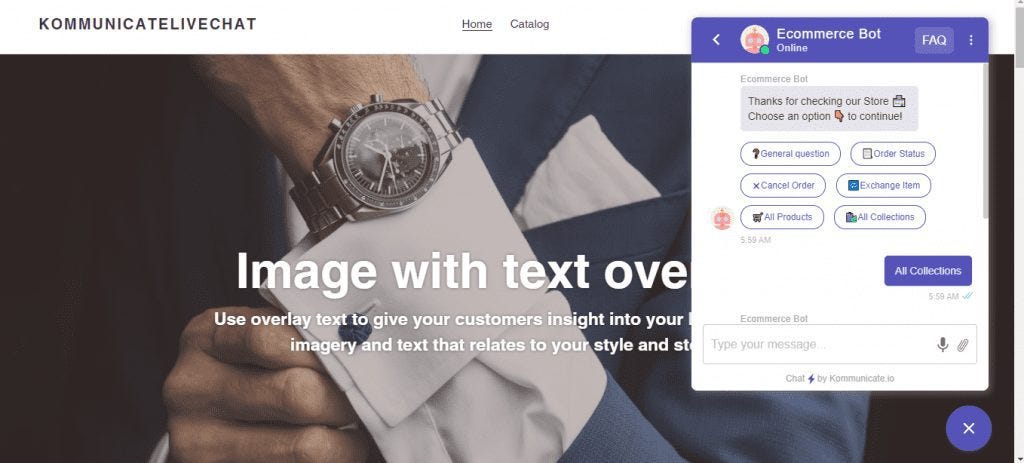
The Bot Libre JavaScript SDK makes it easy to add an avatar to your website or blog, welcome your website visitors, or provide them with information or help. A website avatar gives visitors to your website a good first impression, can highlight important differentiators of your business, or draw attention to special offers.
Embedding An Avatar
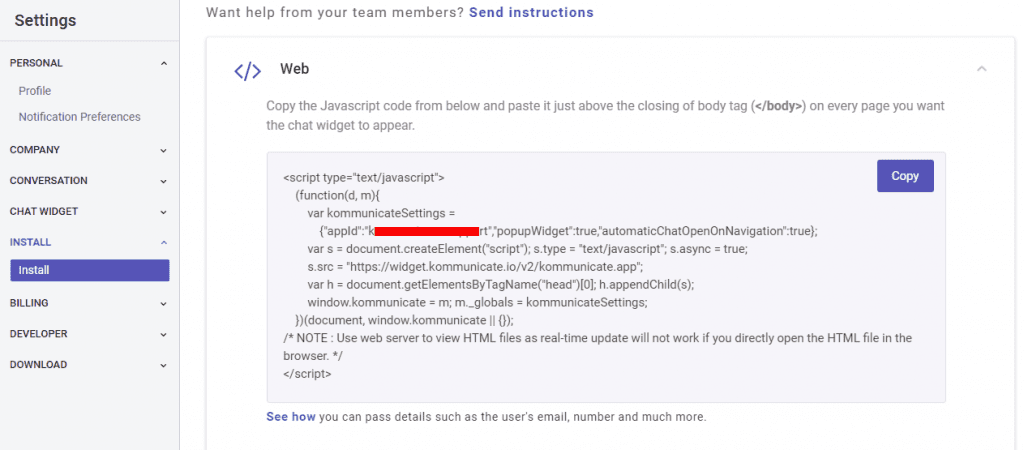
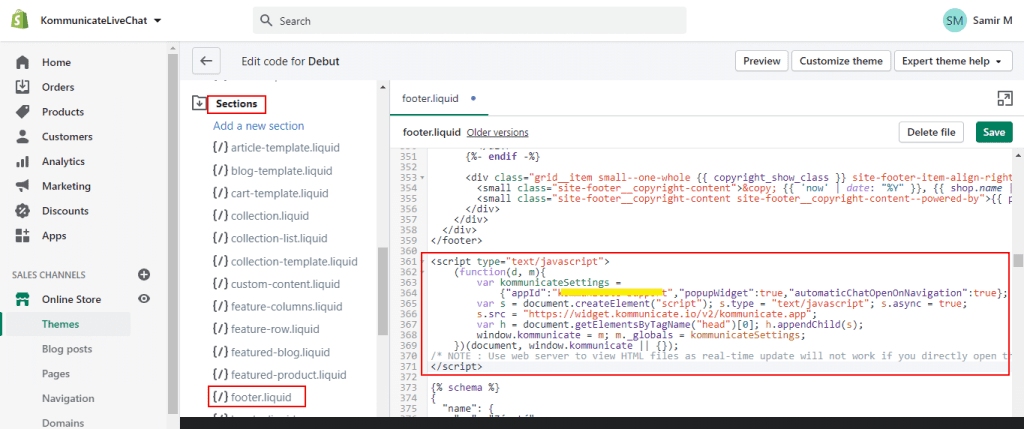
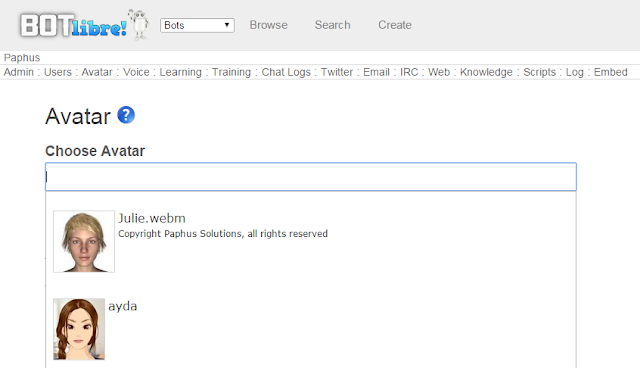
You can browse existing avatars or create your own from Bot Libre’s open avatar directory. To embed an existing avatar simply select the avatar from the browse directory and click on the Embed button. The embed page will let you test the avatar, choose its voice, enter what to say, and generate the embedding JavaScript code. Then copy the embedding code and paste it onto your website.
Example
<script type=”text/javascript” src=”scripts/sdk.js”></script>
<script type=”text/javascript”>
var sdk = new SDKConnection();
sdk.applicationId = “{your app id}”;
var web = new WebAvatar();
web.connection = sdk;
web.avatar = “Julie3”;
web.createBox();
web.message(“Welcome to Bot Libre”);
</script>
The example shows how to use the WebAvatar class and its create box() function to add an avatar to a web page. The message() will make the avatar speak the text, and can optionally include an emote, action, and pose. The emotion and pose influence which video or image will be displayed, the action can trigger an image or audio. You can also choose the voice for the avatar.
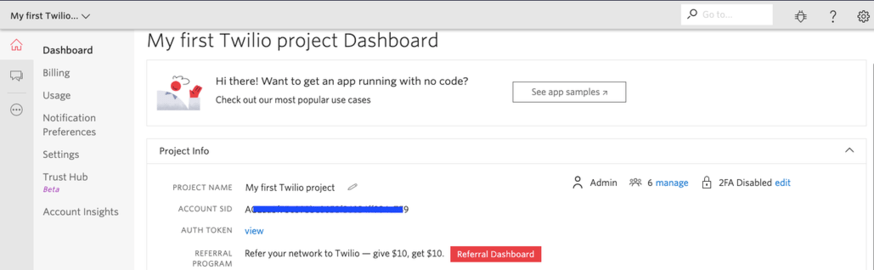
When using the SDK ensure you set your application id. You can obtain your application id from your user page, it is free and easy to generate.
Connecting Your Bot To An Avatar
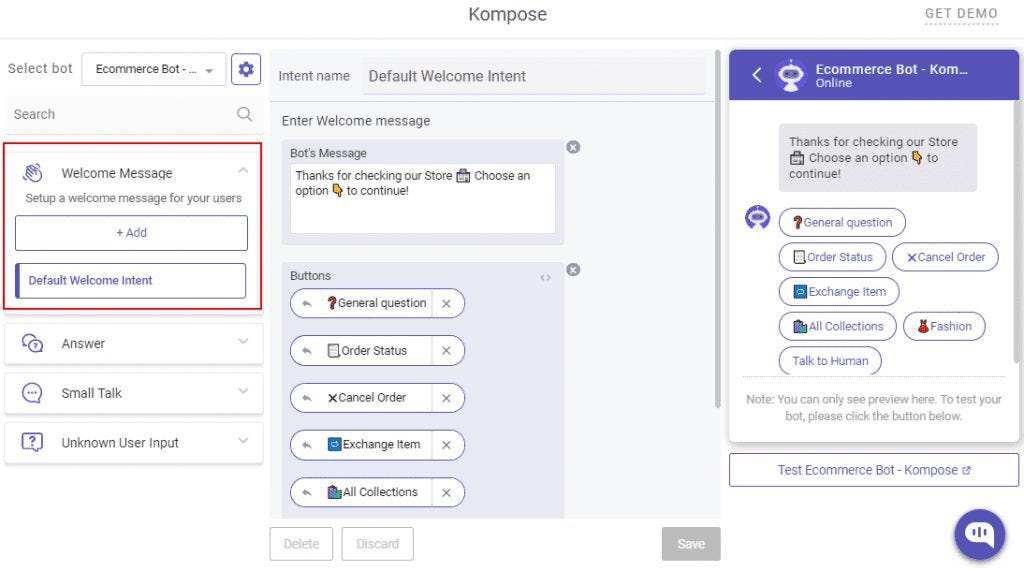
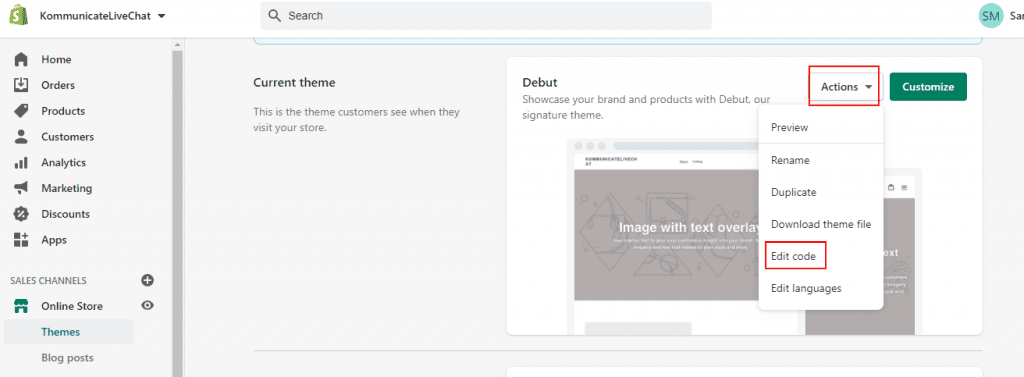
To connect your bot to an avatar, go to your bot’s main page. Click on the Admin button and the Avatar link. When you click on the Choose Avatar input, a list of available avatars will be presented for you to select from. If you want to create your avatar, you can create one from the Avatar browse page. If your bot has an old image avatar, or you just want a simple image avatar, you can click on the 1.0 avatar link.
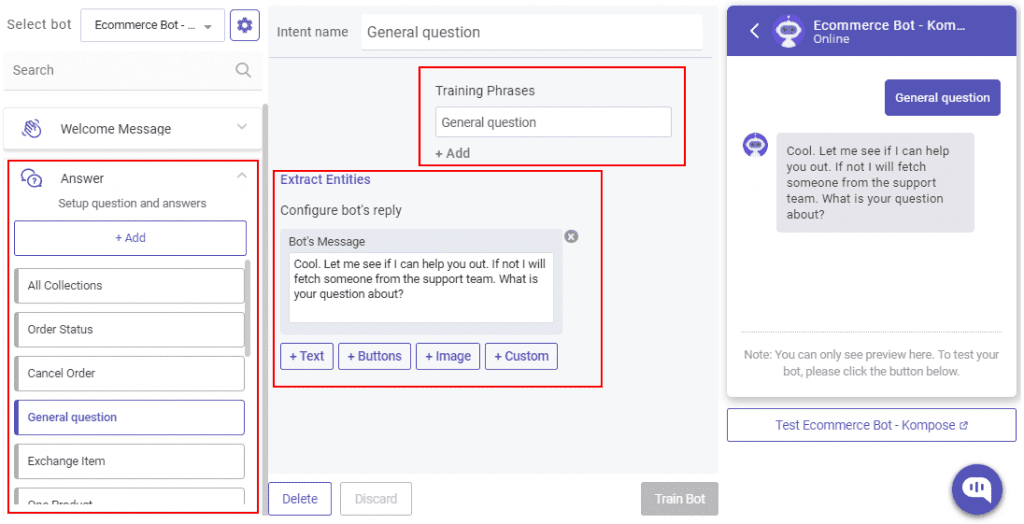
Once your bot is connected to its avatar, you can link phrases or responses to avatar emotions, actions, and poses. You can teach the bot to associate emotions and actions with phrases and responses when chatting with it in learning mode. The emote and action dropdowns in the chat page can be used for this.
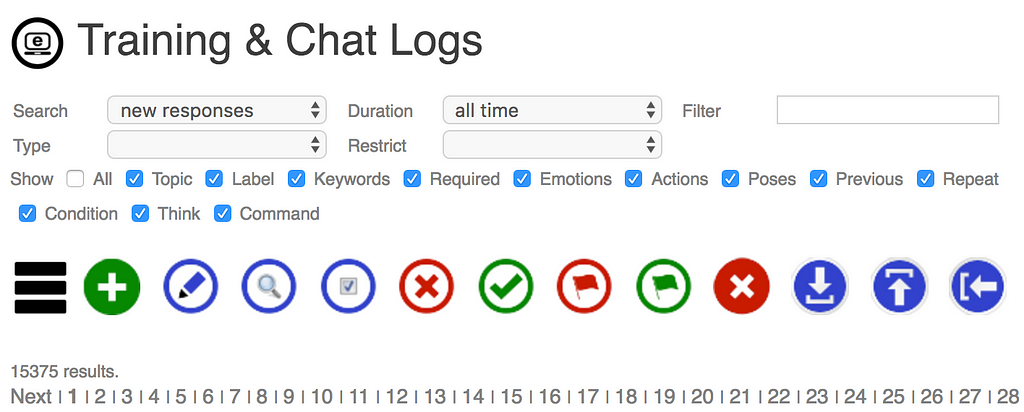
The Training & Chat Logs page under your bot’s Admin page lets you review and edit all emotions, actions, and poses that have been associated with phrases and responses, or add new ones.

Creating Your Own Avatar
You can create your avatar from the browse avatars page. To create an avatar, just give it a name, description, and category to categorize it under. You can either make the avatar private and choose who can access it, or make it public and accessible by anyone. You can also choose what license you wish to release its content under.
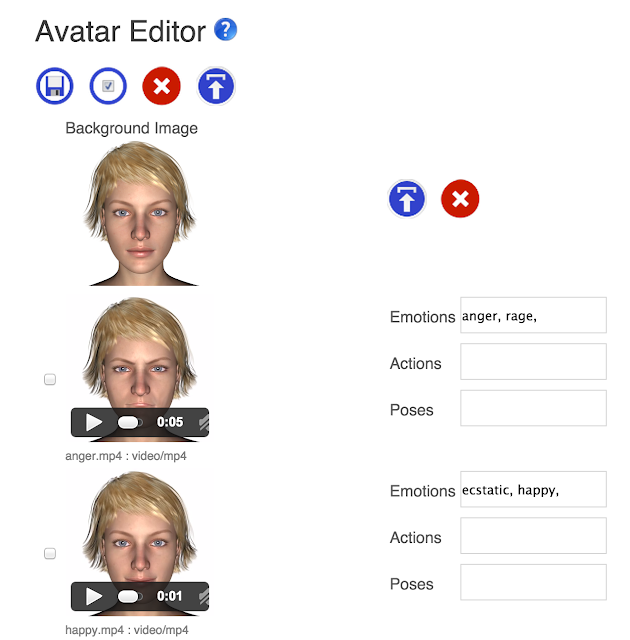
To edit the avatar, click on the Editor button. The avatar editor lets you import video, audio, and image files. You can associate each media with an emotion, action, or pose. For example, if you have a video that makes the avatar talk, you would associate the pose for the video with talking. The emotions let the avatar express different emotions, and will let the bot using the avatar express itself. There are a fixed set of emotions, but you can create any actions and poses that you wish. You can have multiple media for emotions, action, or pose, and one will be chosen at random. For actions, and poses, you can have an audio element in addition to a video element. Audio can be used to make your avatar perform actions such as laugh, or used as background music or noise for a pose.
File Formats
Your video files can be any valid web video format, including mp4, WebM, or Ogg. Audio files can be any web audio format, such as mp3, or wav.
Creative Freedom
You can create your media content using stock content from media websites such as Fotolia, or free media libraries like openclipart.
You can use 3D software such as Daz3D to generate images and videos for your avatar. You can use available 3D models, or buy stock 3D models from 3D media marketplaces.
You can bot yourself, a friend, or a model by capturing photos, or video clips using your phone, or camera. If you are adventurous, you can use a green screen (a green sheet will do) to make a transparent background for your media.
If you are an artist, model, or studio, you can make your images, 3D models, and video, then Bot Libre can showcase or sell your media and talent.
Video Types And Browser Compatibility
Avatars can include several types of media. Simple image avatars are the most compatible with all browsers. Video avatars require the browser to support HTML5 video, which most modern browsers do. There are several web video formats, including mp4, WebM, and Ogg.
The mp4 video format is the most compatible with all browsers and works in the latest Firefox, Chrome, Internet Explorer, and Safari browsers.
The WebM format has the advantage of supporting transparent backgrounds but is only currently supported by Chrome and Firefox, and only Chrome supports transparency. Chrome is the most popular browser for most websites, Firefox is normally second, then Safari, Internet Explorer, and other browsers. If browser compatibility is important to your website you can use JavaScript to choose your avatar based on the browser.
Custom Avatar Design
We can custom design your avatar through our avatar service. You can choose any Daz3D models, or we can create a 3D model from a passport-style photo of a face. For your custom avatar upgrade to our Platinum or Diamond service or contact sales@botlibre.biz .
Revamp Your Website With 3D Avatars was originally published in Chatbots Life on Medium, where people are continuing the conversation by highlighting and responding to this story.