WhatsApp is unarguably the most popular messaging app which helps people to connect across the globe. It is absolutely fair to say WhatsApp is becoming an integral part of our life. The Platform has more than two billion monthly active users. With this much potential user base, any business cannot afford to ignore WhatsApp. We all are experiencing how beautifully businesses are leveraging platforms to engage with their customers.
Furthermore, many businesses are using a WhatsApp Chatbot to automate various business operations to provide a better experience to users. There are many platforms such as Twilio which allow businesses to integrate the chatbot on WhatsApp.
In this tutorial, we will learn how to connect our WhatsApp account with Twilio sandbox and further how we can send different responses through Twilio. Moreover, when we send any file to the Twilio Whatsapp account then get that file at the server.

Here we learn how we can get different types of responses from the bot such as:
- Text
- Image
- Video
- Document
- Audio
Steps to create a WhatsApp Bot
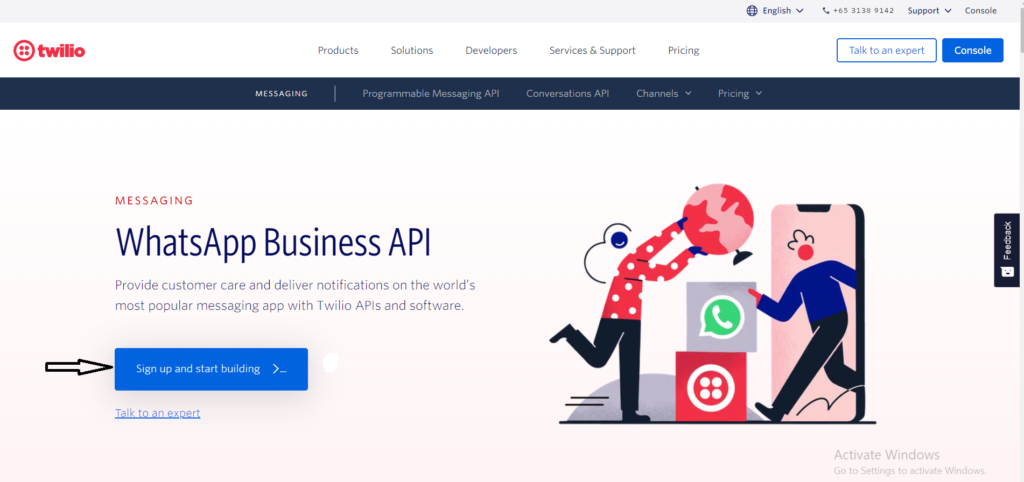
Step 1: Create a Twilio account by visiting the website.
Step 2: Go to the Twilio WhatsApp website.
Step 3: Connect Twilio with WhatsApp.
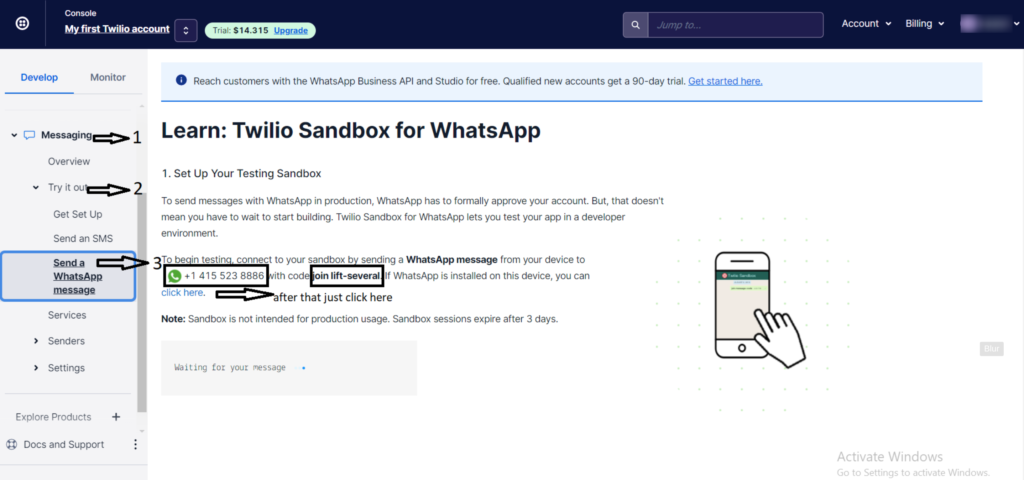
Then we need to go to WhatsApp and send the message to the given number as described in shown above screenshot. When we send the message, it appears as shown in the below screen.

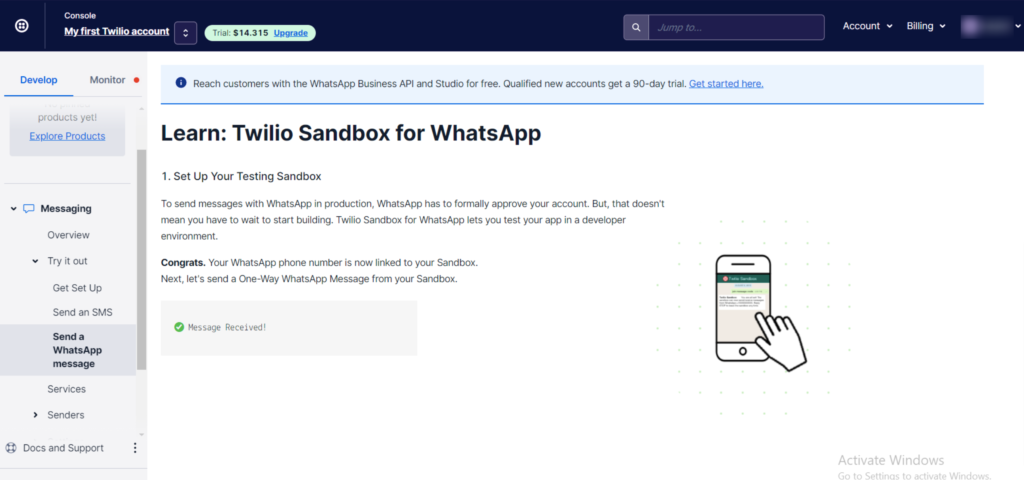
On the Twilio sandbox, we will also get a note of congratulations.
Step 4: Install some libraries.
$ pip install flask
$ pip install twilio
Step 5: Create a flask app.
Add below code below to create a simple flask app and run it.
from flask import Flask
app = Flask(__name__)
@app.route("/")
def wa_hello():
   return "Hello, World!" if __name__ == "__main__":
app.run(debug=True)
After running the code we will find the localhost link in our terminal such as http://127.0.0.1:5000/ and when we visit that link, we can see the “Hello, World!” message there.
Step 6: NGROK setup.
First download ngrok in the local system.
Go to the Ngrok and type the command “ngrok http 5000” after running this command you will get the links.
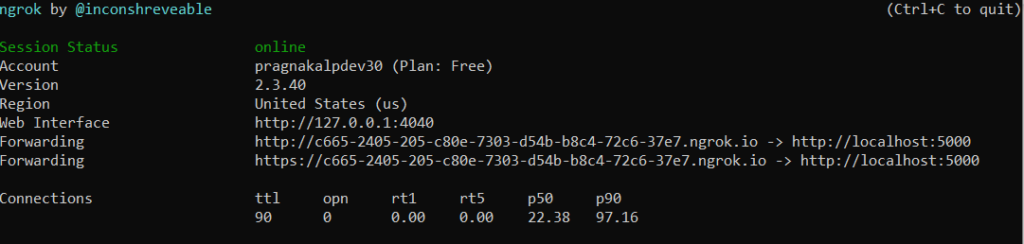
From that Ngrok links, copy the HTTPS link and paste it to your browser. We can see the response is the same as we got for the local host.
Step 7: Twilio connection.
Copy the below code and prepare the python script.
from flask import Flask, request
from twilio.twiml.messaging_response import MessagingResponse
app = Flask(__name__)
@app.route("/wa")
 def wa_hello():
   return "Hello, World!"
@app.route("/wasms", methods=['POST'])
 def wa_sms_reply():
   """Respond to incoming calls with a simple text message."""
   # Fetch the message
   msg = request.form.get('Body').lower()
   # Reading the message from the whatsapp
   print("msg-->",msg)
   resp = MessagingResponse()
   reply=resp.message()
   # Create reply
   if msg == "hi":
    reply.body("hello!")
   return str(resp)
if __name__ == "__main__": app.run(debug=True)
With this code, we are reading the message sent by the user to the Twilio number and if it reads the “hi” message then it responds with the “hello!” message.
Now we need to run the above code script. For the link which we will get from the Ngrok, we need to copy that link and paste it to the Twilio account.
To paste the Ngrok link into the Twilio account, go to the website.
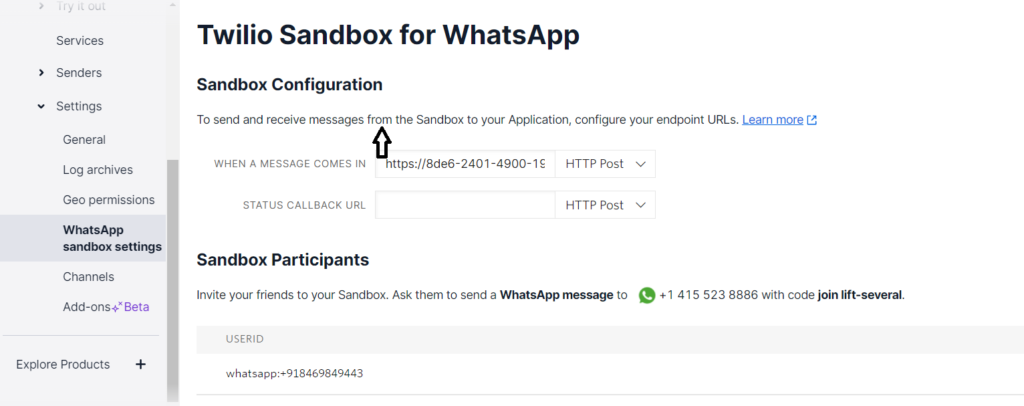
Paste your link in the given section with the endpoint that you have decided. In this section we are adding ‘/wasms’ with Ngrok URL, the endpoint we are using for the flask app.
And then scroll down and click on save.
Now go to WhatsApp and message the Twilio bot with a “hi” message.
The bot will respond with the “hello” message.

Step 8: Send different forms of files through the bot.
We can also get the different files such as images, videos, audio, and document files through our chatbot. This can be done by sharing the file URL in the media section.
By running the following code we can also get files through the bot.
from flask import Flask, request
from twilio.twiml.messaging_response import MessagingResponse
app = Flask(__name__)
@app.route("/wa")
 def wa_hello():
   return "Hello, World!"
@app.route("/wasms", methods=['POST'])
 def wa_sms_reply():
    """Respond to incoming calls with a simple text message."""
    # Fetch the message
    msg = request.form.get('Body').lower()
    # Reading the message from the whatsapp
    print("msg-->",msg)
    resp = MessagingResponse()
    reply=resp.message()
# Create reply
# Text response
if msg == "hi": reply.body("hello!") # Image response elif msg == "image":
reply.media('https://raw.githubusercontent.com/fbsamples/original-coast-clothing/main/public/styles/male-work.jpg',caption="jj ccp")
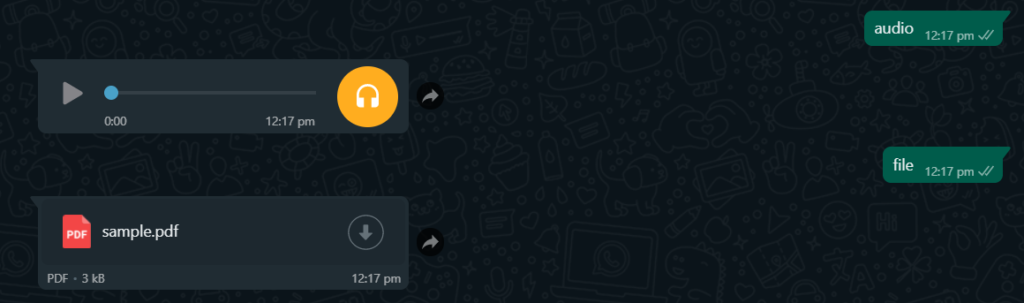
# Audio response
elif msg == "audio": reply.media('http://www.largesound.com/ashborytour/sound/brobob.mp3')
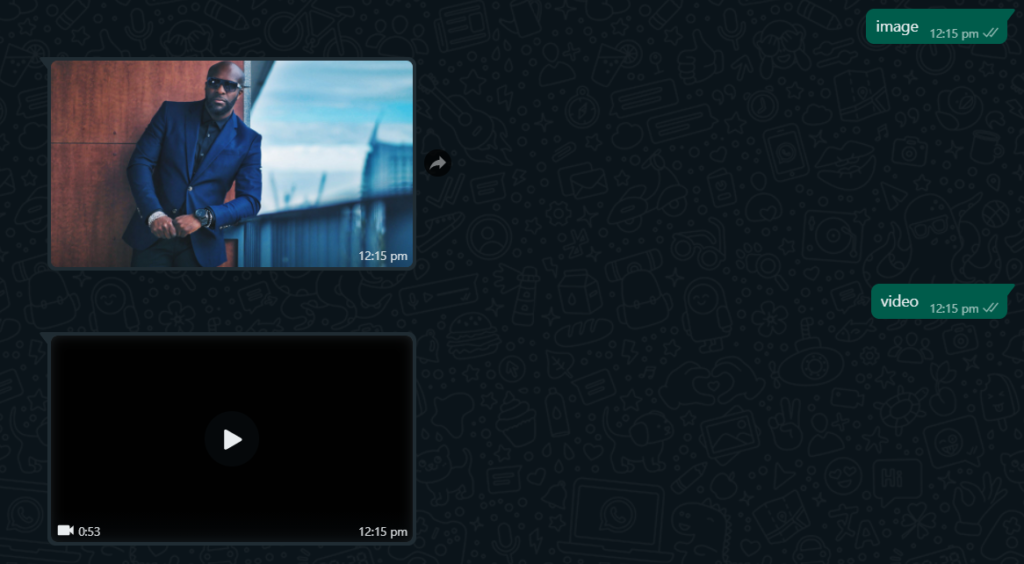
# Video response
elif msg == "video": reply.media('https://www.appsloveworld.com/wp-content/uploads/2018/10/640.mp4')
   # File response
   elif msg == "file":  reply.media('http://www.africau.edu/images/default/sample.pdf'
)
   # resp = MessagingResponse()
   # resp.message("You said: {}".format(msg))
  else:
  reply.body("from you") return str(resp)
if __name__ == "__main__":
 app.run(debug=True)
In the media section, we can pass the URL of the file and in the body section, we are passing the text that we want to send.
It will try to read the message sent by the user and when it encounters a specific message then it will respond to it with the reply that we had fed to it.
We need to type an image and the bot will respond with the image. Similarly, we can do with other forms of files.
Step 9: Upload an image and get it at the backend.
First, we will upload an image to the bot.
And see what type of JSON we are getting at the backend.

From this response, we will try to get the URL from the file and the extension for the file and save it to our computer.
For that, we need to add the following code to our previous code.
from flask import Flask, request
from twilio.twiml.messaging_response import MessagingResponse
app = Flask(__name__)
@app.route("/wa")
 def wa_hello():
   return "Hello, World!"
@app.route("/wasms", methods=['POST'])
 def wa_sms_reply():
    """Respond to incoming calls with a simple text message."""
   # Fetch the message
   Fetch_msg= request.form print("Fetch_msg-->",Fetch_msg)
   try:
    # Storing the file that user send to the Twilio whatsapp number in our computer
    msg_url=request.form.get('MediaUrl0')
    # Getting the URL of the file
    print("msg_url-->",msg_url)
    msg_ext=request.form.get('MediaContentType0')
    # Getting the extension for the file
    print("msg_ext-->",msg_ext)
    ext = msg_ext.split('/')[-1]
    print("ext-->",ext)
    if msg_url != None:
     json_path = requests.get(msg_url)
     filename = msg_url.split('/')[-1]
     open(filename+"."+ext, 'wb').write(json_path.content)
   # Storing the file except: print("no url-->>")
   msg =  request.form.get('Body').lower()
   # Reading the messsage from the whatsapp
   print("msg-->",msg)
   reply=resp.message()
   # Create reply
   # Text response
   if msg == "hi":
    reply.body("hello!")
    # Image response
   elif msg == "image":      reply.media('https://raw.githubusercontent.com/fbsamples/original-coast-clothing/main/public/styles/male-work.jpg',caption="jj ccp")
  # Audio response
  elif msg == "audio":     reply.media('http://www.largesound.com/ashborytour/sound/brobob.mp3')

 # Video response
 elif msg == "video":
  reply.media('https://www.appsloveworld.com/wp-content/uploads/2018/10/640.mp4')
  # Document response
  elif msg == "file":           reply.media('http://www.africau.edu/images/default/sample.pdf')
  else:
    reply.body("from you")
return str(resp)
if __name__ == "__main__":
  app.run(debug=True)
After getting the URL from the response we will save the URL in another variable and then we will also extract the extension for the file which we have uploaded. Then we are trying to get the name for the file on which we will be saving the file on our computer. For that, we are getting the file name through the URL which we have got in response. After getting all the information we are saving the file with the help of the file name and the extension for the file.
After running the code we can find that the image that we send to the bot is saved to our computer.
We can also try another file because for that file also we are getting the URL and through the URL we are saving the file to our computer.
Here any message is detected which is not defined then it will respond with the “from you” message.

By following the above tutorial, we have learned that with the help of Twilio sandbox connect and WhatsApp how we can get text messages, images, videos, audios, and files from the Chatbot. Then, how we can upload the different types of files that we need to send to the chatbot, to store them on our computer. You can find the full integration code in our Github Repository.
Hope you liked our tutorial! You can try it on your own and if you face any difficulty then do let us know in the comment.
Want to learn how to build a chatbot for other platforms? Well, you can follow our Chatbot development tutorial to build Telegram Bot, Slack Bot, and Discord Bot.
Originally published at Create WhatsApp Bot with Twilio Using Python Tutorial with Examples on April 19, 2022.
Create WhatsApp Bot with Twilio Using Python Tutorial with Examples was originally published in Chatbots Life on Medium, where people are continuing the conversation by highlighting and responding to this story.