
Introduction
For engaging conversations, the automated chatbot is really beneficial. On platforms such as Facebook, Google, and others, we can develop chatbots. In this tutorial, we will learn about how we can create a Telegram chatbot and use it to prepare text messages with rich responses.
Here we learn how we can get different types of responses from the bot such as:
- Text
- Image
- Video
- Document
- Audio
- Poll
- Quick reply Buttons
- Buttons with the links
Steps to create a Telegram Bot
Follow the below instructions to make a Telegram chatbot.
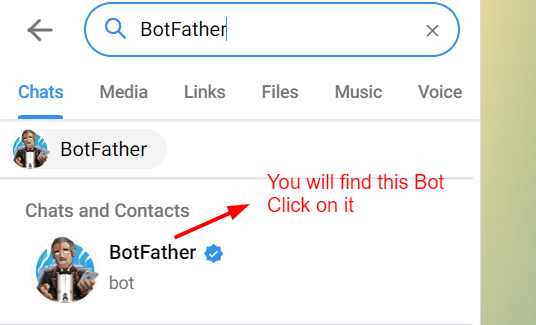
Step 1: Open your telegram account and in the search bar type “BotFather”.
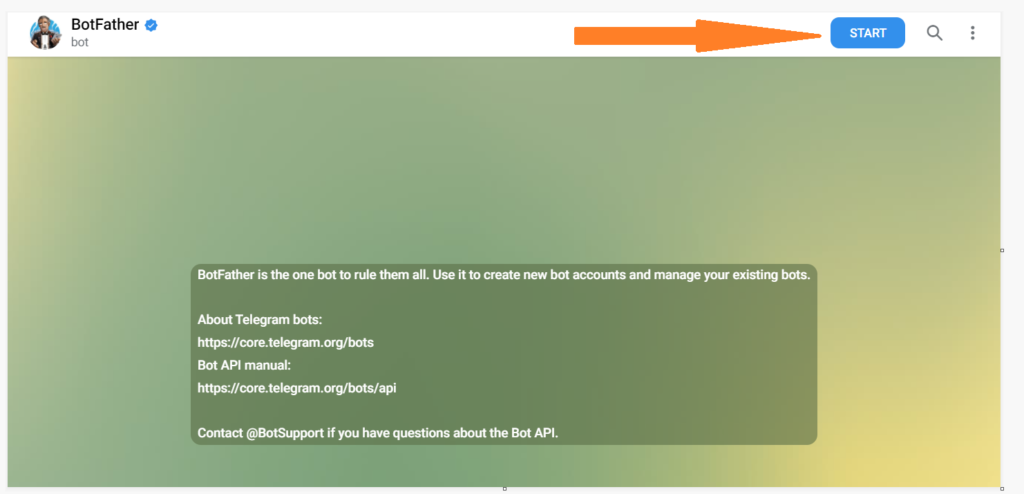
Step 2: Click on the “BotFather” and Click on the “Start” button.
Step 3: Type “/newbot”.

Step 4: Type your unique bot name.

Step 5: Now type a unique username for your bot.
Remember: username must end in ‘bot’. E.g. ‘Tetris_bot’ or ‘Tetrisbot’.
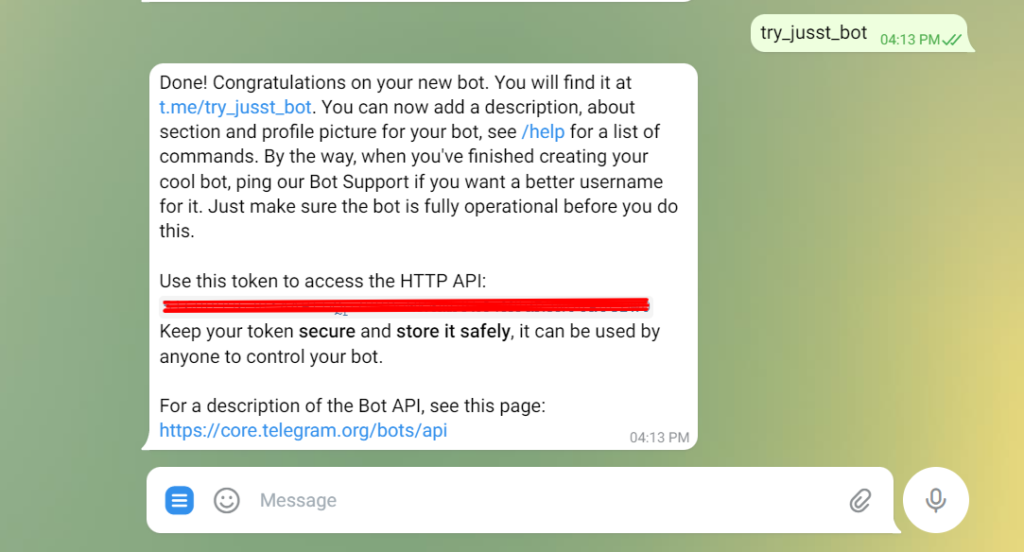
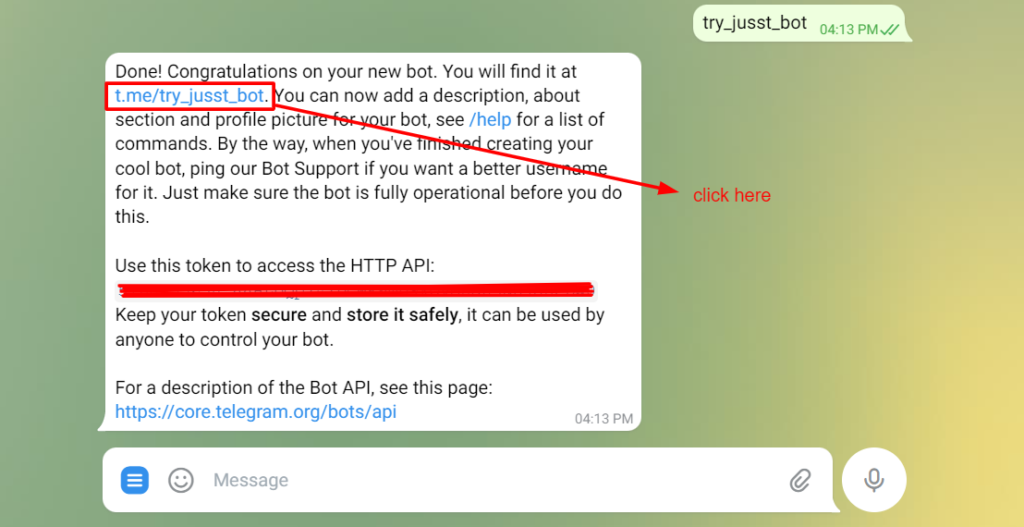
Step 6: After giving a unique username you will get a message like the below. it contains a token to access the HTTP API. Keep your token secure and store it safely.
Step 7: Creating a flask app for the webhook response.
First of all, you will need to install python and flask on your computer.
$ pip install Flask
Below is the code to run the basic flask app.
from flask import Flask

app = Flask(__name__)

@app.route('/')
def index():
    return "<h1>Welcome!</h1>"

if __name__ == '__main__':
   app.run(threaded=True)
Run this code to check whether the flask app is running correctly or not. When you run the code you will get the link for the server like “ http://127.0.0.1:5000/ “ click on that link you will be redirected to the webpage where you will see the response “Welcome!”
Go to the Ngrok and type the command “ngrok http 5000” after running this command you will get the links.

From that Ngrok links copy the HTTPS link and paste it to your browser. You will see the response “Welcome!” same as the previous step.
Step 9: Setup webhook.
Now you will need to set the webhook for the telegram bot.
You can do it by running the link in your browser.
https://api.telegram.org/bot<Your Bot Token>/setWebhook?url=<URL that you got from Ngrok>
After running the link in your web browser you will get the response shown in the bellow image.

Step 10: Get JSON response.
Now we will need to get the JSON response from the telegram bot for any text that we write to the bot.
Now open VS Code and add the following code and run it on the same Ngrok link on which you had run the previous code.
from flask import Flask
from flask import request
from flask import Response
import requests

app = Flask(__name__)

@app.route('/', methods=['GET', 'POST'])
def index():
    if request.method == 'POST':
        msg = request.get_json()
        print(msg)

        return Response('ok', status=200)
    else:
        return "<h1>Welcome!</h1>"


if __name__ == '__main__':
   app.run(debug=True)
In BotFather where you get the token for your Telegram chatbot, you can also file the URL to redirect to your Telegram bot.
After that click on the Start Bot to start the chat with the bot. Then type any message that you want such as “test bot” or anything you want.

After writing “test bot” to your bot now go to the Vscode you will file the following JSON in your terminal.

Here we can see that the message that we have written to the telegram bot we can get at the backend in text.
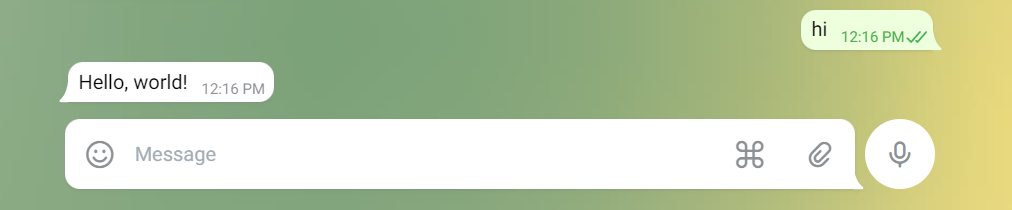
Step 11: send the text message from the bot.
We will write the code to get the response for the “hi” message from the user and if anything other than “hi” is imputed then response with “from webhook”.
You can also add an extra parameter in send message for that you can follow the Documentation.
from flask import Flask
from flask import request
from flask import Response
import requests

TOKEN = "<Your Bot Token>"
app = Flask(__name__)

def parse_message(message):
    print("message-->",message)
    chat_id = message['message']['chat']['id']
    txt = message['message']['text']
    print("chat_id-->", chat_id)
    print("txt-->", txt)
    return chat_id,txt

def tel_send_message(chat_id, text):
    url = f'https://api.telegram.org/bot{TOKEN}/sendMessage'
    payload = {
                'chat_id': chat_id,
                'text': text
                }

    r = requests.post(url,json=payload)
    return r

@app.route('/', methods=['GET', 'POST'])
def index():
    if request.method == 'POST':
        msg = request.get_json()

        chat_id,txt = parse_message(msg)
        if txt == "hi":
            tel_send_message(chat_id,"Hello!!")
        else:
            tel_send_message(chat_id,'from webhook')

        return Response('ok', status=200)
    else:
        return "<h1>Welcome!</h1>"

if __name__ == '__main__':
   app.run(debug=True)
We will get the below response in the Telegram Bot.

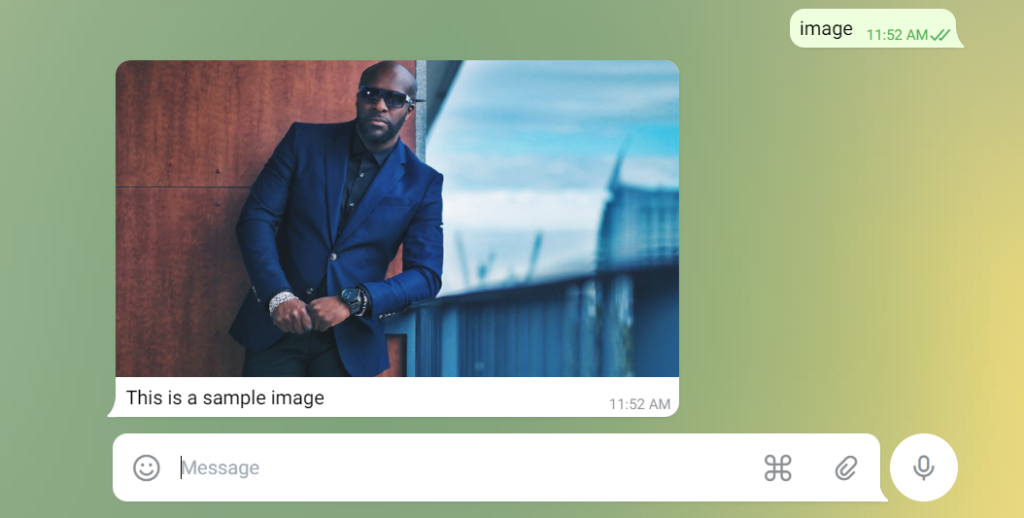
Step 12: Get the Image.
Now we can also get the image from the telegram bot.
By adding the function for sending images in the code.
For more parameters, you can follow the Documentation.
from flask import Flask
from flask import request
from flask import Response
import requests
TOKEN = "<Your Bot Token>"

app = Flask(__name__)

def tel_parse_message(message):
    print("message-->",message)
    try:
        chat_id = message['message']['chat']['id']
        txt = message['message']['text']
        print("chat_id-->", chat_id)
        print("txt-->", txt)

        return chat_id,txt
    except:
        print("NO text found-->>")

def tel_send_message(chat_id, text):
    url = f'https://api.telegram.org/bot{TOKEN}/sendMessage'
    payload = {
                'chat_id': chat_id,
                'text': text
                }

    r = requests.post(url,json=payload)

    return r

def tel_send_image(chat_id):
    url = f'https://api.telegram.org/bot{TOKEN}/sendPhoto'
    payload = {
        'chat_id': chat_id,
        'photo': "https://raw.githubusercontent.com/fbsamples/original-coast-clothing/main/public/styles/male-work.jpg",
        'caption': "This is a sample image"
    }

    r = requests.post(url, json=payload)
    return r

@ app.route('/', methods=['GET', 'POST'])
def index():
    if request.method == 'POST':
        msg = request.get_json()
        try:
            chat_id, txt = tel_parse_message(msg)
            if txt == "hi":
                tel_send_message(chat_id,"Hello, world!")
            elif txt == "image":
                tel_send_image(chat_id)

            else:
                tel_send_message(chat_id, 'from webhook')
        except:
            print("from index-->")

        return Response('ok', status=200)
    else:
        return "<h1>Welcome!</h1>"

if __name__ == '__main__':
    app.run(threaded=True)
Here is the response that you will get from the telegram.
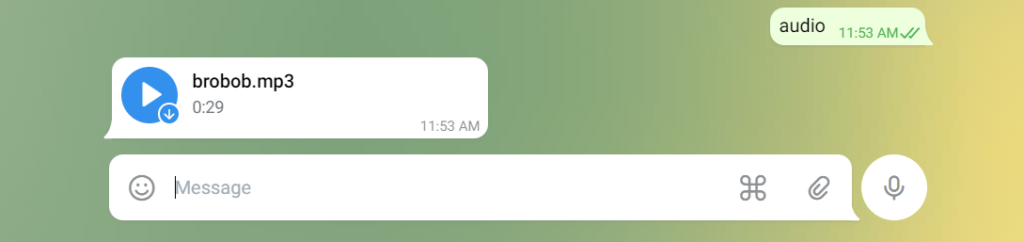
Step 13: Get Audio.
Similar way you can send audio to the telegram. For more parameters, you can follow the Documentation.
def tel_send_audio(chat_id):
    url = f'https://api.telegram.org/bot{TOKEN}/sendAudio'

    payload = {
        'chat_id': chat_id,
        "audio": "http://www.largesound.com/ashborytour/sound/brobob.mp3",

    }

    r = requests.post(url, json=payload)

    return r
Add this code to your index function.
elif txt == "audio":
    tel_send_audio(chat_id)
Step 14: Get Video.
Add the code to get the video to the telegram. To add more parameters you can follow the Documentation.
def tel_send_video(chat_id):
    url = f'https://api.telegram.org/bot{TOKEN}/sendVideo'

    payload = {
        'chat_id': chat_id,
        "video": "https://www.appsloveworld.com/wp-content/uploads/2018/10/640.mp4",

    }

    r = requests.post(url, json=payload)

    return
Add this code to your index function.
elif txt == "video":
     tel_send_video(chat_id)
You will get the following response in your telegram like this.

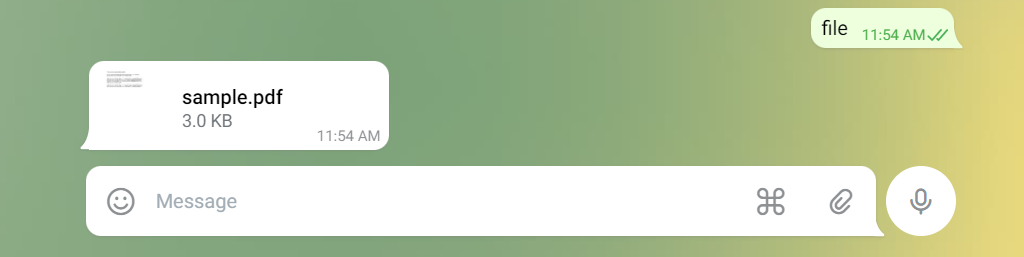
Step 15: Get the File.
Add the code to get the File to the telegram. To add more parameters you can follow the Documentation.
def tel_send_document(chat_id):
    url = f'https://api.telegram.org/bot{TOKEN}/sendDocument'

    payload = {
        'chat_id': chat_id,
        "document": "http://www.africau.edu/images/default/sample.pdf",

    }

    r = requests.post(url, json=payload)

    return r
Add this code to your index function.
elif txt == "file":
    tel_send_document(chat_id)
You will get the following response in your telegram like this.
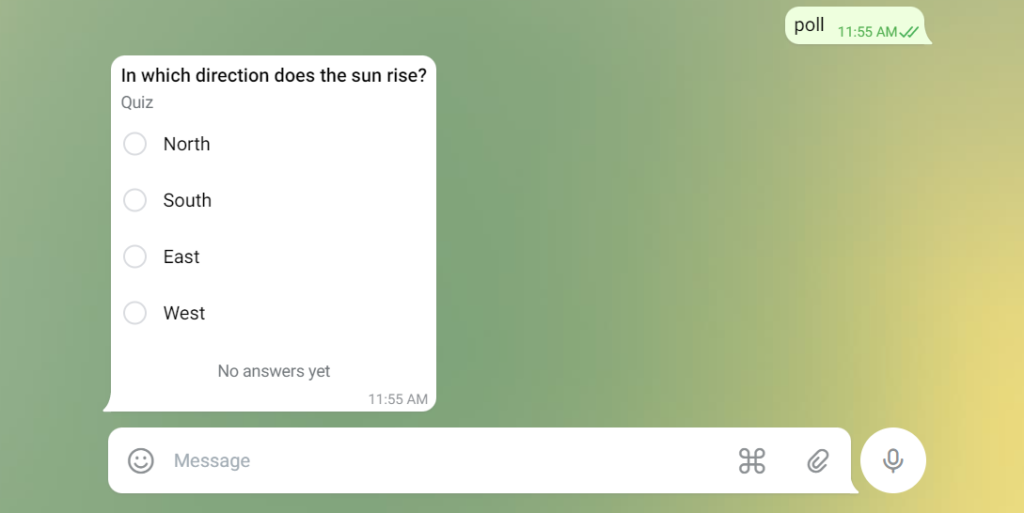
Step 16: Get a Poll.
Add the code to get the Poll to the telegram. To add more parameters you can follow the Documentation.
def tel_send_poll(chat_id):
    url = f'https://api.telegram.org/bot{TOKEN}/sendPoll'
    payload = {
        'chat_id': chat_id,
        "question": "In which direction does the sun rise?",
        "options": json.dumps(["North", "South", "East", "West"]),
        "is_anonymous": False,
        "type": "quiz",
        "correct_option_id": 2
    }

    r = requests.post(url, json=payload)

    return r
Add this code to your index function.
elif txt == "poll":
     tel_send_poll(chat_id)
You will get the following response in your telegram like this.
Step 17: Get Button.
Add the code to get the Button to the telegram bot.
def tel_send_button(chat_id):
    url = f'https://api.telegram.org/bot{TOKEN}/sendMessage'

    payload = {
        'chat_id': chat_id,
        'text': "What is this?",
                'reply_markup': {'keyboard': [[{'text': 'supa'}, {'text': 'mario'}]]}
    }

    r = requests.post(url, json=payload)

    return r
Add this code to your index function.
elif txt == "button":
     tel_send_button(chat_id)
You will get the following response in your telegram like this.

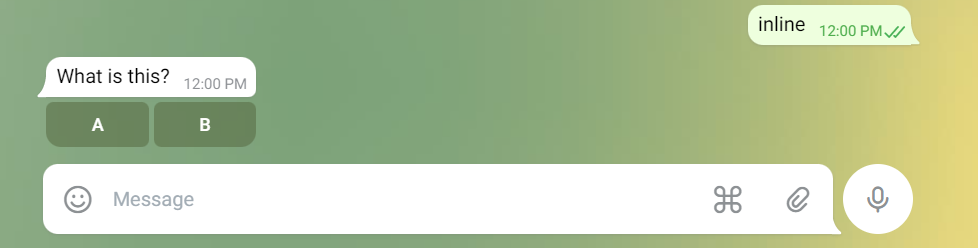
Step 18: Get the Inline Button.
Add the code to get the Inline Button to the telegram.
def tel_send_inlinebutton(chat_id):
    url = f'https://api.telegram.org/bot{TOKEN}/sendMessage'

    payload = {
        'chat_id': chat_id,
        'text': "What is this?",
        'reply_markup': {
            "inline_keyboard": [[
                {
                    "text": "A",
                    "callback_data": "ic_A"
                },
                {
                    "text": "B",
                    "callback_data": "ic_B"
                }]
            ]
        }
    }
    r = requests.post(url, json=payload)
    return r
Add this code to your index function.
elif txt == "inline":
     tel_send_inlinebutton(chat_id)
You will get the following response in your telegram.
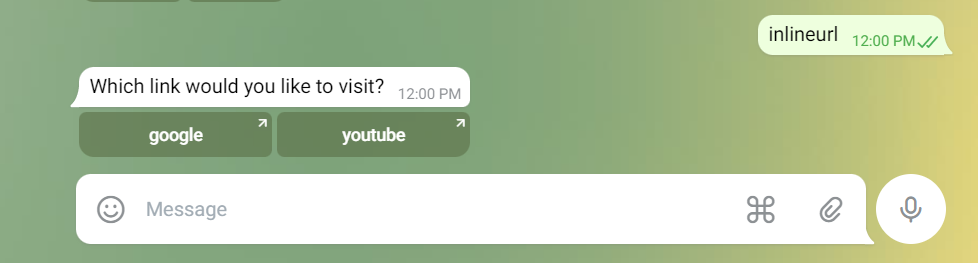
Step 19: Get the Inline Button URL.
Add the code to get the Inline Button to the telegram.
def tel_send_inlineurl(chat_id):
    url = f'https://api.telegram.org/bot{TOKEN}/sendMessage'

    payload = {
        'chat_id': chat_id,
        'text': "Which link would you like to visit?",
        'reply_markup': {
            "inline_keyboard": [
                [
                    {"text": "google", "url": "http://www.google.com/"},
                    {"text": "youtube", "url": "http://www.youtube.com/"}
                ]
            ]
        }
    }

    r = requests.post(url, json=payload)

    return r
Add this code to your index function.
elif txt == "inlineurl":
     tel_send_inlineurl(chat_id)
You will get the following response in your telegram like this.
For more information, you can follow the Telegram Bot Api Documentation.
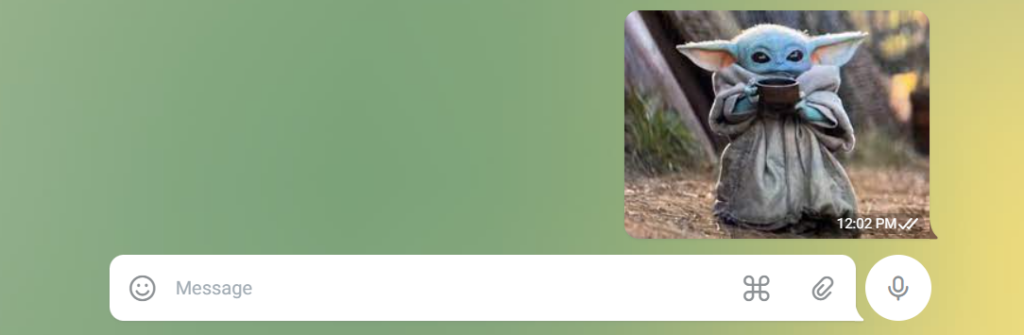
Step 20: Share the image with the bot and get it on the server-side.
First of all, we will share the image to the bot and see what type of JSON we are receiving on our server-side.

As we can see that we are receiving a file id for the file which we are sending to the telegram bot. Now, we will get that file id for the image.
def tel_parse_get_message(message):
    print("message-->",message)

    try:
        g_chat_id = message['message']['chat']['id']
        g_file_id = message['message']['photo'][0]['file_id']
        print("g_chat_id-->", g_chat_id)
        print("g_image_id-->", g_file_id)

        return g_file_id
    except:
        print("NO file found found-->>")
Now by calling the given function in the index function, we can get the chat id and file id printed.
file_id = tel_parse_get_message(msg)
We will receive the response below.

Now we will use the file id which we get for the image to get the file path for the image which is stored on the telegram server.
For that we will have to redirect to another URL and pass our file id to it for that we had created a function.
def tel_upload_file(file_id):
    url = f'https://api.telegram.org/bot{TOKEN}/getFile?file_id={file_id}'
    a = requests.post(url)
    json_resp = json.loads(a.content)
    print("a-->",a)
    print("json_resp-->",json_resp)
    file_pathh = json_resp['result']['file_path']
    print("file_path-->", file_pathh)

    url_1 = f'https://api.telegram.org/file/bot{TOKEN}/{file_pathh}'
    b = requests.get(url_1)
    file_content = b.content
    with open(file_pathh, "wb") as f:
        f.write(file_content)
We also need to call the function which we have created.
file_id = tel_parse_get_message(msg)
tel_upload_file(file_id)
Here in the function first we are trying to get our file path for the image that we had shared from a JSON.
After getting the file path we are trying to get the file from the telegram server by redirecting the file path to the “url_1”.
From “url_1” we are trying to save the file to our computer.
On the server-side, you will see the print and JSON like this.

Here is the directory where we are writing our code. We need to create a folder named “ photos “ so that we can get the image that we send to the bot directly in our system.

Step 21: Now we will try to add a video to the telegram bot.
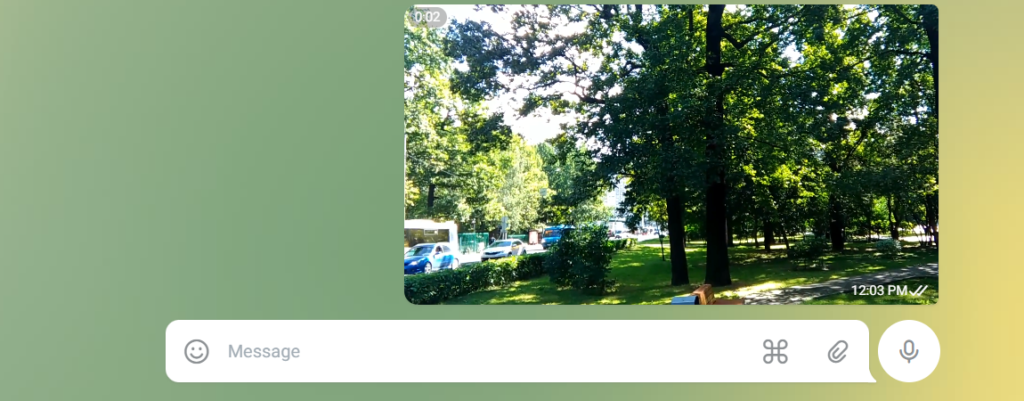
When we send the video to the bot then we are receiving different types of JSON. So we need to extract the file id from it.

It can be done with the help of the following code.
def tel_parse_get_message(message):
    print("message-->",message)
    print("1")

    try:
        g_chat_id = message['message']['chat']['id']
        g_file_id = message['message']['photo'][0]['file_id']
        print("g_chat_id-->", g_chat_id)
        print("g_image_id-->", g_file_id)

        return g_file_id
    except:
        try:
            g_chat_id = message['message']['chat']['id']
            g_file_id = message['message']['video']['file_id']
            print("g_chat_id-->", g_chat_id)
            print("g_video_id-->", g_file_id)

            return g_file_id
        except:
   print("NO file found found-->>")
Now here also in a similar way, we will extract the file id and pass it to the function and get the file path and store the video on our server-side.
To store the video, we will need to create the folder name “ videos “ in which we can store the video.

Step 22: Now in a similar way we can do it for audio and files.
For storing the audio we need to create a folder named “ music “.
For storing the documents we need to create a folder named “ documents “.
Here in a similar way, we need to extract the file id and pass it to the file_upload function.
def tel_parse_get_message(message):
    print("message-->",message)

    try:
        g_chat_id = message['message']['chat']['id']
        g_file_id = message['message']['photo'][0]['file_id']
        print("g_chat_id-->", g_chat_id)
        print("g_image_id-->", g_file_id)

        return g_file_id
    except:
        try:
            g_chat_id = message['message']['chat']['id']
            g_file_id = message['message']['video']['file_id']
            print("g_chat_id-->", g_chat_id)
            print("g_video_id-->", g_file_id)

            return g_file_id
        except:
            try:
                g_chat_id = message['message']['chat']['id']
                g_file_id = message['message']['audio']['file_id']
                print("g_chat_id-->", g_chat_id)
                print("g_audio_id-->", g_file_id)

                return g_file_id
            except:
                try:
                    g_chat_id = message['message']['chat']['id']
                    g_file_id = message['message']['document']['file_id']
                    print("g_chat_id-->", g_chat_id)
                    print("g_file_id-->", g_file_id)

                    return g_file_id
                except:
                    print("NO file found found-->>")
Step 23: As we have tried to store the image, video, audio, and file at our server-side and also done the code to get the different types of responses through the telegram bot.
You can also refer to the full code on our Github repository and test it to get the various responses through the telegram bot and send files to the server-side.
We have learned how we can get the text response from the bot and also the different types of files. After that, we have also seen how we can get the files that we send to the bot on our server-side.
Now you can have your bot work the way you want-go ahead and create the next big thing!
Hope you had fun building your first Telegram bot. If you face any difficulty then do let us know in the comment.
Originally published at Create Telegram Bot Using Python Tutorial With Examples on April 11, 2022.
Create Telegram Bot Using Python Tutorial with Examples was originally published in Chatbots Life on Medium, where people are continuing the conversation by highlighting and responding to this story.