In this tutorial, I will show how you can perform a chatbot test without having to wait for the bot to be actually released. This feature is very useful to start grabbing real user feedback and see how real people will react to your bot. By prototyping early on, you will be able to adjust your design based on how users react to it — specifically, it’s important to discover:
- What do the users type when confronted by your design?
- What do users expect when using your chatbot?
- Are the utterances (training phrases) realistic and will they work?
With the prototype feature, you can use the user test to inform your design decisions, as well as improving your training phrases.
We also have released an AI-powered user testing — it allows you to leverage OpenAI GPT-3 to test your chatbot as if it was a human. It works like magic! More on that later.
Chatbot test: Set up your conversational design file
For the sake of this tutorial, I am using our grumpy weather chatbot example — you can find it there. To copy it to your account click on the main menu on the top right > File > Make a copy, like so:
Make a copy in Botsociety
You can of course use your own design as well as this example one. The important caveat is that your design has to sport a somehow complete experience. You can technically test a design with only two messages for example, but it would not be very interesting. If you are not sure how to design a conversation with Botsociety in the first place, check out our workshop on Youtube or this Getting started blog post.
Trending Bot Articles:
1. 3 Tips for your Voice and Chatbot Program from Gartner’s Customer Service Hype Cycle 2020
2. Deploying Watson Assistant Web Chat in Salesforce Lightning Console
3. Are Chatbots Vulnerable? Best Practices to Ensure Chatbots Security
Switch to prototype mode
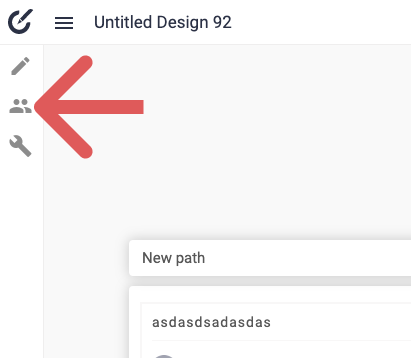
Now that your design is ready to be tested, you can switch to prototype mode. To do so, click on the prototype mode icon on the left-hand side of your canvas, like so:
Prototype mode will activate. Here you can do multiple things:
- Invite human testers to your design
- Trigger an A.I. test of your design
- Check the results of your tests
Note that in prototype mode you can’t edit your design. For example, clicking on a message will not open the message editor. To edit your design, you can go back to design mode. To do so, just click on the pencil icon right on top of the prototype mode icon.
Inviting users to your chatbot test
Inviting users is very simple and fast. Just click on the top right button that says Invite Testers like so:
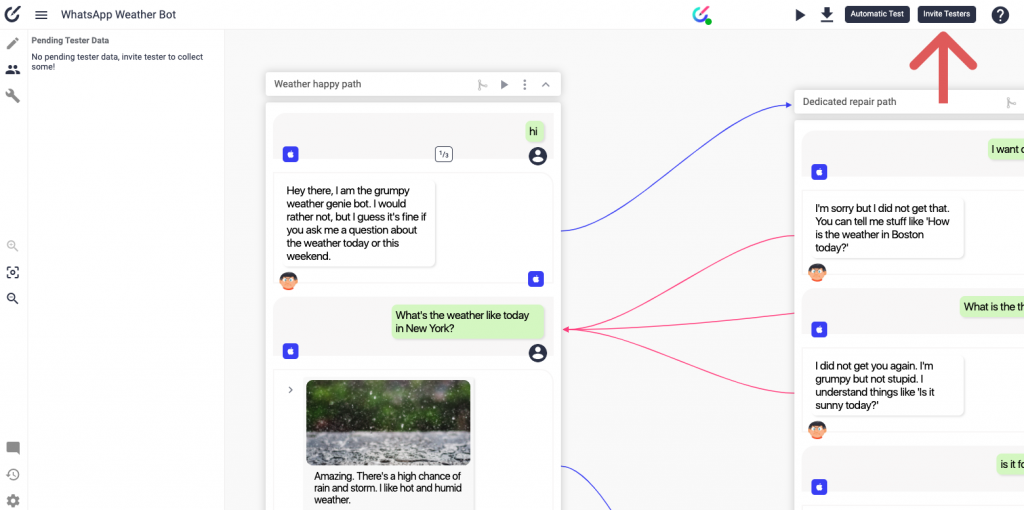
Now you will be able to invite other people to try out your design. You can do so by sending them a link, or by inviting them via email. Both methods work and they are equal. You can try out what the testers will see yourself by copying the link and then opening it up in another browser tab. In short, the tester will experience your design like an interactive video:
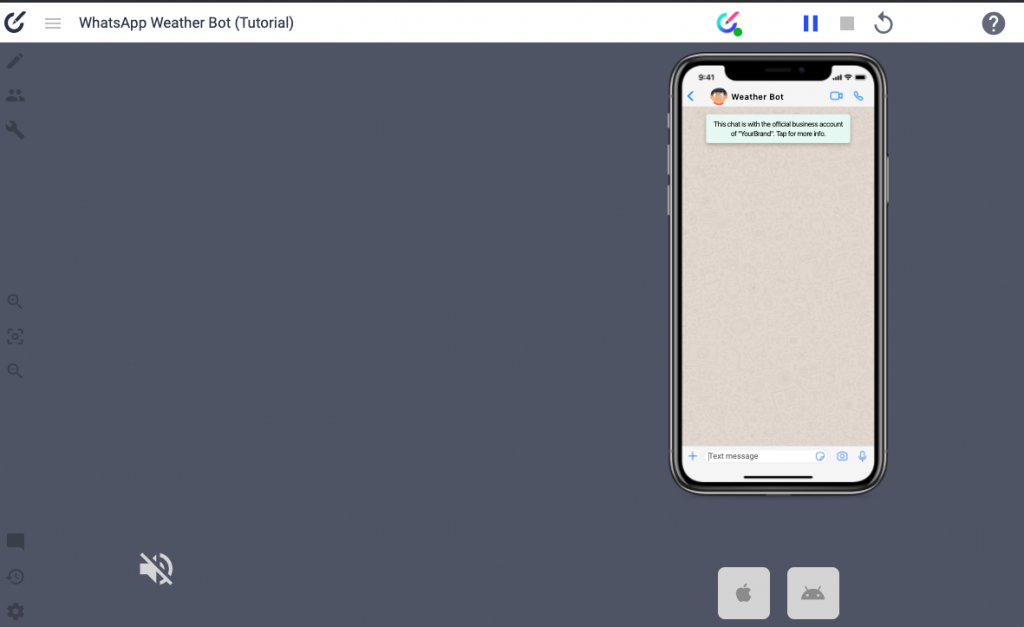
The tester will be able to:
- Type their own messages (or say them if your design has voice capabilities
- Pick the path they would like to see
- If they reach the end of your design, test again
- Add comments
Note that the testers (since they don’t have edit access to your design) will not be able to:
- Change your design
- See the complete canvas — in other words, they can’t stop the play and roam around your design as you do
There are no limits to the number of tests and testers that you can invite. So invite as many as you want.
Auto-testing: Have an A.I. do the hard work
Note: This feature is currently in Beta. Let us know what you think at info@botsociety.com
Auto-testing is very powerful as it allows you to leverage OpenAI’s GPT-3 to test your design, without having to engage and wait for human testers. The A.I. will act as the human in your conversation and provide feedback.
Let’s use this feature as well — while the testers that you have invited try out your design. To ask the A.I. to use your design, just click on ‘Automatic test’ on the top right corner:
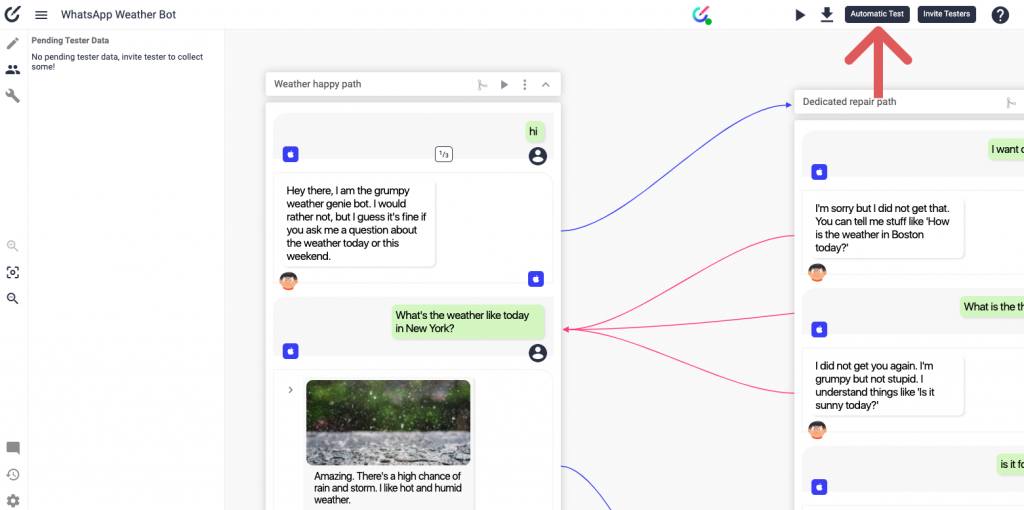
Then click on ‘Automatic test’ to kick off the automatic test. The A.I. will take from 3 seconds up to some minutes to try out your design, depending on how complex your design is. If you are using the example design in this tutorial, 8 seconds will do. Now just refresh your page to see the results! You should see results on the right-hand side, like so:
If not, wait for another 10 seconds and then refresh again. We will eventually add email notifications to let you know when a chatbot test is completed.
Checking the result of your chatbot test
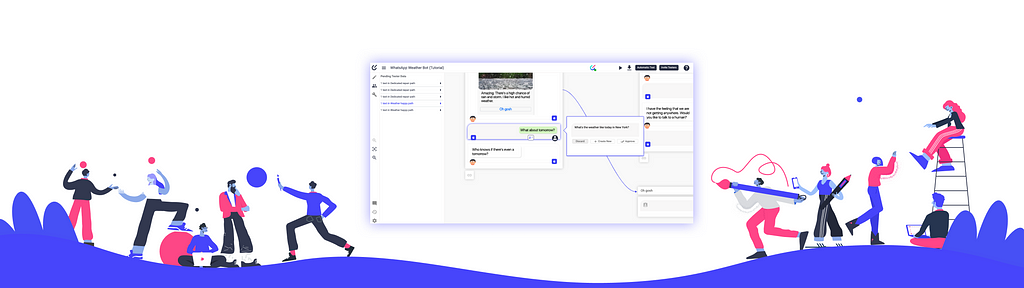
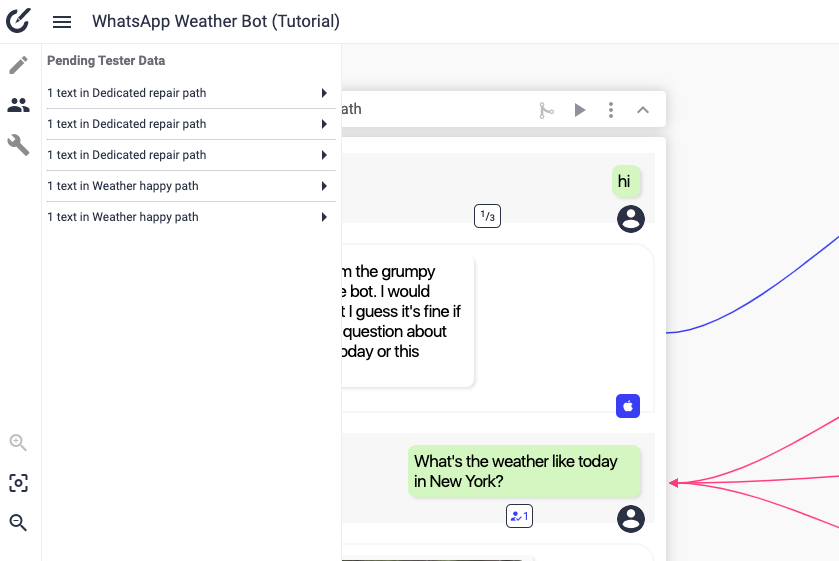
If you asked a human or an A.I. to test your design, you will see the results on the right-hand side of the prototype mode as shown above. These results do not change your design structure — they are just ready for you to review. Let’s do that! Click on the first entry, it should be something like 1 text in Dedicated path:
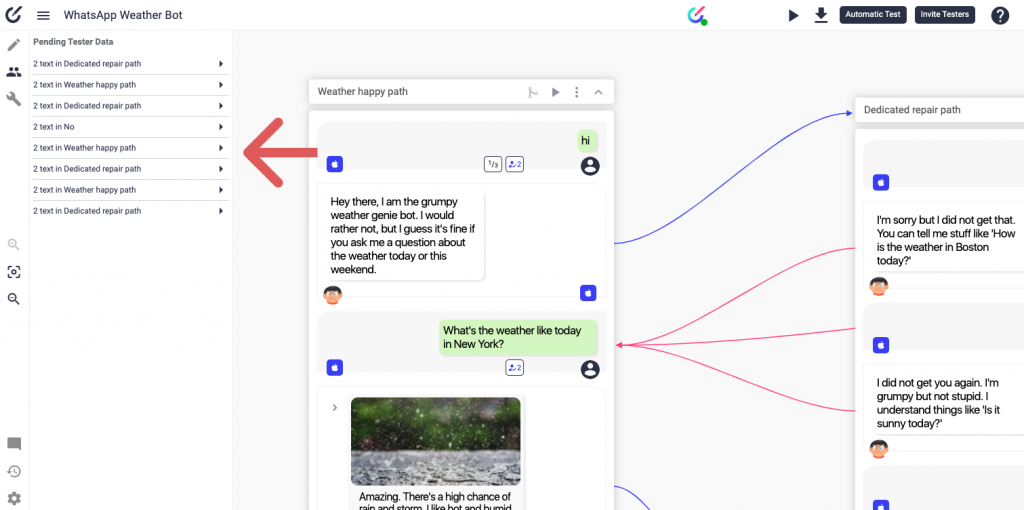
Once you clicked, you should see something like this:

Reviewing the results of a chatbot test
Botsociety highlights the section of your design that was interested in your test (in blue), so you will get context about the data that you are reviewing. You will see the user in the balloon on the right of your message. You can do multiple things with this data:
Approve it. If you click on ‘Approve’, the message will be added as an utterance (training phrase) to your design. This is useful if you think that the data added by the user is a valid utterance of the message that you already designed. The utterance will then be used as a training phrase in your NLP engine once you export.
Create new. If you click on ‘Create New’, you will create a new message with the content of the text written by the user. This is useful if you think that the data added by the user represents a new intent or use case yet not covered by your design; or if you want to edit it separately in general.
Discard. Removes the data added by the user so that is not marked as pending anymore. This is the right option if you don’t consider the data meaningful or useful.
Edit it. Just click on it to change the message. Useful if you think that the data needs some adjustment before clicking on Approve or Create New.
Wrapping it up
In this tutorial, we’ve seen how to test your chatbot design with both humans and an A.I., and how to leverage this data to improve your training phrases. If you have any questions, leave them in the comments. Check out the complete documentation on this feature here.
Don’t forget to give us your 👏 !


How to test your chatbot designs before release was originally published in Chatbots Life on Medium, where people are continuing the conversation by highlighting and responding to this story.